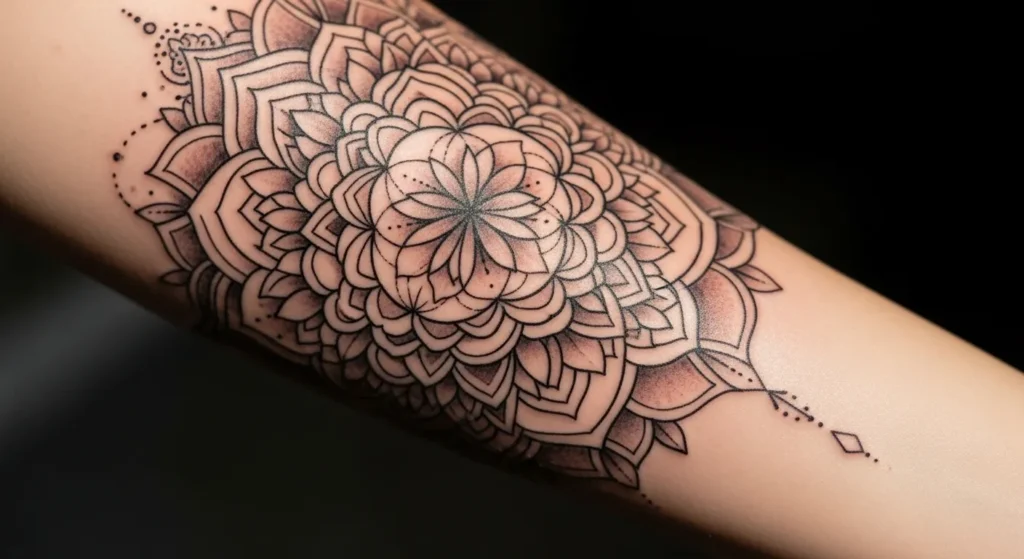
Mandala armband tattoos blend symmetry, geometry, and personal expression into wearable art. Perfect for anyone who loves unique, eye-catching designs, these tattoos can be bold or subtle, simple or layered. Whether you’re trying your first tattoo or expanding an existing sleeve, an armband mandala offers a striking way to show creativity. These ideas are approachable for all budgets, with plenty of DIY-inspired tips and ways to work with your tattoo artist to achieve the design you love.
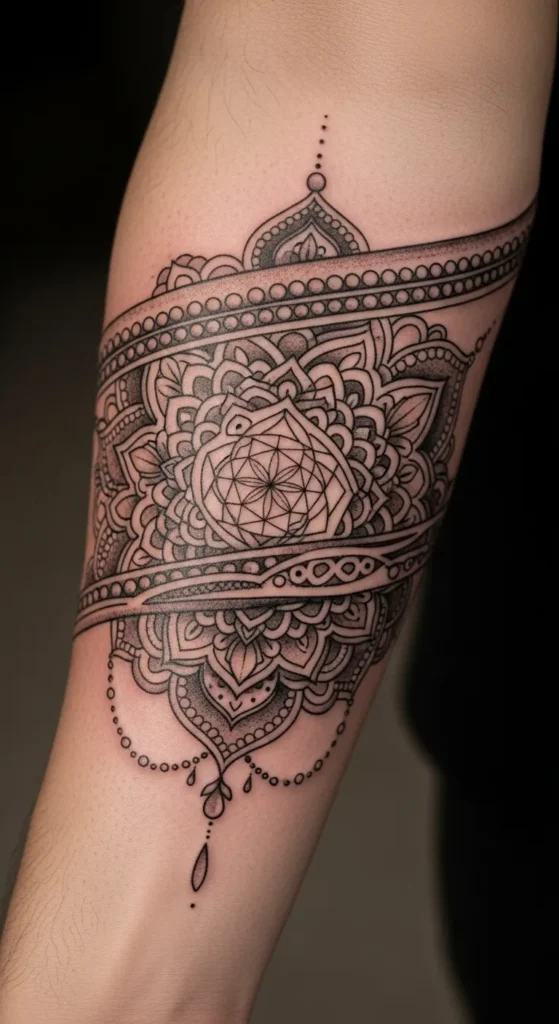
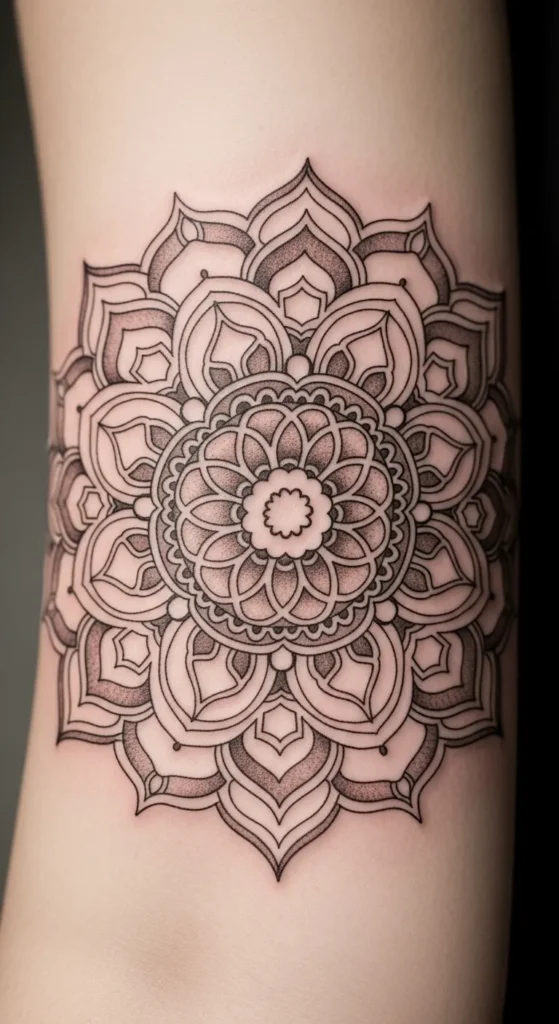
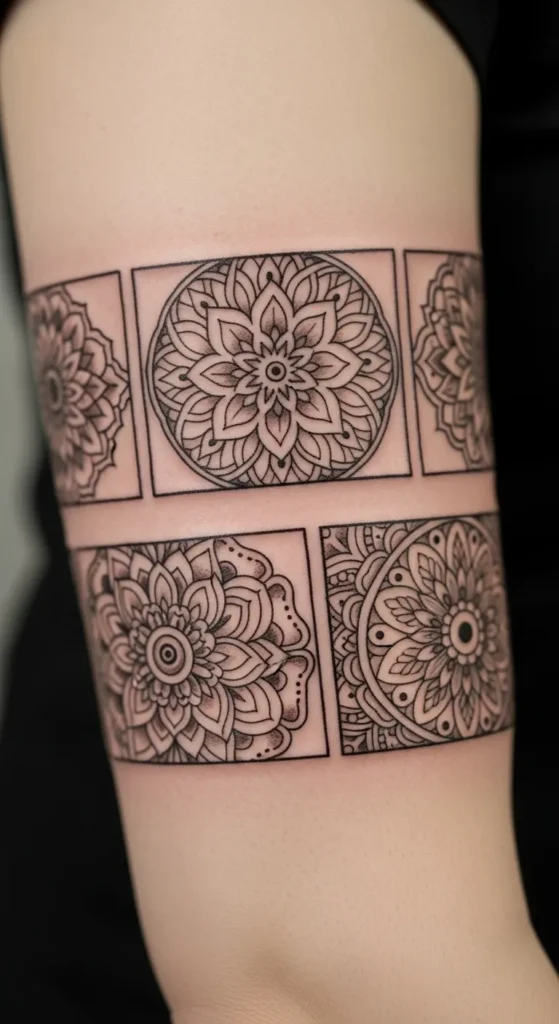
1. Classic Circular Mandala Armband
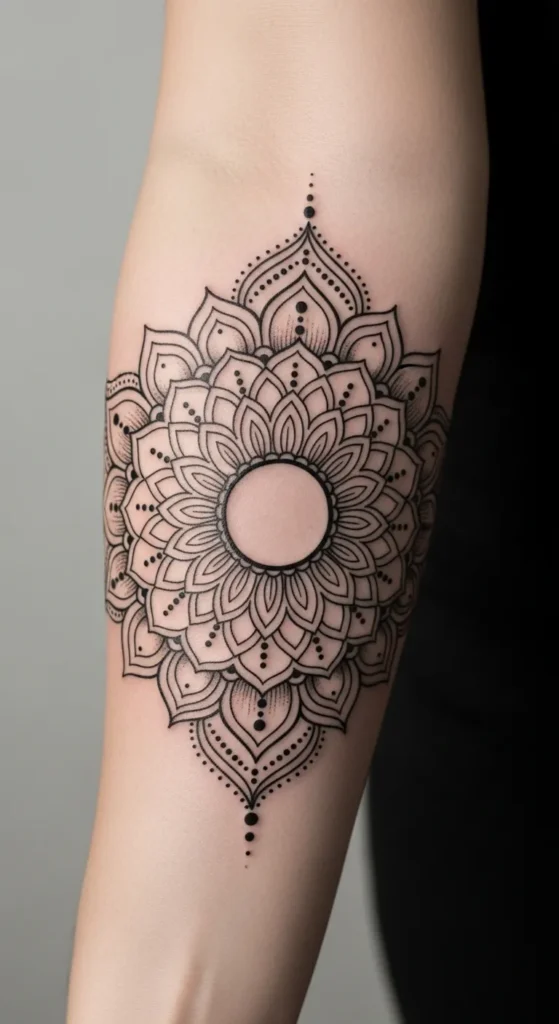
A classic circular mandala armband keeps things timeless. Its repeating layers of petals and geometric shapes create a flowing, balanced design. You don’t need large, complex artwork to make an impact. Many tattoo artists can scale a simple circle and add subtle dotwork to create a sense of depth. Budget-friendly tip: Bring printed references and choose a smaller size first. This keeps the cost down while letting you test placement and comfort before committing to a wider design.
2. Minimalist Dotwork Mandala
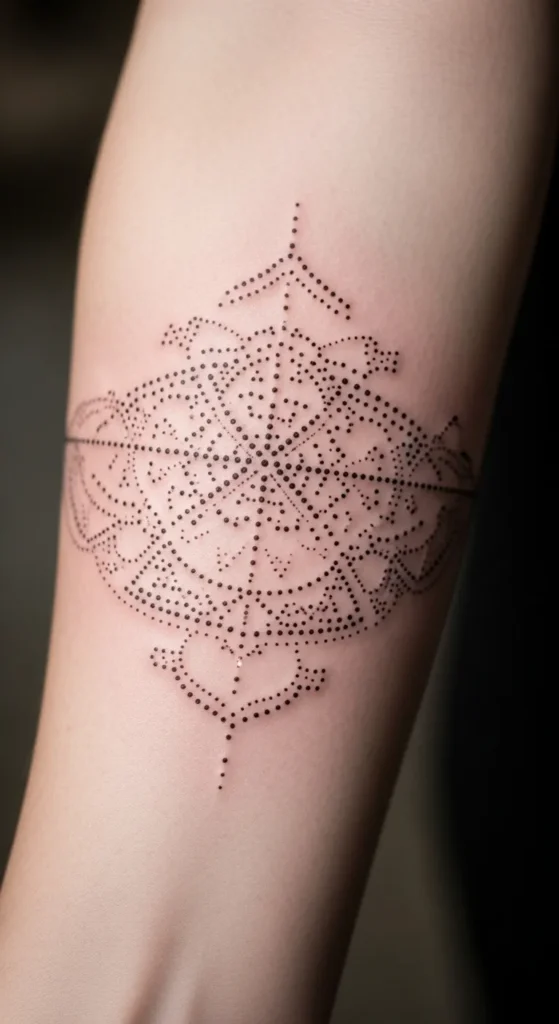
Minimalist dotwork mandalas are perfect for understated style. The design relies on tiny dots and simple shapes, making it lighter on the skin and easier to maintain. If you’re working with a tight budget, dotwork tattoos are often faster to apply, reducing session time. For a DIY approach, sketching out patterns with stencils or temporary markers can help you visualize placement. This design works well if you want elegance without overcomplicating the armband.
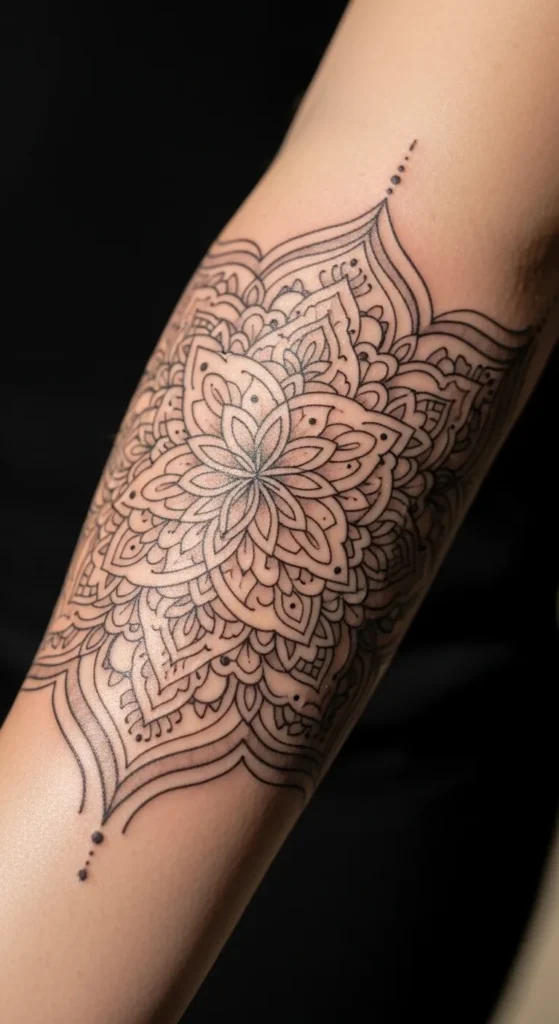
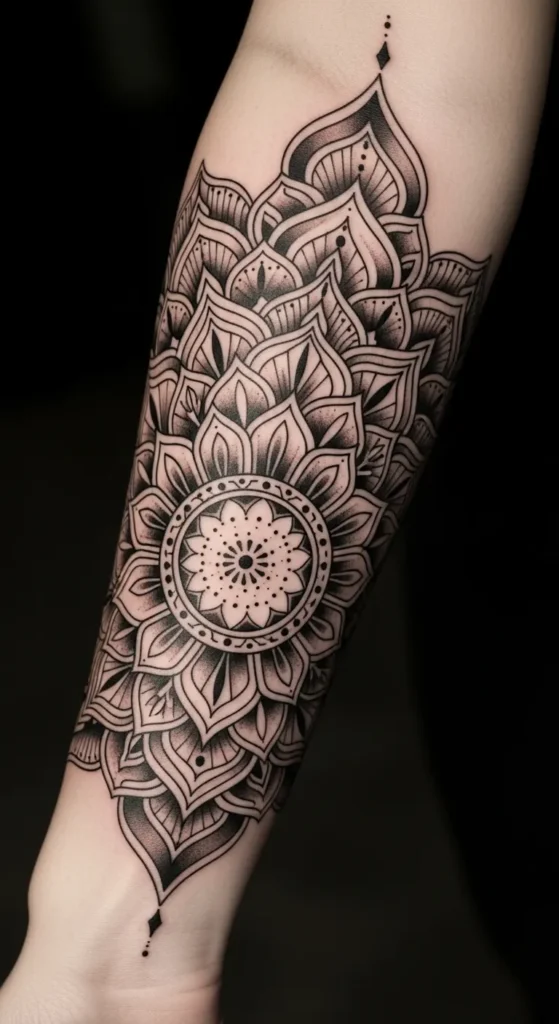
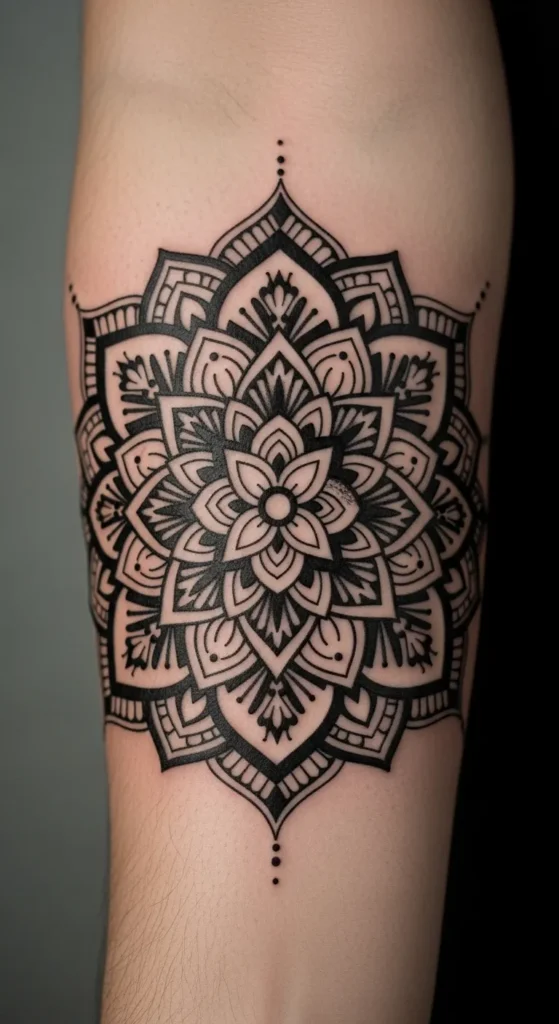
3. Floral Mandala Band
A floral mandala armband combines nature with geometry. Petal shapes and soft curves soften the rigid symmetry of a standard mandala. To save costs, consider a smaller band or spacing out elements to reduce ink coverage. DIY tip: Use tracing paper to experiment with flower placement before your session. This approach ensures a design that feels personal and harmonious without overcomplicating the process.
4. Tribal-Inspired Mandala Armband
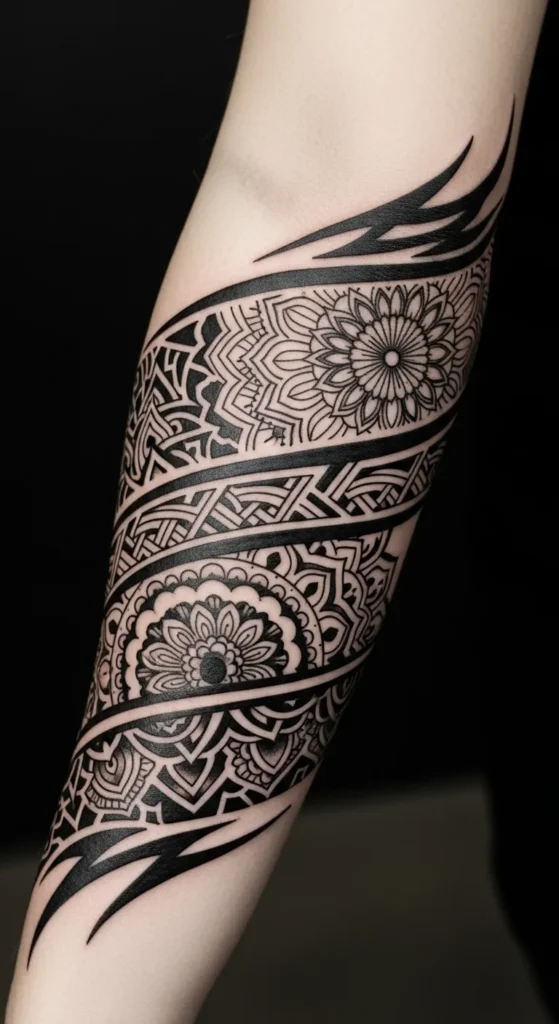
Tribal-inspired mandalas add an edge to traditional armband designs. Incorporating angular lines or chevron patterns gives the mandala a dynamic, rhythmic feel. For beginners, discuss with your tattoo artist which tribal elements complement your natural arm shape. You can also create a stencil at home to visualize the angles. This method is budget-friendly because it allows you to refine the design without multiple consultations.
5. Watercolor Mandala Accent

Watercolor-style mandalas mix soft color with precise geometry. Unlike fully colored tattoos, these use splashes of hue behind the main design, creating a painterly effect without heavy ink coverage. DIY tip: Experiment with watercolor pencils on tracing paper to plan color placement before your session. Choosing a smaller color accent keeps your tattoo affordable while still making it visually striking.
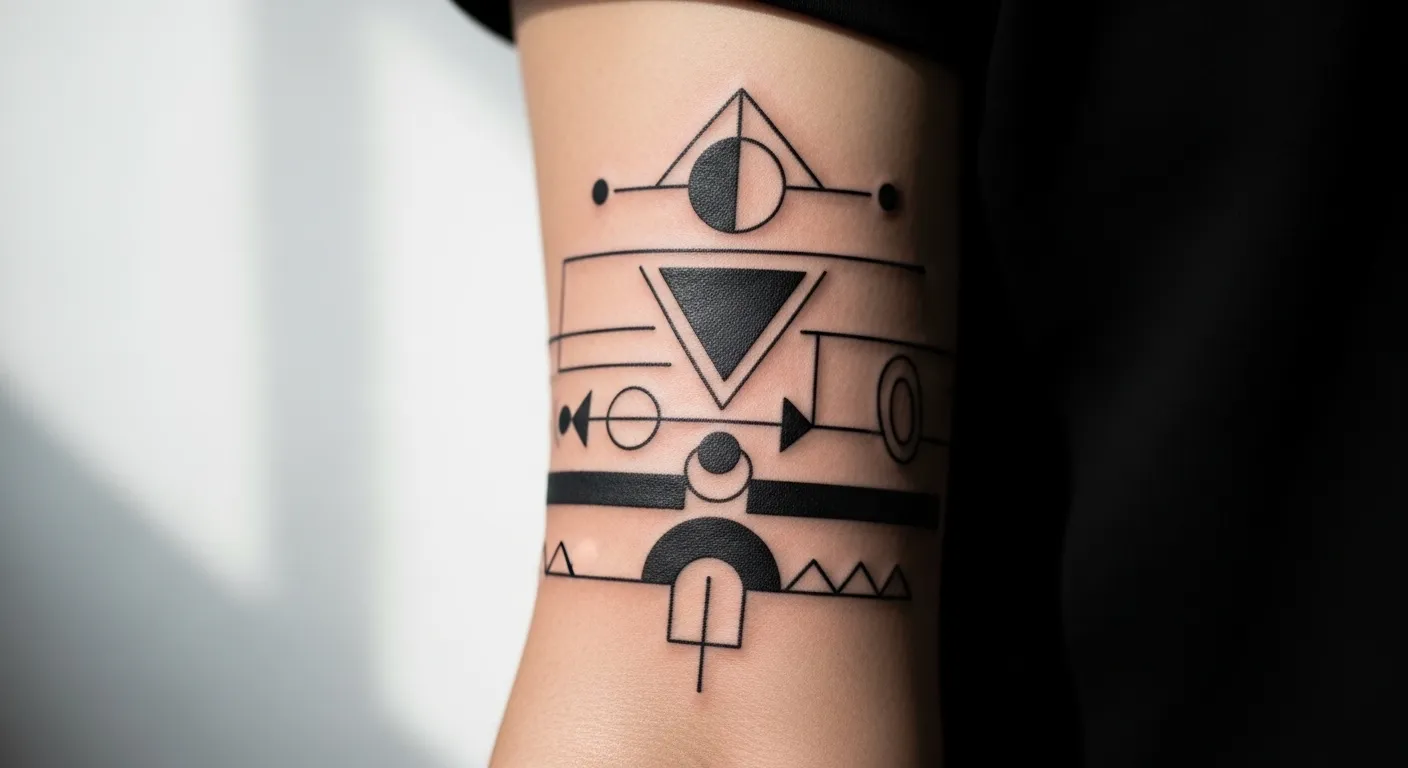
6. Symmetrical Geometric Band
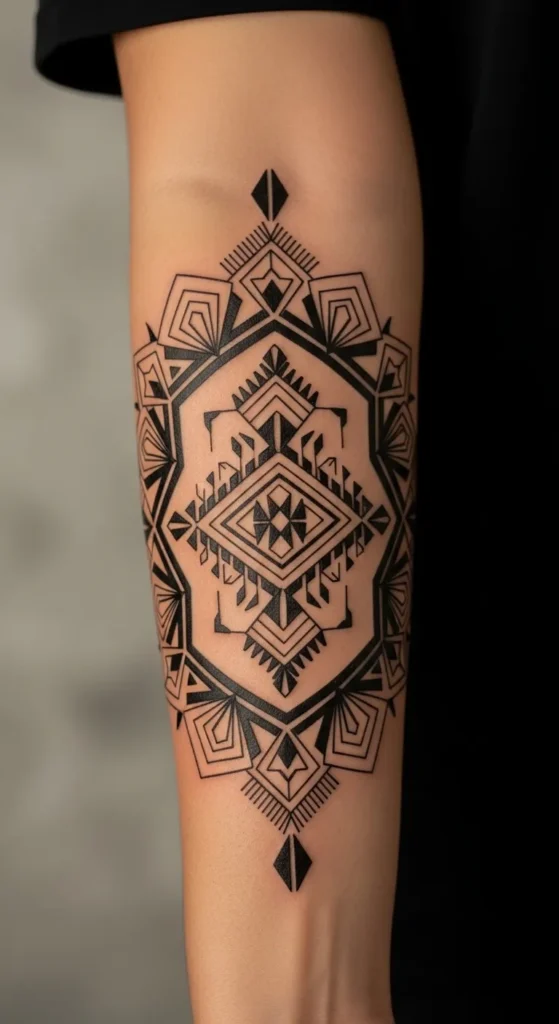
Geometric symmetry is the core of many mandalas. Using triangles, hexagons, and diamond shapes, this style emphasizes order and balance. If budget is a concern, ask your artist to focus on fewer repeating elements instead of a full band, which can save time and cost. DIY tip: Lay a ruler and stencil over your arm to map patterns and ensure alignment before tattooing.
7. Thin Line Mandala Armband

Thin-line mandalas are delicate and subtle. They are less time-intensive, which often lowers price while providing a refined look. You can sketch small stencils at home to test spacing. Thin lines also age gracefully, reducing long-term maintenance.
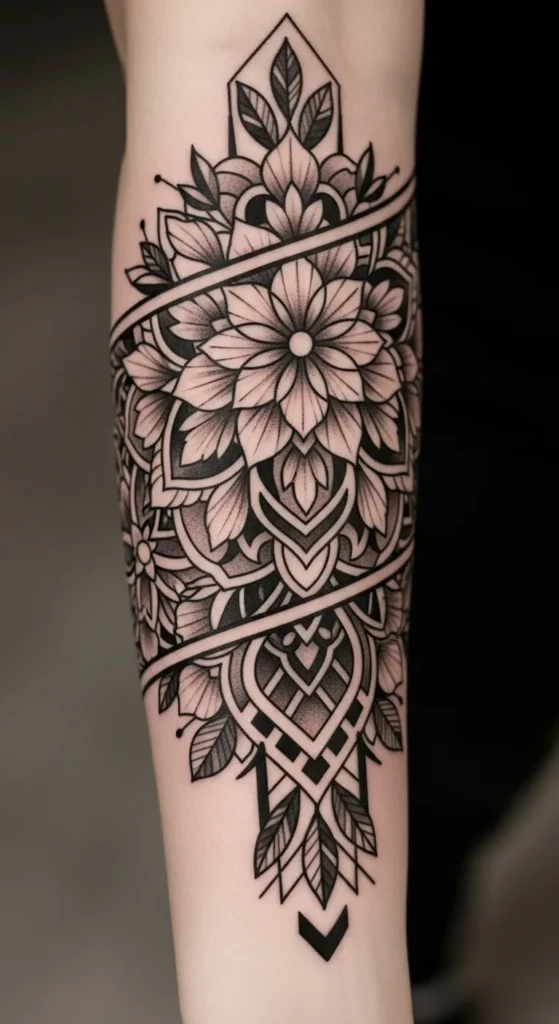
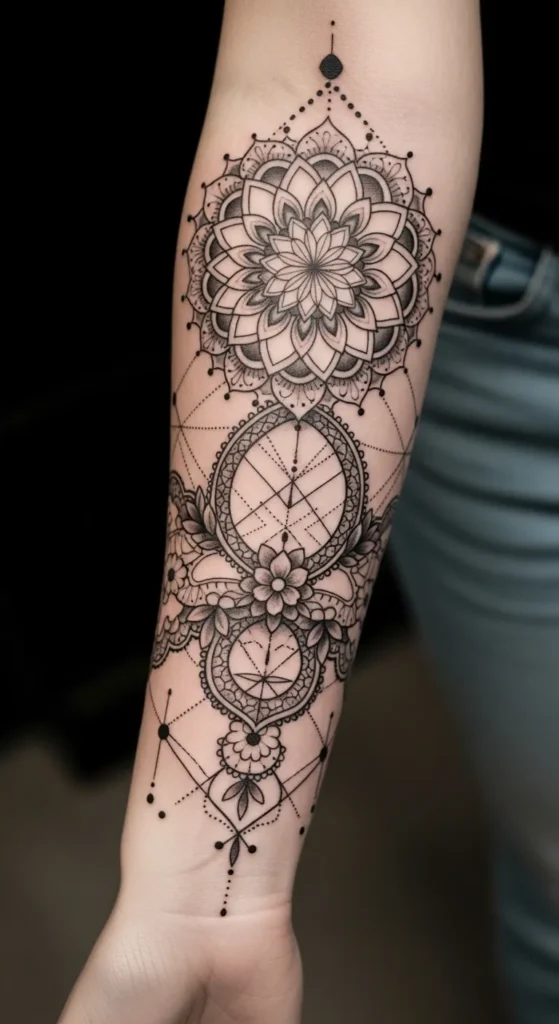
8. Multi-Layered Mandala Band
Layering mandala patterns adds depth without overcomplicating the design. Start with a single layer, then add concentric bands over multiple sessions. DIY approach: Use tracing paper to overlay layers and adjust spacing. This helps manage cost and time while achieving a rich effect.
9. Henna-Inspired Mandala
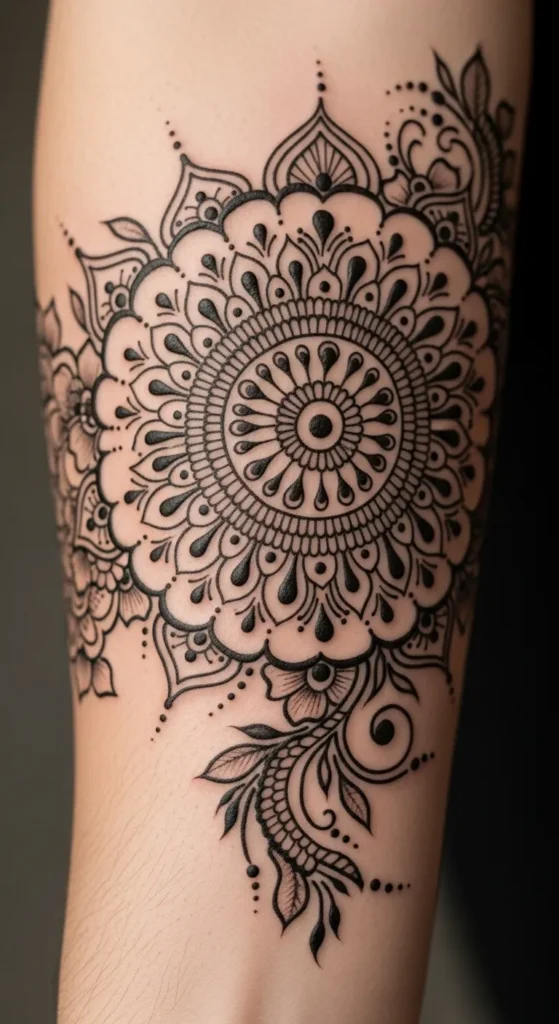
Henna-inspired designs translate beautifully into permanent ink. They feature flowing lines and floral motifs that are light yet detailed. Temporary henna trials are a budget-friendly DIY to visualize the tattoo and tweak placement before committing.
10. Mandala with Beaded Accents
Adding tiny bead or dot accents gives the armband a jewelry-like feel. These small details don’t require much extra ink, keeping the cost low. DIY tip: Use small stickers or dot pens on your arm to test placement before tattooing.
11. Mandala with Chevron Highlights
Chevron shapes add rhythm to a circular mandala. They guide the eye along the arm and can make a compact design appear more expansive. Sketching at home with tape as borders can help align patterns before your session, saving time and expense.
12. Negative Space Mandala
Negative space highlights patterns without extra ink. It gives the tattoo a modern, airy feel. DIY tip: Mark the spaces with a washable marker to see how it interacts with your skin. This approach keeps sessions short and budget-friendly.
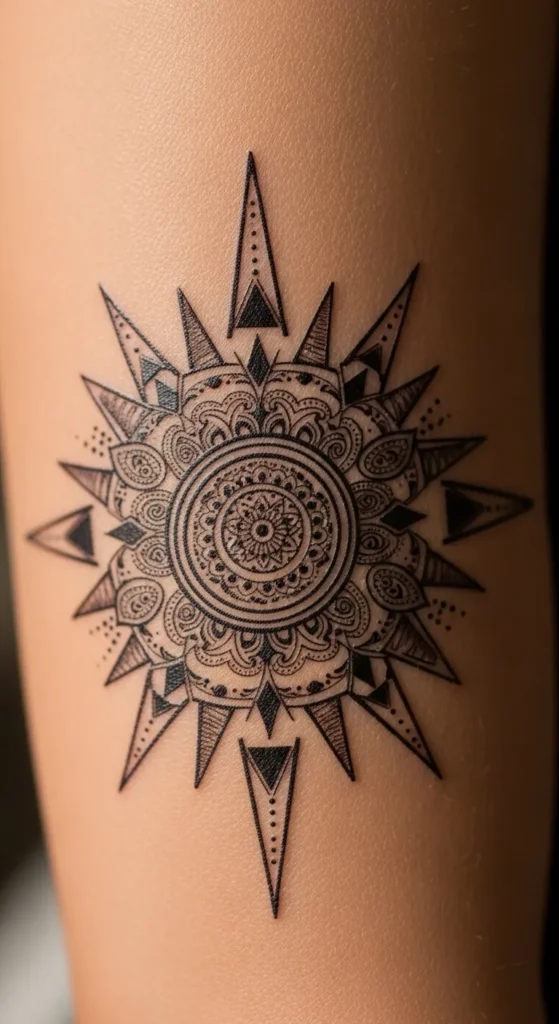
13. Sunburst Mandala Armband
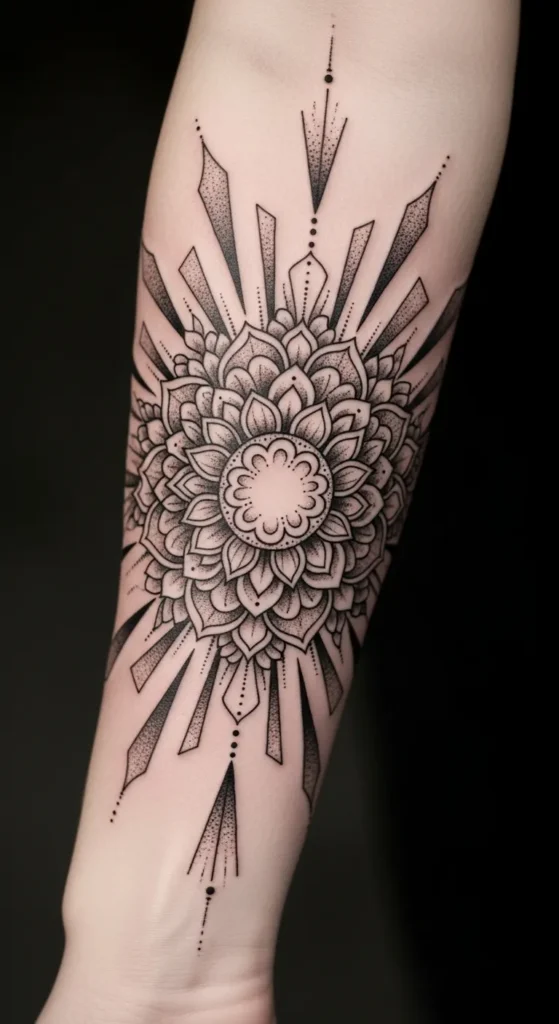
Sunburst mandalas radiate energy. Triangular rays or elongated petals add movement and intensity. For DIY planning, trace the arcs on paper and cut stencils to ensure even spacing. This method saves tattoo time and cost.
14. Tiny Pattern Repeats

Small repeating motifs make a big visual impact. Tiny triangles, diamonds, or circles form cohesive, textured patterns. They’re quick to tattoo, keeping the price reasonable. DIY tip: Map your repeats on paper to avoid alignment issues.
15. Mandala with Wave Accents

Wave accents soften geometric rigidity. Curved lines add fluidity, balancing structured mandala shapes. Test patterns with a washable marker on your arm to refine curves before committing.
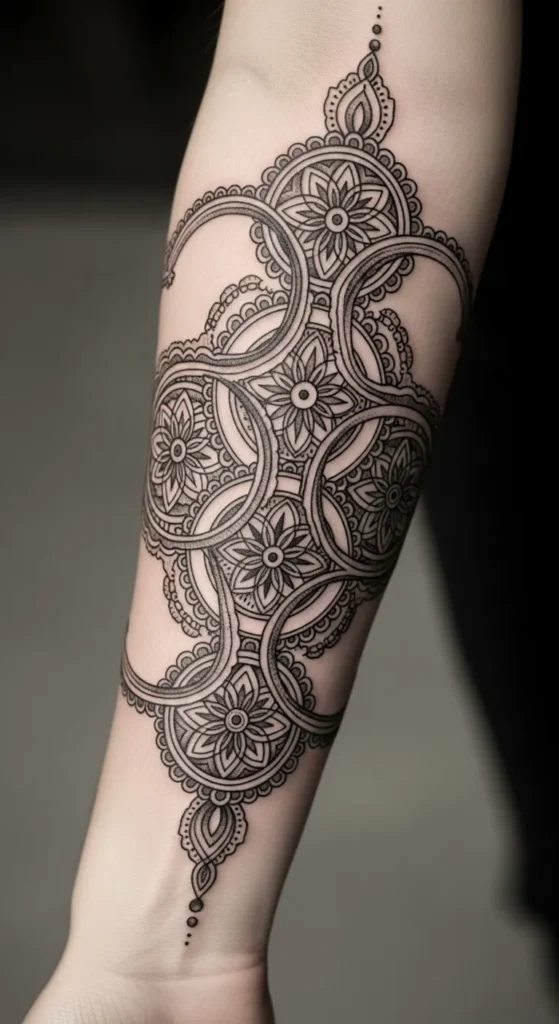
16. Lace-Style Mandala Band
Lace-inspired mandalas create an elegant, delicate look. The small loops and floral touches add texture without large areas of ink. DIY: Trace lace patterns onto your arm to experiment with placement and sizing.
17. Mandala with Leaf Motifs
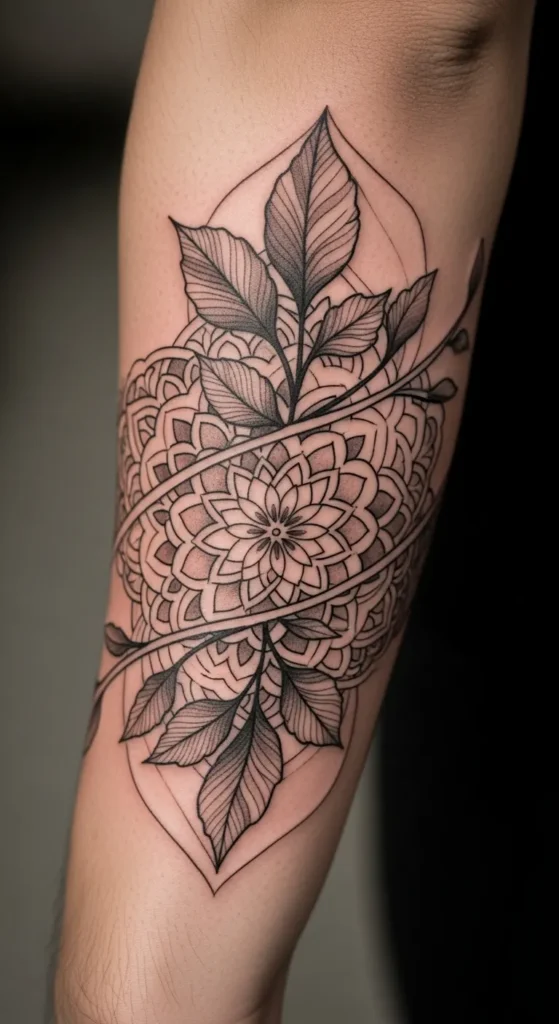
Leaves add organic curves to a structured mandala. They’re simple to scale, making the tattoo cost-effective. Draw leaf sketches on tracing paper to visualize integration before tattooing.
18. Interlocking Circles Mandala
Interlocking circles create depth and visual intrigue. You can simplify by using fewer overlaps to reduce session time. DIY: Practice connecting circles on paper or your arm with washable markers for spacing guidance.
19. Mandala with Triangle Highlights
Triangles add a crisp, angular contrast to curves. Focus on strategic placement to avoid overcomplicating the band. Mark triangles lightly with pencil or marker to preview balance and alignment.
20. Multi-Colored Dot Mandala
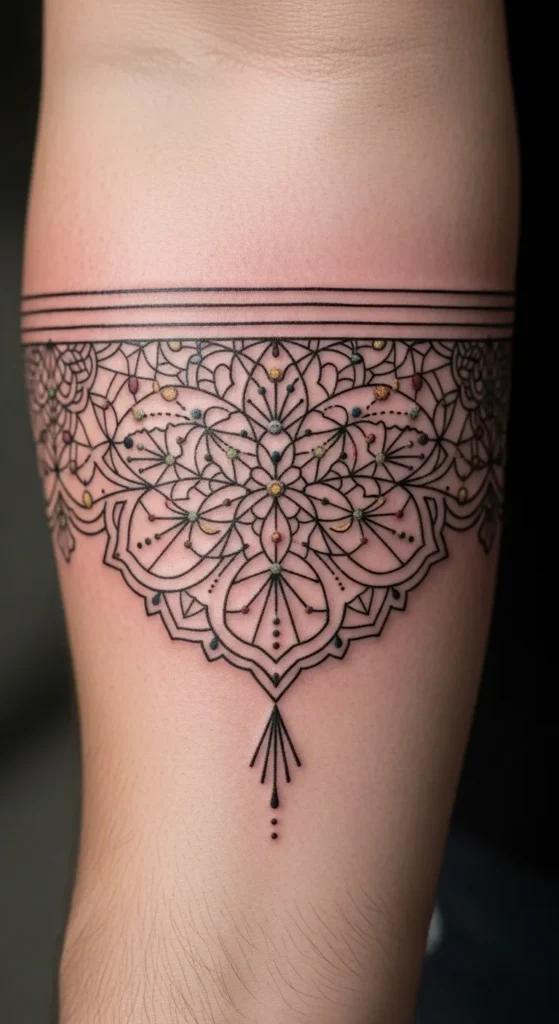
Colored dots highlight the main black outlines. Choose one or two colors to keep costs low. DIY: Use colored pencils on tracing paper to plan dot placement. This creates a playful yet refined accent.
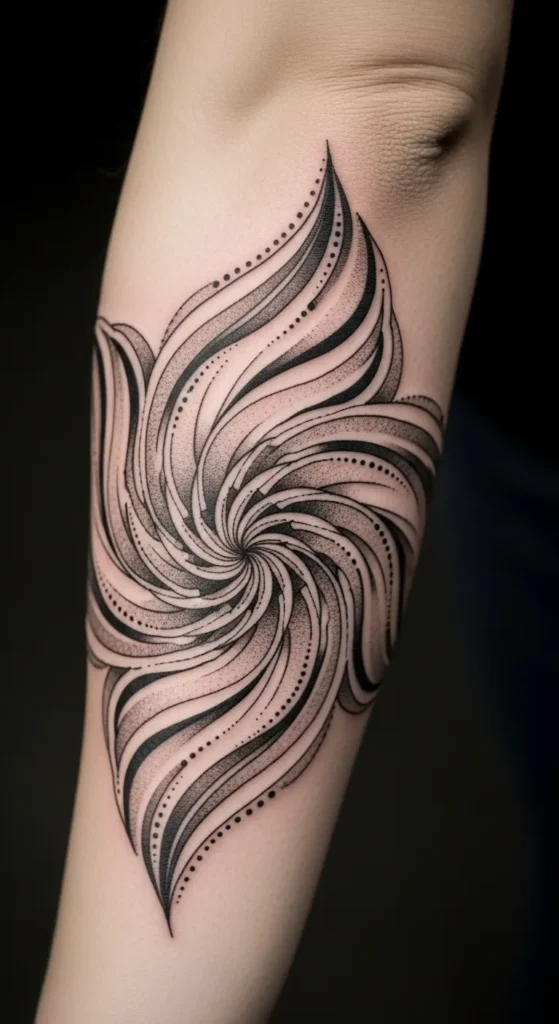
21. Mandala with Spiral Elements
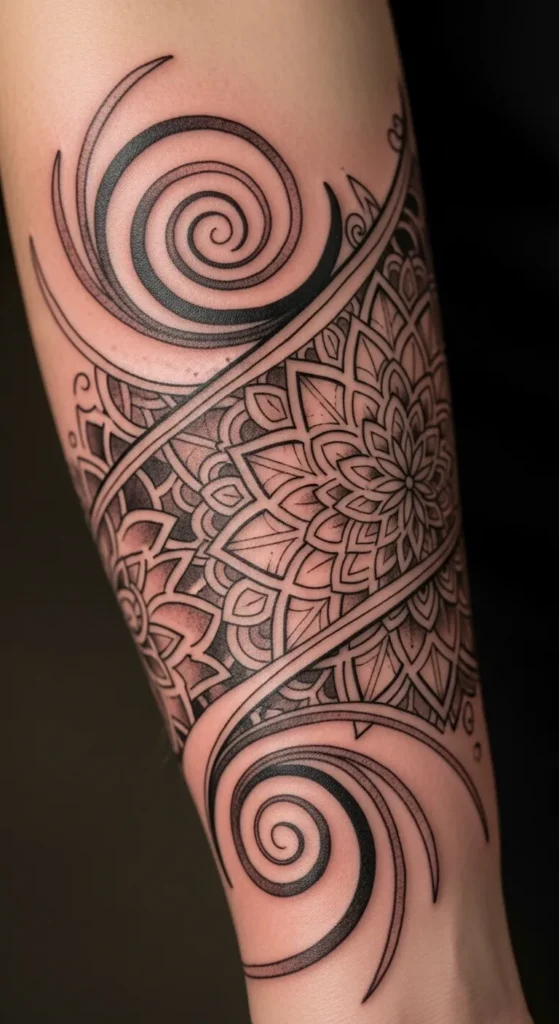
Spirals guide the eye around the armband. They introduce dynamic energy while remaining easy to tattoo. Sketch spirals lightly on paper to see how they wrap around your arm, saving session time.
22. Layered Petal Mandala
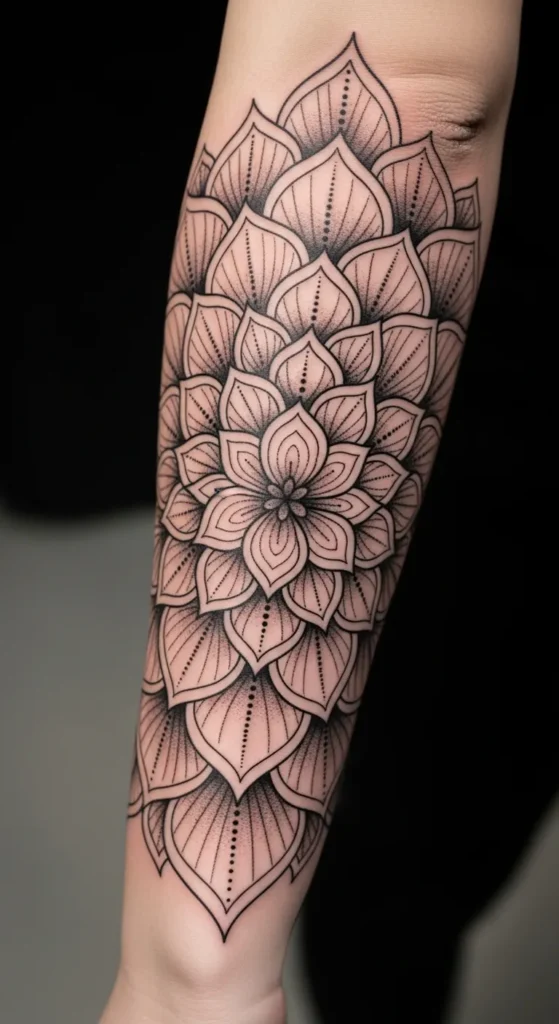
Layered petals create visual depth without clutter. Start with two layers, then expand gradually. Use tracing paper to overlay petals and tweak symmetry affordably.
23. Geometric Honeycomb Mandala
Honeycomb shapes add structure and texture. They’re compact, requiring minimal ink, which makes it budget-friendly. DIY: Map hexagons on paper or with temporary markers to test alignment.
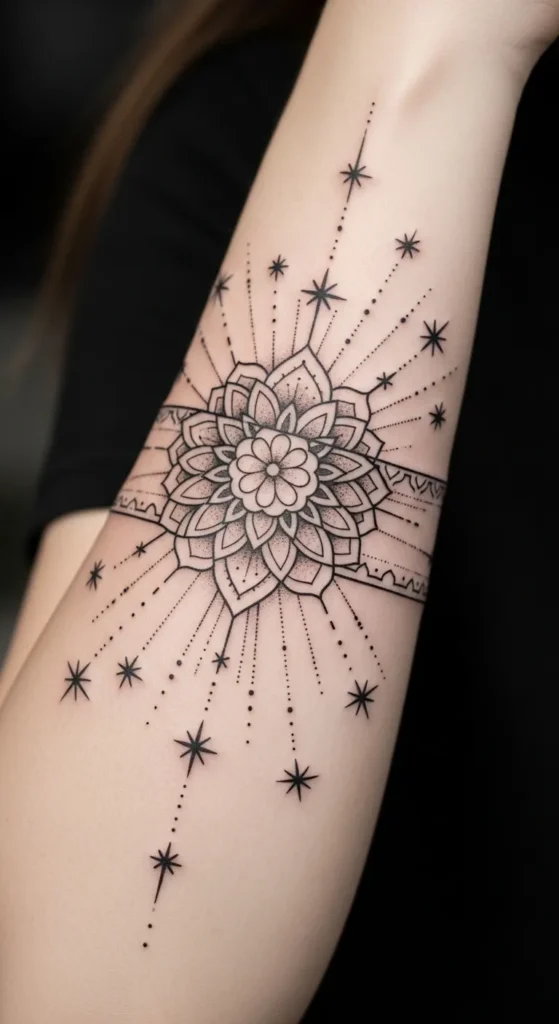
24. Mandala with Starburst Accents

Stars create sparkle and visual interest. Use minimal stars for subtle effect and lower cost. Sketch stars in varying sizes to test placement before tattooing.
25. Split Band Mandala
Segmenting the armband adds breathing room and modern style. Thin gaps reduce ink coverage and session length. DIY: Use tape to mark gaps and preview final spacing on your arm.
26. Mandala with Spiral Petals
Spiraling petals soften rigid circles and enhance movement. Start with a single spiral layer to control costs. Sketch with markers on tracing paper for accurate shaping.
27. Mandala Infinity Loop
Incorporating infinity loops adds meaning and continuity. Use thin lines to minimize cost and session time. DIY: Draw loops lightly on tracing paper to test proportions and integration.
28. Mandala with Chevron and Dot Combo
Combining chevrons and dots creates texture without heavy ink coverage. This approach gives a rich, layered effect while remaining budget-conscious. Test layouts on paper to avoid errors and save session time.
Conclusion
Mandala armband tattoos offer endless possibilities for creativity, style, and personal expression. Whether you choose thin-line minimalism, floral curves, or bold geometric patterns, there’s a design to match your taste and budget. Experiment with sketches, stencils, and temporary designs to refine your ideal look. With careful planning and practical tips, you can achieve an artistic, eye-catching mandala armband that suits your lifestyle and personality.