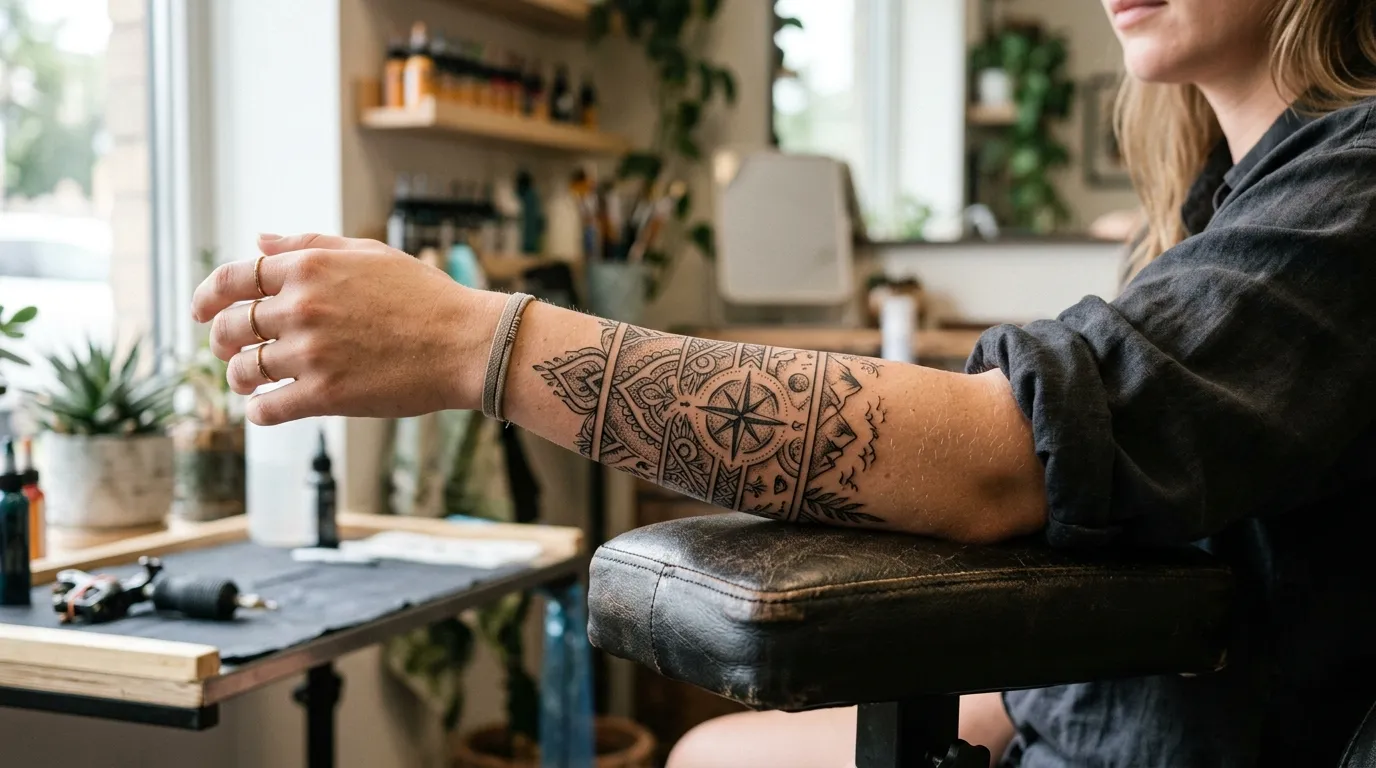



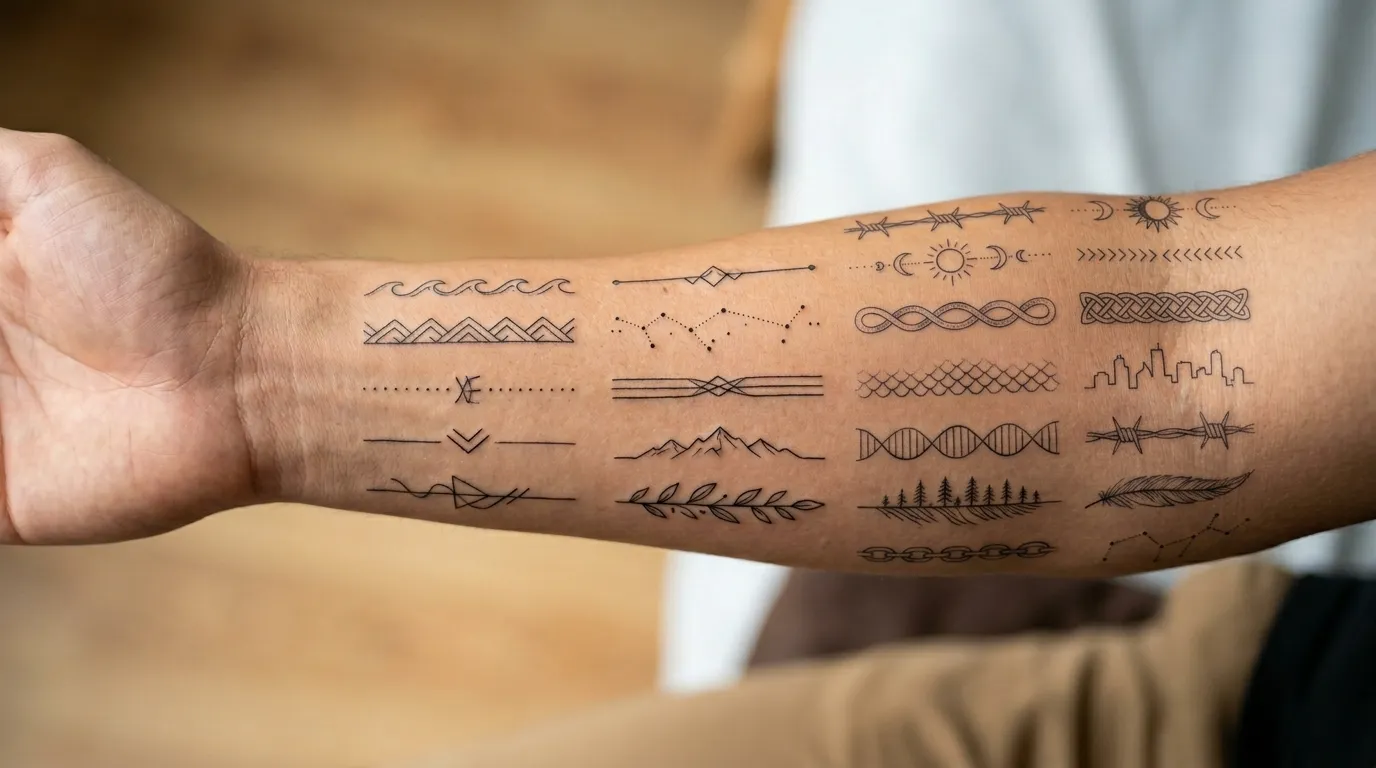
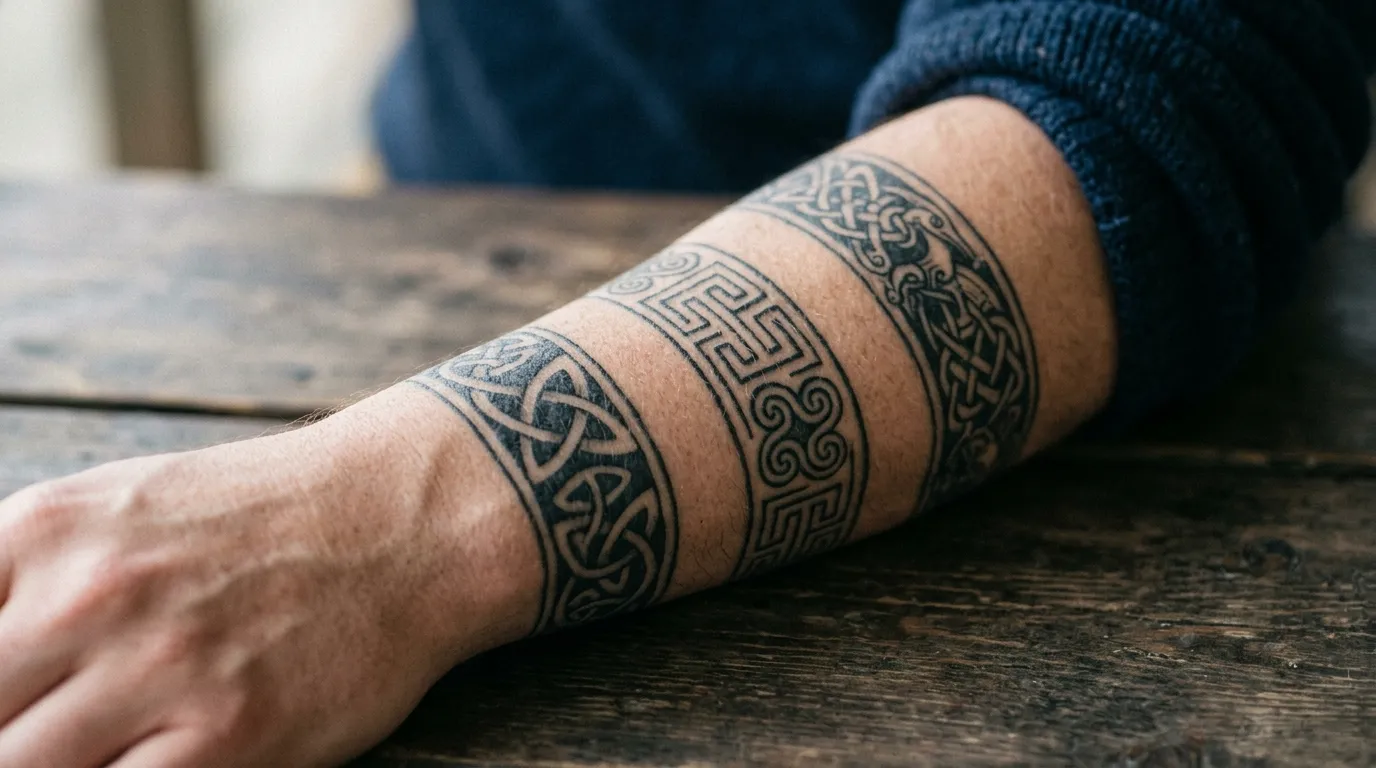
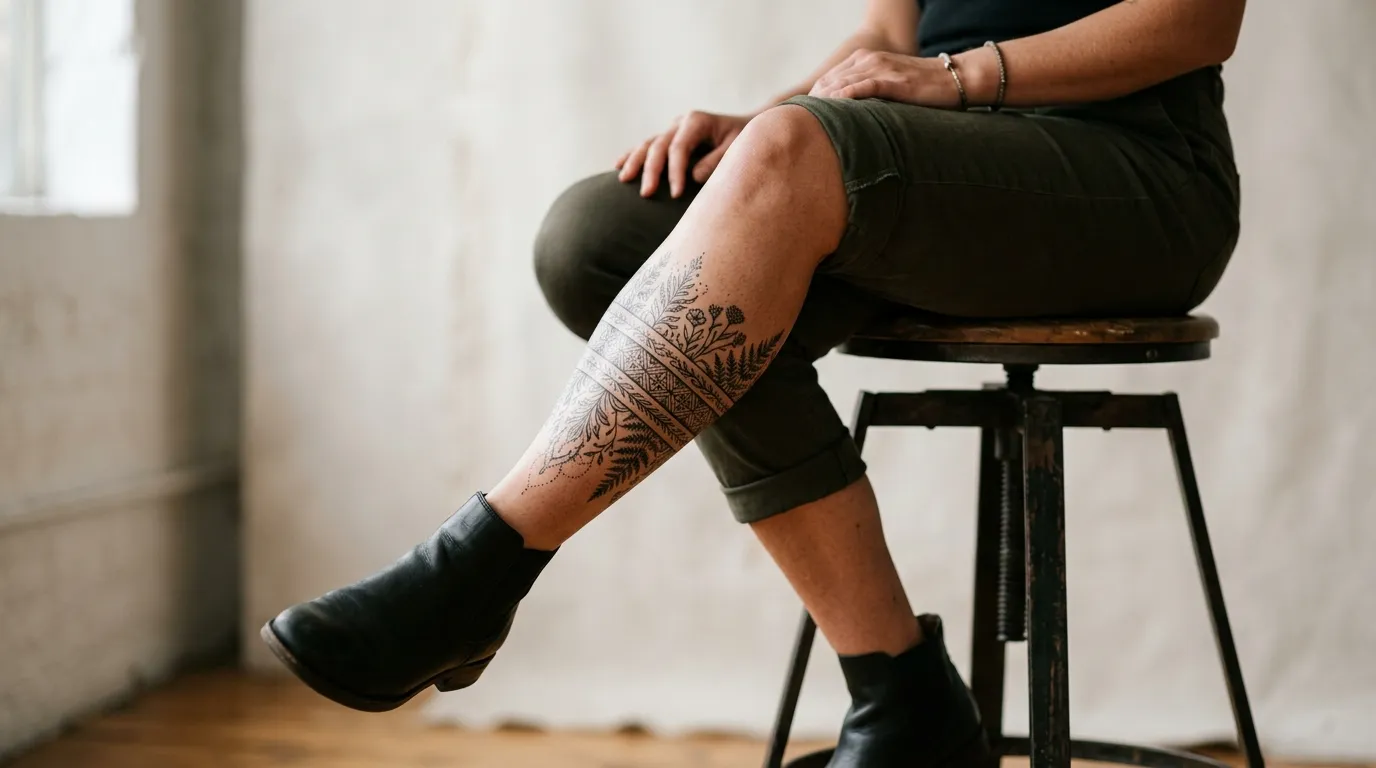
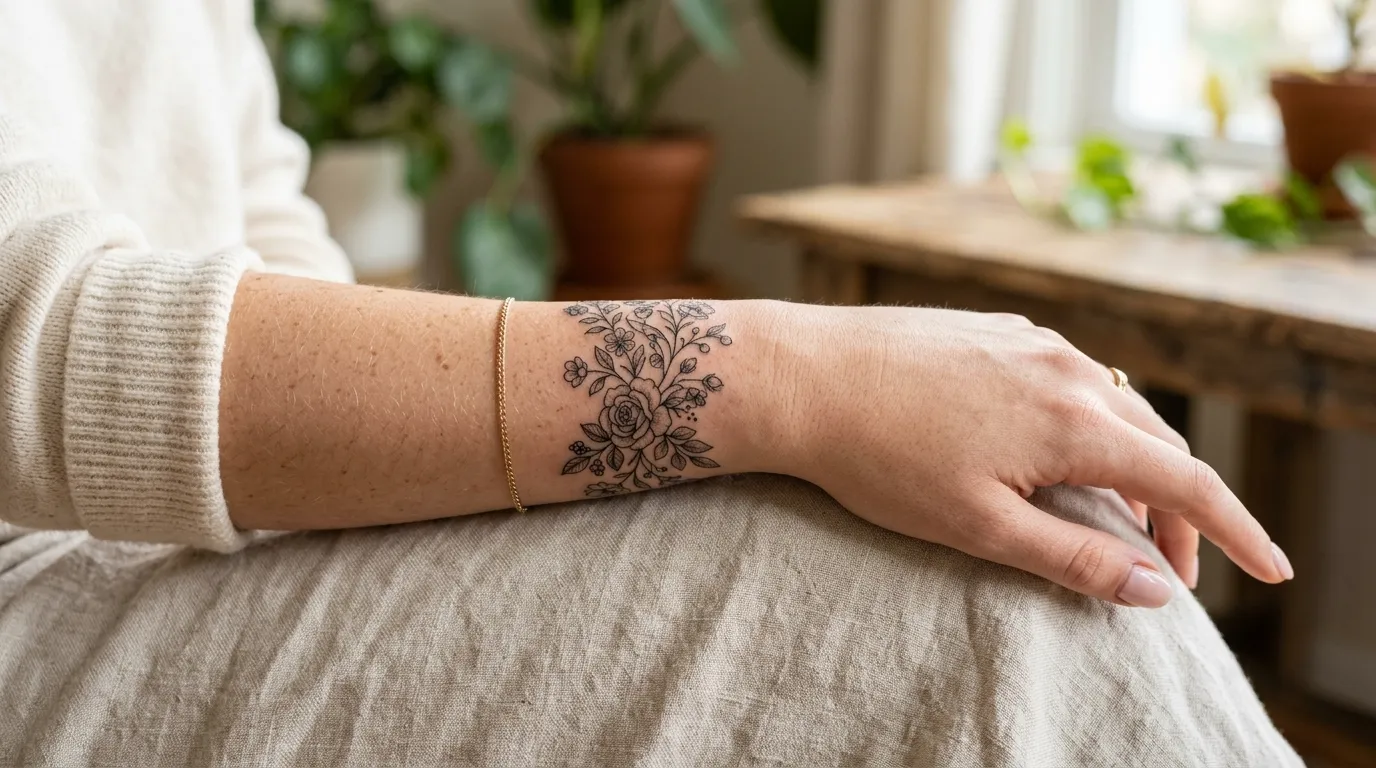


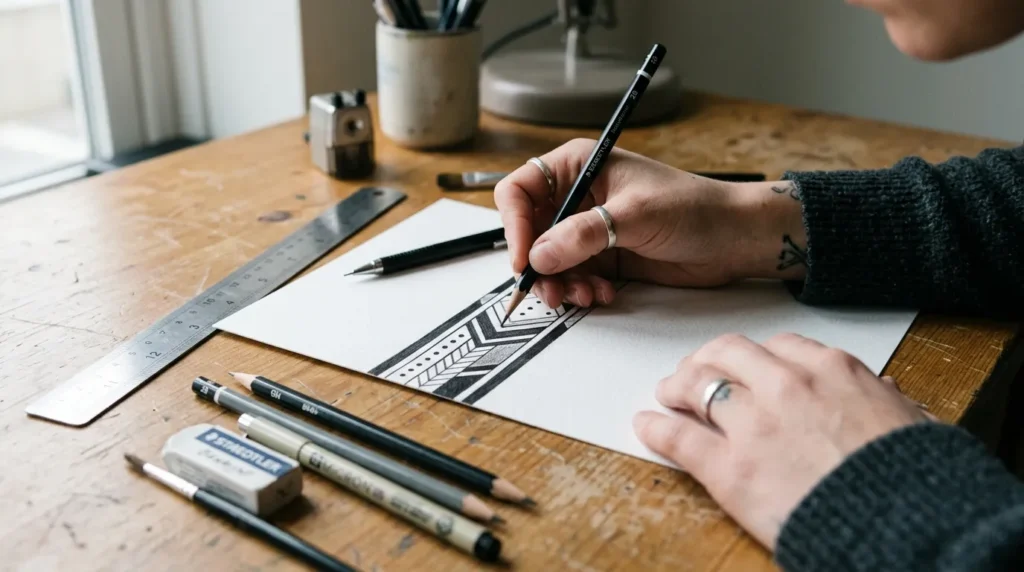
Band tattoos have a timeless appeal. Whether you prefer a simple black armband, a geometric pattern, or a detailed tribal-inspired design, a well-drawn band tattoo can look bold, stylish, and incredibly clean. The secret is not just creativity—it’s careful planning and precise drawing.
If you want your design to wrap smoothly around an arm or leg without looking uneven, a few simple techniques can make a huge difference. Here’s how to create a band tattoo design that looks polished and professional from the very beginning.
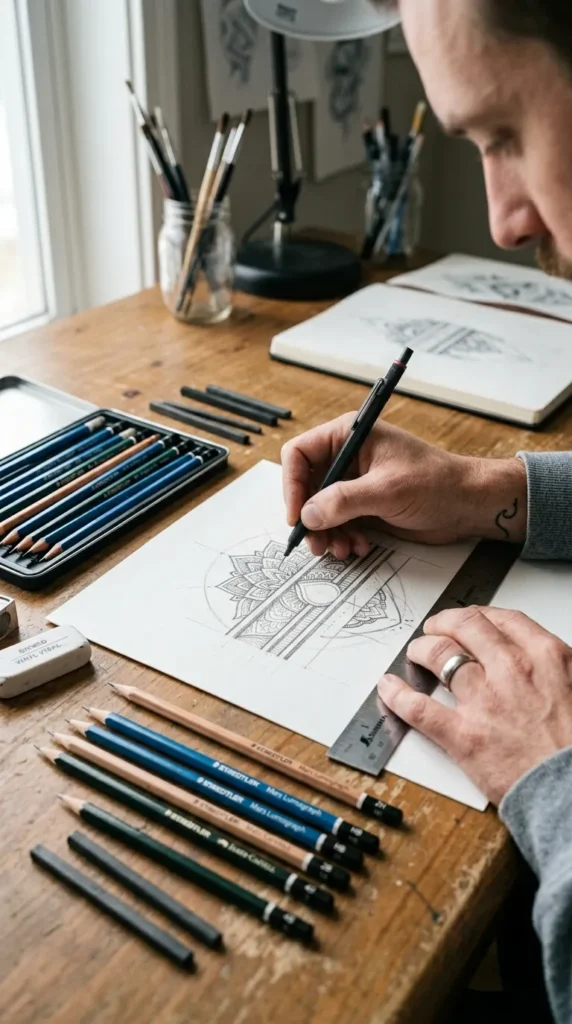
Understand the Shape of the Body
Before drawing anything, remember that a band tattoo wraps around a curved surface. A design that looks perfect on flat paper may appear distorted once it is placed on an arm or leg.
Keep these points in mind:
- Measure the area where the tattoo will be placed.
- Think about how the design connects when the ends meet.
- Avoid elements that may look stretched when wrapped around the body.
- Consider the width of the band before adding details.
A simple outline around a cylindrical object, such as a bottle or rolled paper, can help you visualize how the tattoo will look when wrapped around a limb.
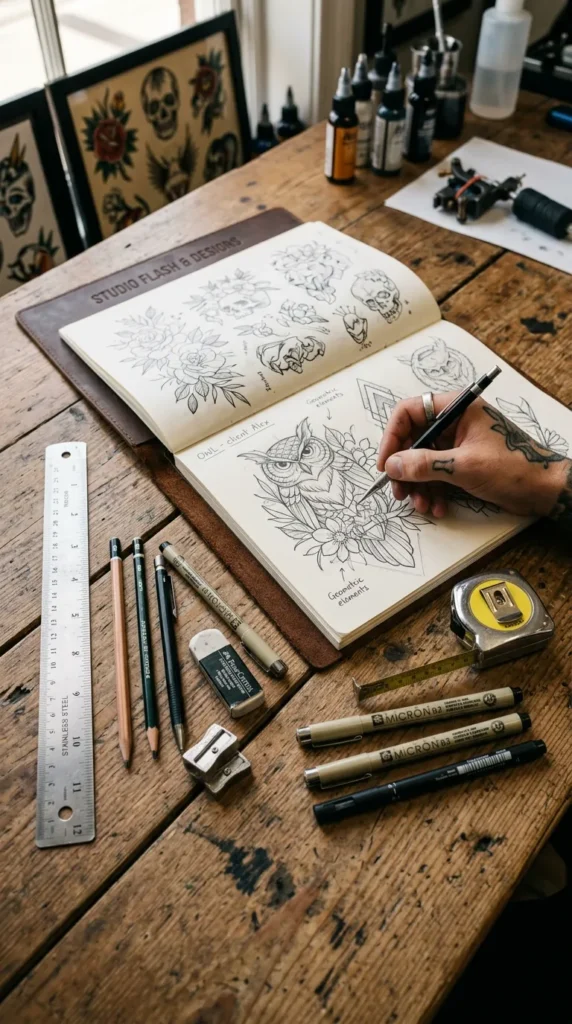
Gather the Right Drawing Tools
Professional-looking designs often start with accurate tools.
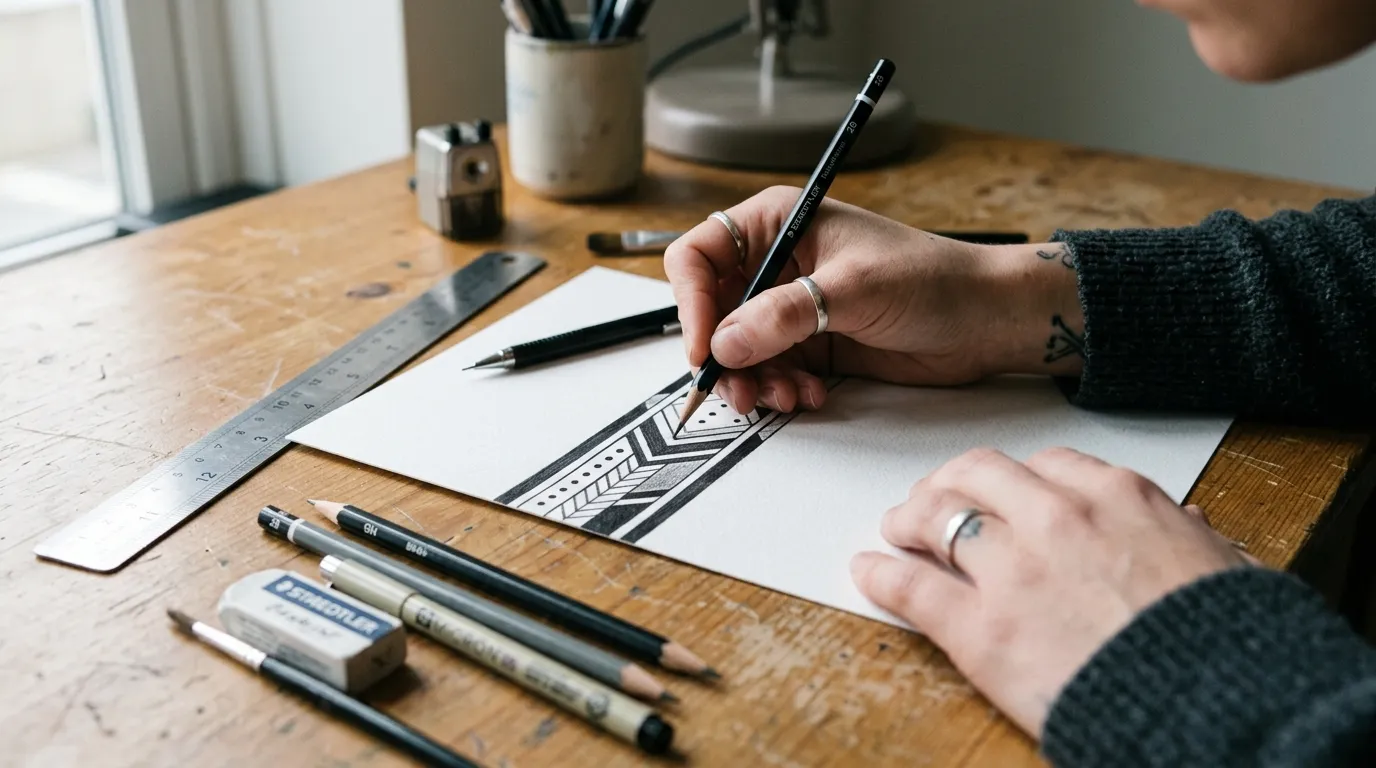
Useful supplies include:
- Sketchbook or drawing paper
- Pencil and eraser
- Fine-tip ink pen
- Ruler
- Flexible measuring tape
- Compass or circle template (if needed)
Using a ruler is especially important because uneven lines are one of the most noticeable flaws in band tattoo designs.
Create a Clean Band Template
A template helps maintain consistent spacing throughout the design.
Steps:
- Draw two parallel lines using a ruler.
- Decide on the width of the band.
- Keep the spacing identical from start to finish.
- Extend the lines long enough to represent the full circumference of the tattoo area.
Think of the template as the foundation of your design. A strong foundation makes every decorative element look more professional.
Popular Width Options
- Thin bands for a minimalist style
- Medium bands for geometric patterns
- Wide bands for detailed artwork and shading
Starting with a template also makes it easier to experiment without ruining the final design.
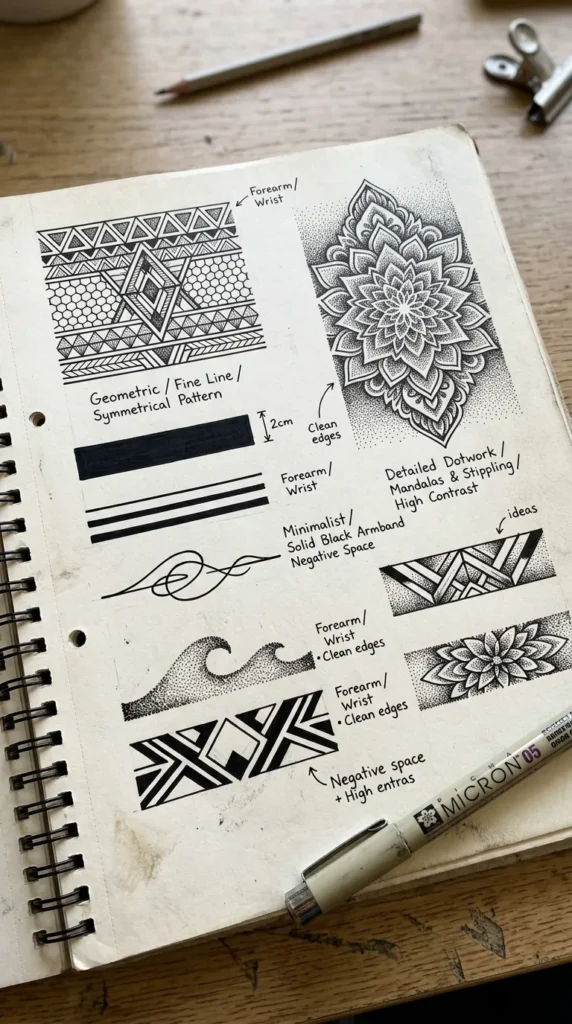
Choose a Style That Matches Your Vision
The design inside the band is what gives it personality.
Popular options include:
- Solid black bands
- Geometric patterns
- Dotwork designs
- Nature-inspired elements
- Tribal-inspired motifs
- Mandala details
- Linework patterns
When selecting a style, focus on consistency. Mixing too many design elements can make the tattoo feel cluttered.
Sketch the Design Lightly First
Resist the urge to ink immediately.
Use light pencil strokes to:
- Experiment with spacing
- Test pattern repetition
- Adjust proportions
- Refine symmetry
Band tattoos often rely on repeating elements. Draw one section first, then repeat it across the template to ensure the pattern flows naturally.
If the design includes geometric shapes, double-check that each section matches the others in size and placement.
Focus on Symmetry and Balance
One reason professional tattoo designs look so polished is balance.
Ask yourself:
- Are the elements evenly spaced?
- Do patterns repeat consistently?
- Is the center point clearly defined?
- Does the design feel too crowded?
A simple trick is to fold tracing paper over the design or use a ruler to compare measurements across different sections.
Small adjustments at this stage can dramatically improve the final appearance.
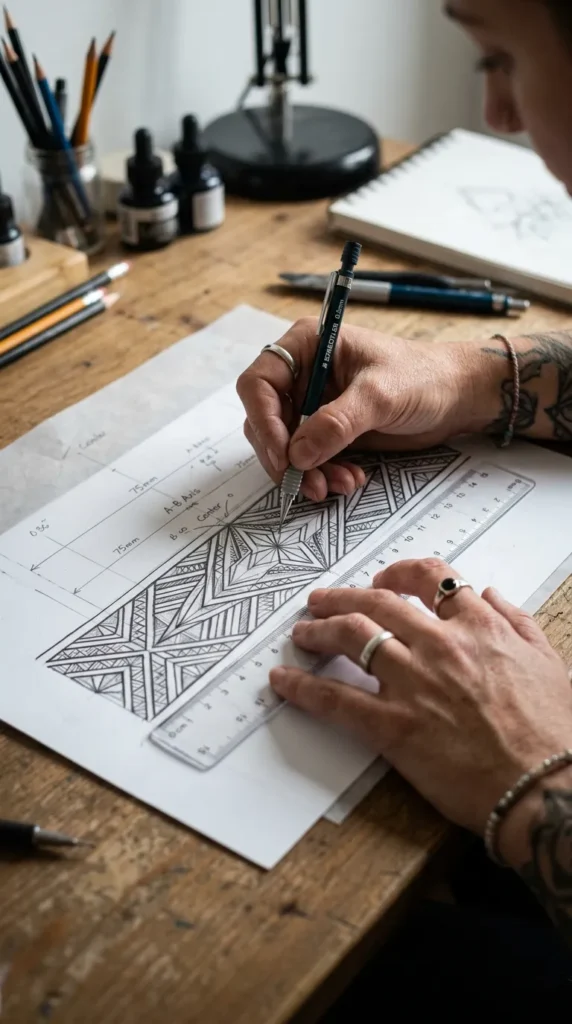
Refine the Linework
Once you’re satisfied with the sketch, begin creating cleaner lines.
Tips for professional-looking linework:
- Use smooth, confident strokes.
- Avoid repeatedly tracing over lines.
- Keep line thickness consistent.
- Erase unnecessary construction marks.
Clean linework helps tattoo artists understand your vision and makes the design easier to transfer into a stencil later.
If a section looks messy, redraw it rather than trying to patch it repeatedly.
Test the Wraparound Effect
Before calling the design finished, check how it looks when wrapped.
You can:
- Tape the drawing around a bottle.
- Wrap it around a rolled sheet of paper.
- Print and test-fit the design around the intended body area.
Look closely at where the ends meet.
Questions to ask:
- Does the pattern connect smoothly?
- Is there a visible break?
- Do repeating elements line up correctly?
Making adjustments now prevents problems later.
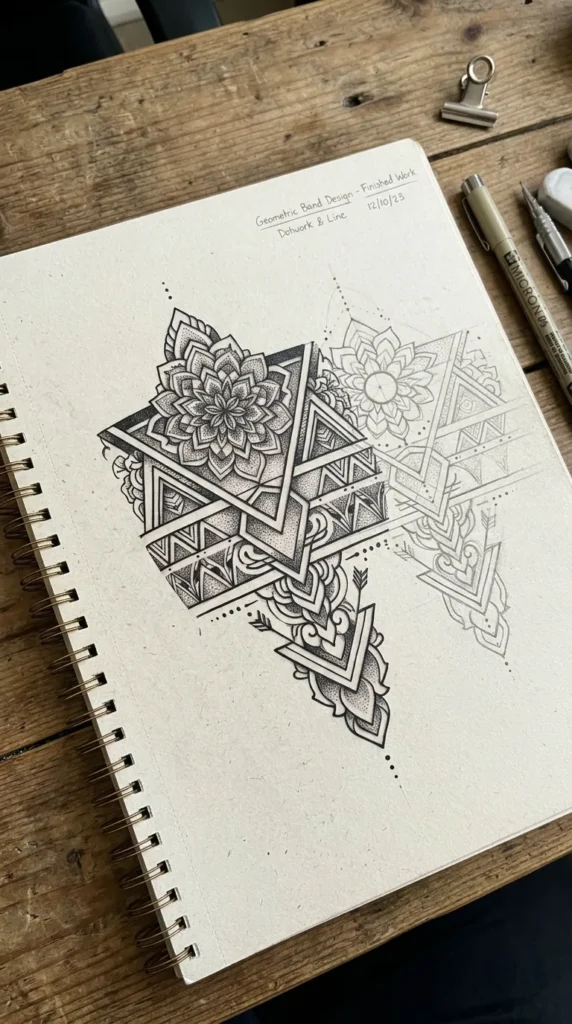
Add Final Details Carefully
Details can elevate a simple band tattoo, but moderation is important.
Consider adding:
- Dot shading
- Small texture patterns
- Negative space accents
- Fine decorative borders
Avoid overloading the design with tiny details that may become difficult to reproduce consistently.
A clean design usually ages better visually than one packed with excessive decoration.
Final Thoughts
Drawing a band tattoo design is all about precision, planning, and balance. By starting with a strong template, choosing a consistent style, and paying attention to symmetry, you can create artwork that looks clean and professional before it ever reaches the tattoo chair.
Take your time, refine your sketch, and test the wraparound effect before finalizing the design. The extra effort will help ensure your tattoo concept looks polished from every angle.
Save this guide for later and use it as a reference whenever you’re planning your next band tattoo design!