
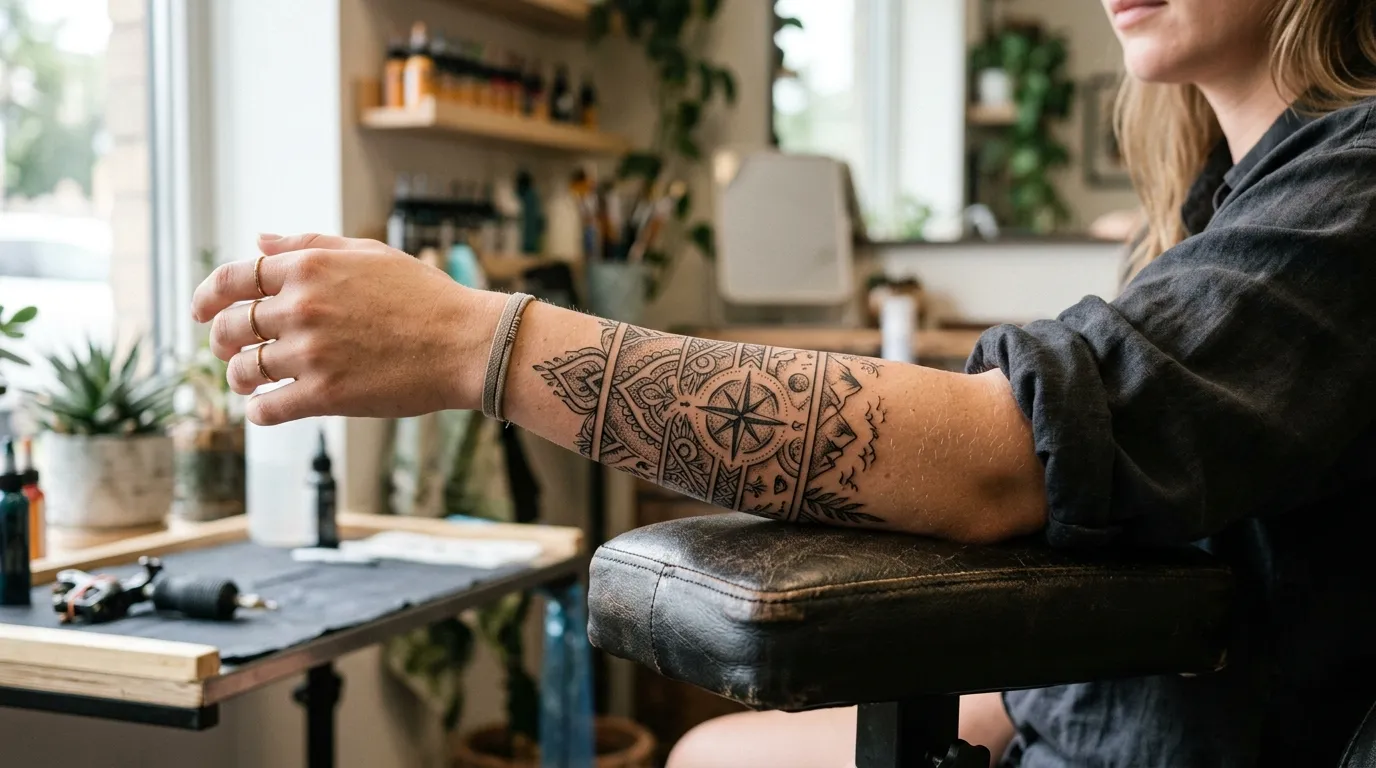



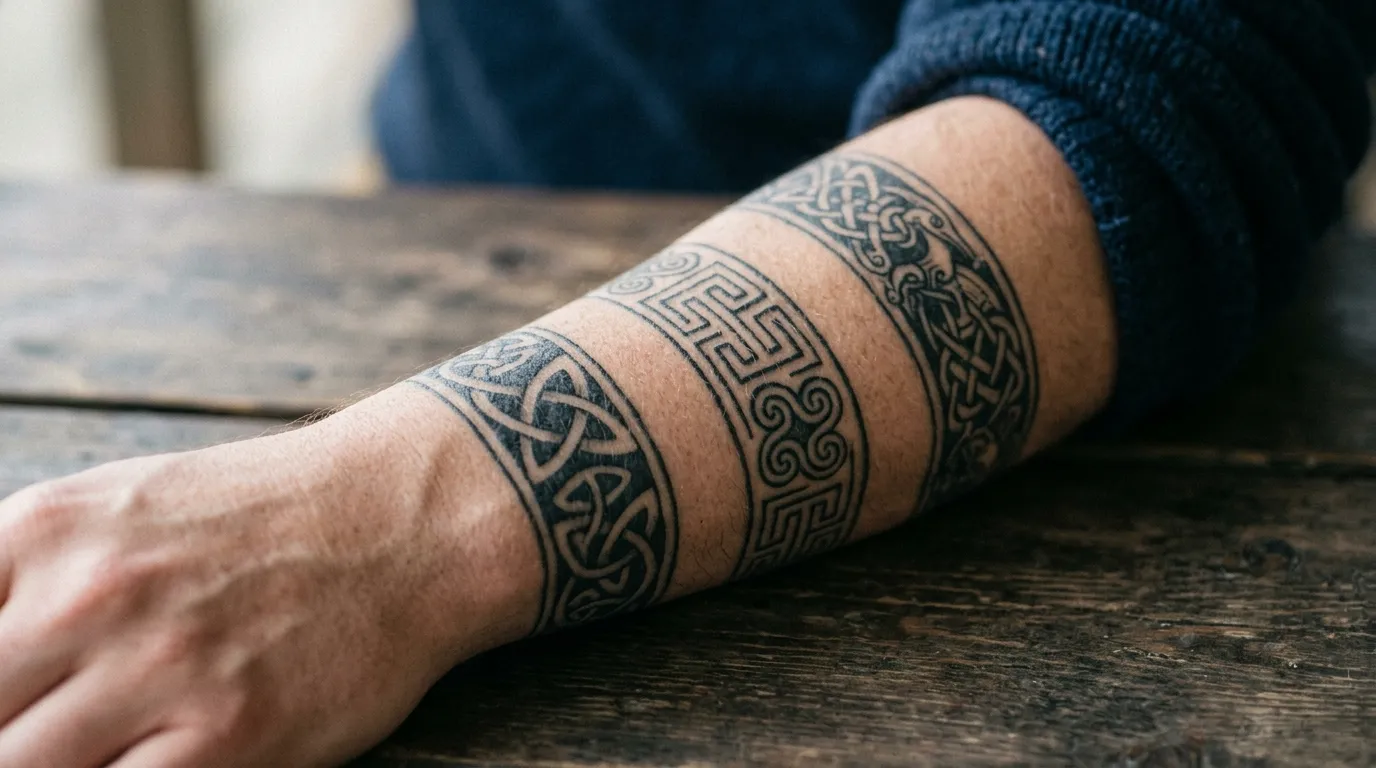

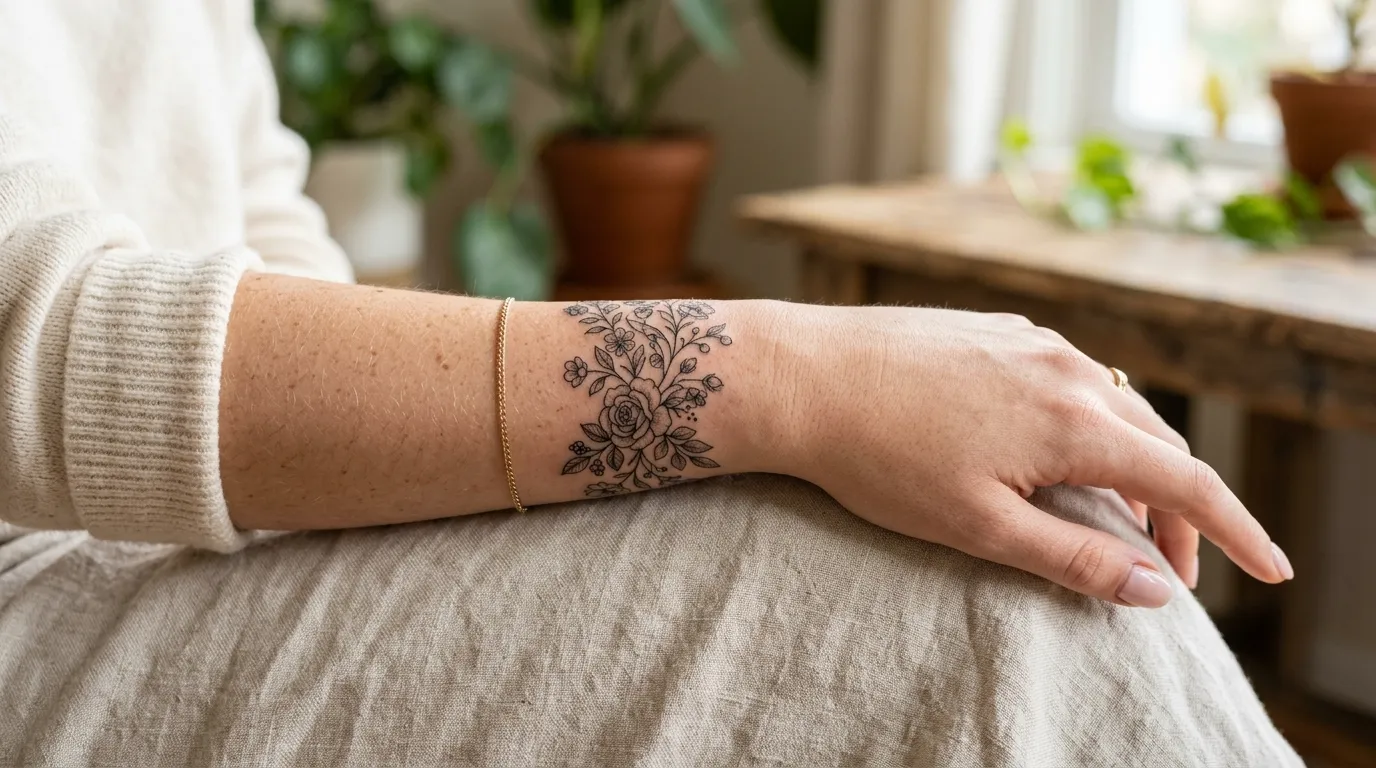



A clean armband tattoo can look bold, stylish, and timeless. Whether you prefer a simple black band or a more detailed pattern, one thing makes all the difference: a well-made stencil. Without a precise stencil, even the best design can end up looking uneven once it wraps around the arm.
The good news is that creating a simple armband tattoo stencil doesn’t require complicated tools or advanced drawing skills. With a little planning and patience, you can create a guide that helps achieve a sharp and balanced result.

Gather Your Basic Materials
Before you start, make sure you have everything ready.
You’ll need:
- Plain paper or tracing paper
- Pencil and eraser
- Ruler or measuring tape
- Compass or circular template (optional)
- Fine-tip marker
- Scissors
- Stencil transfer paper (if creating a tattoo-ready stencil)
Having the right tools nearby helps keep the process smooth and accurate.
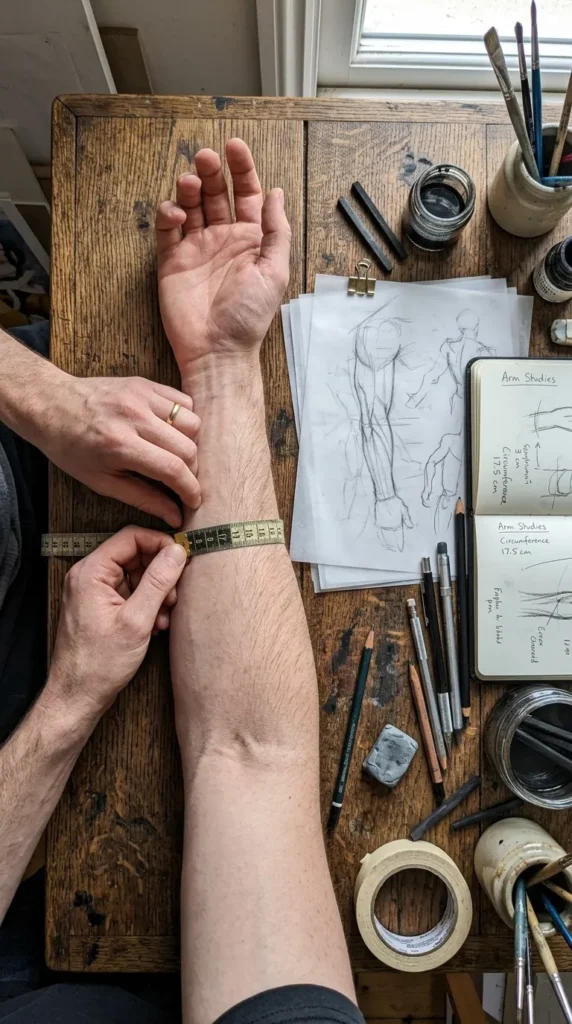
Measure the Area Carefully
One of the biggest mistakes people make is designing a band without measuring the arm first.
Wrap a flexible measuring tape around the area where the tattoo will sit and record:
- Circumference of the arm
- Desired width of the band
- Placement location
Remember that arms are not perfectly cylindrical. The upper arm and forearm often taper slightly, so precise measurements are important.
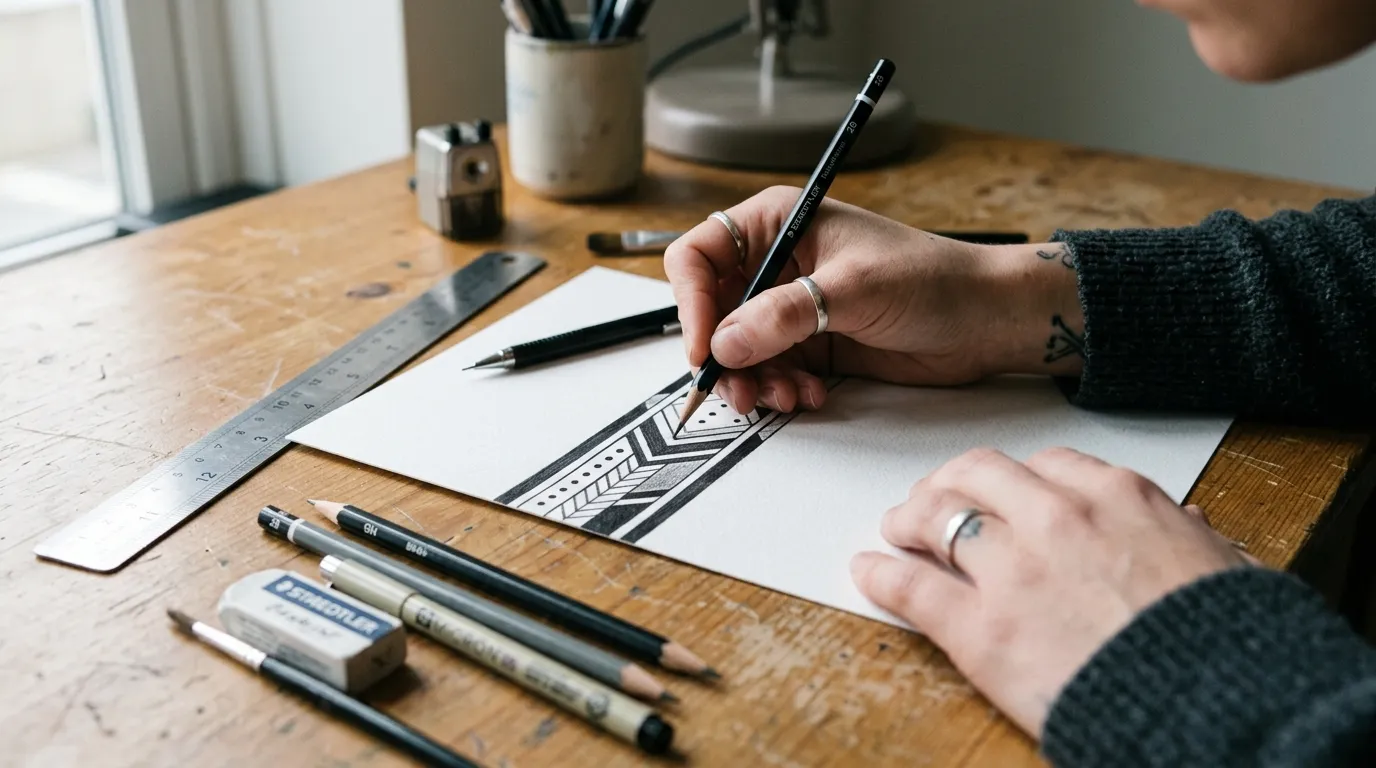
Create a Straight Band Template
Now it’s time to draw the foundation of your stencil.
On a piece of paper:
- Draw two long parallel lines.
- Keep the width equal to your planned tattoo size.
- Use a ruler to ensure both lines remain perfectly straight.
- Make the length match your arm circumference measurement.
This rectangular shape becomes the base of your armband design.
For a minimalist tattoo, this may be all you need.
For decorative styles, you’ll add details inside these borders.
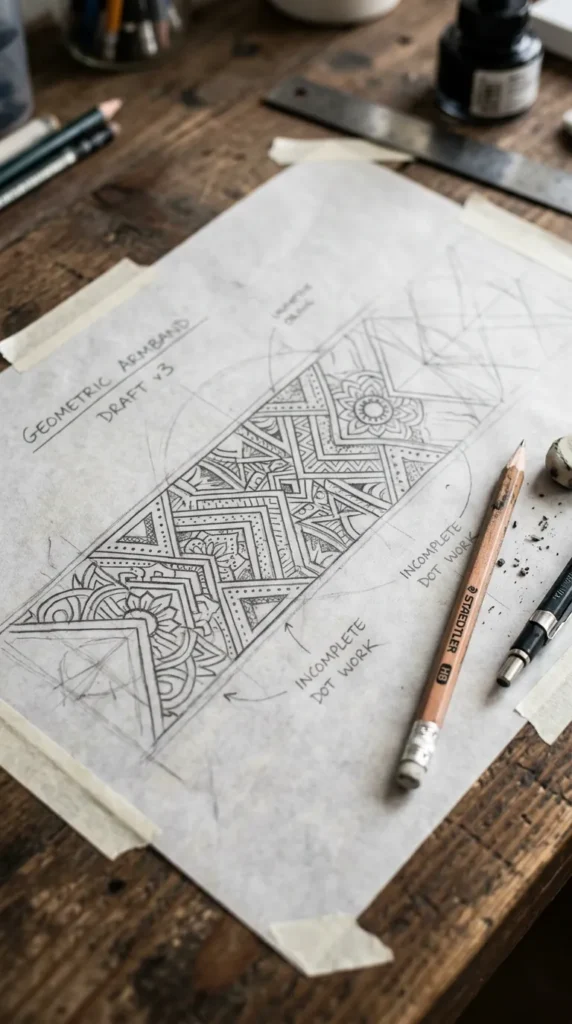
Add Your Design Elements
Once the outer shape is complete, you can personalize the stencil.
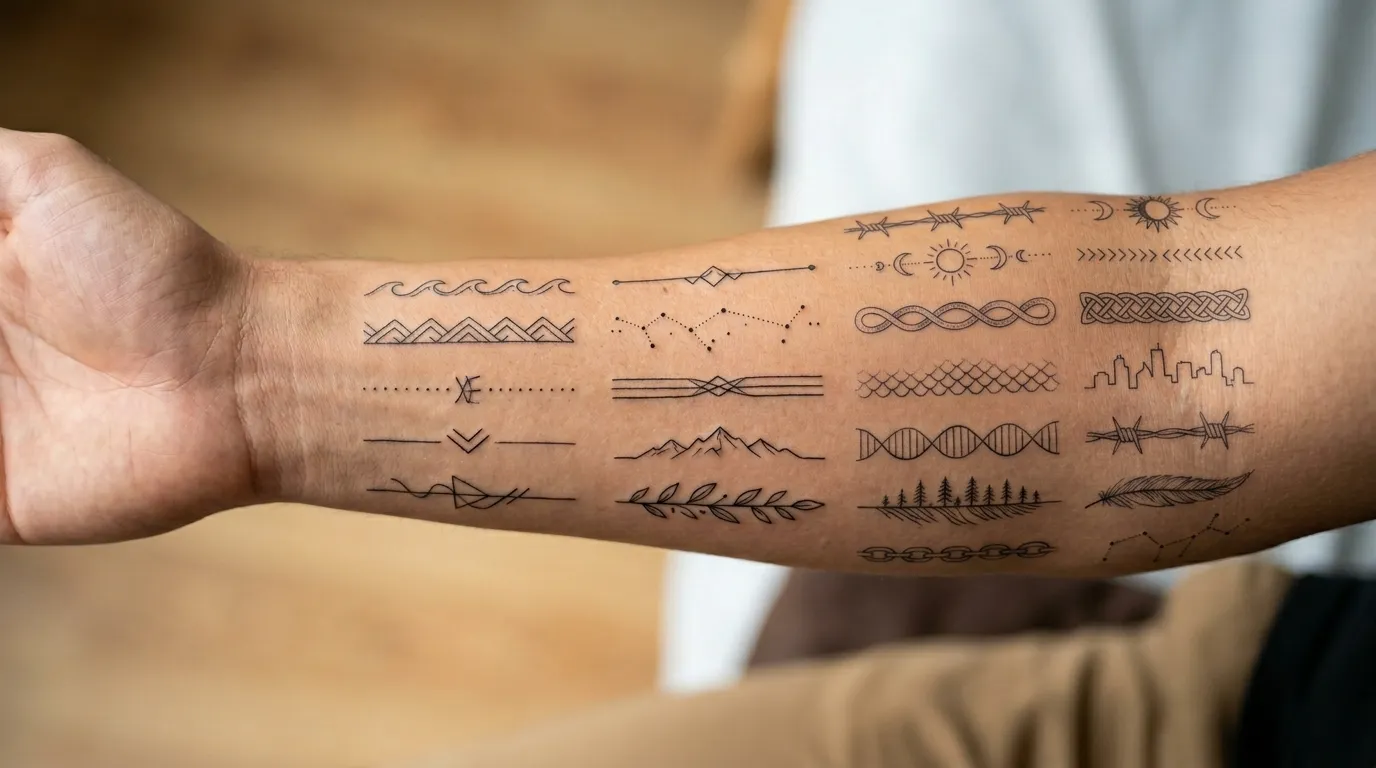
Popular armband ideas include:
- Geometric patterns
- Tribal-inspired shapes
- Mountain silhouettes
- Waves
- Dotwork details
- Floral accents
- Simple linework
Try to keep the design balanced from one end of the stencil to the other. Repeating patterns often work best because they maintain consistency around the arm.
Check the Wraparound Alignment
This step is often overlooked, but it’s incredibly important.
Cut out your stencil and wrap it around your arm.
Look for:
- Gaps between the ends
- Overlapping sections
- Misaligned patterns
- Uneven spacing
If the design doesn’t meet properly where the ends connect, make adjustments before moving forward.
A few extra minutes here can prevent noticeable flaws later.
Quick Alignment Tips
- Use light pencil lines first.
- Mark the center point of the design.
- Mirror repeating patterns.
- Test the stencil multiple times.
Transfer the Design to Stencil Paper
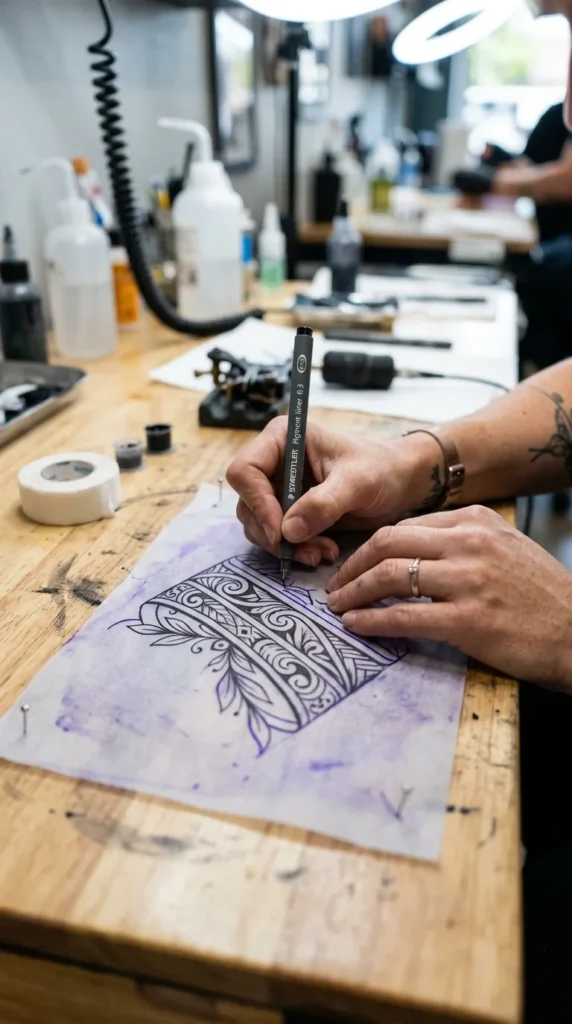
Once you’re satisfied with the sketch, trace it neatly onto stencil transfer paper.
Focus on:
- Clean outlines
- Consistent line thickness
- Sharp corners
- Smooth curves
Avoid heavy sketch marks or unnecessary details that may confuse the transfer process.
The cleaner the stencil, the easier the final application will be.
Test the Stencil Placement
Before finalizing anything, test the stencil on the arm.
When checking placement, make sure:
- The band sits level when the arm is relaxed.
- The design appears straight from multiple angles.
- The width looks proportional to the arm.
- The connection point remains seamless.
Take photos from the front, side, and back. Small imperfections are often easier to spot in pictures.
Common Mistakes to Avoid
Even simple armband tattoos can run into problems if the stencil isn’t prepared correctly.
Avoid these common issues:
- Guessing measurements
- Drawing freehand without a ruler
- Making the band too wide for the placement area
- Ignoring arm taper
- Forgetting to test the wraparound connection
- Overcomplicating the design
Simple designs often create the strongest visual impact.
Final Touches for a Professional Look
Before calling your stencil finished:
- Erase unnecessary guidelines.
- Darken final outlines.
- Double-check symmetry.
- Confirm measurements one last time.
- Ensure all edges are smooth and clean.
These final adjustments help create a crisp and polished result.
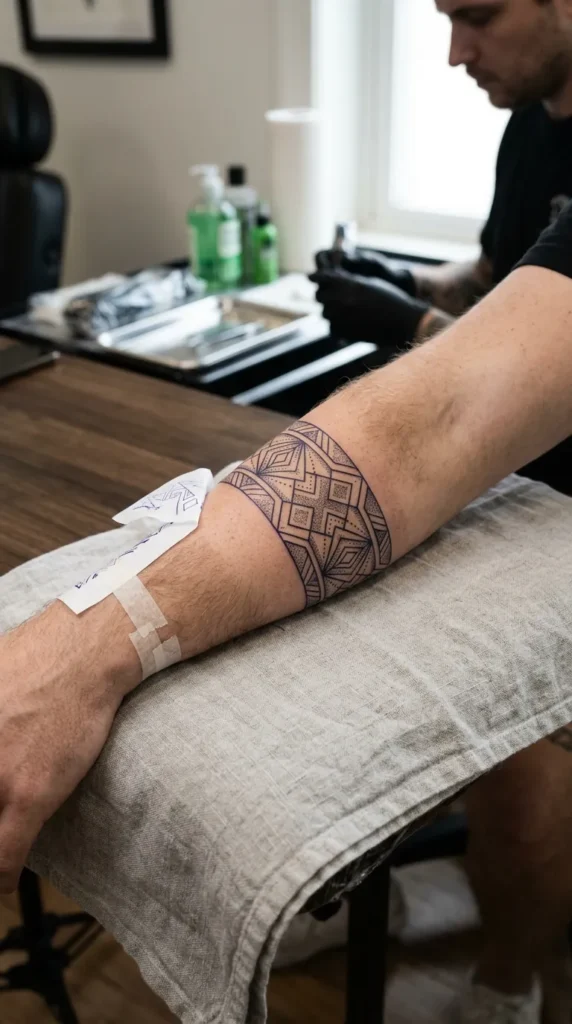
Final Thoughts
A sharp armband tattoo starts long before the tattooing process itself. By taking accurate measurements, building a clean template, and carefully checking alignment, you can create a stencil that looks balanced and professional from every angle.
The best part is that even beginners can achieve impressive results by focusing on precision rather than complexity.
Save this guide for later and use it the next time you’re planning a clean, stylish armband tattoo design!