





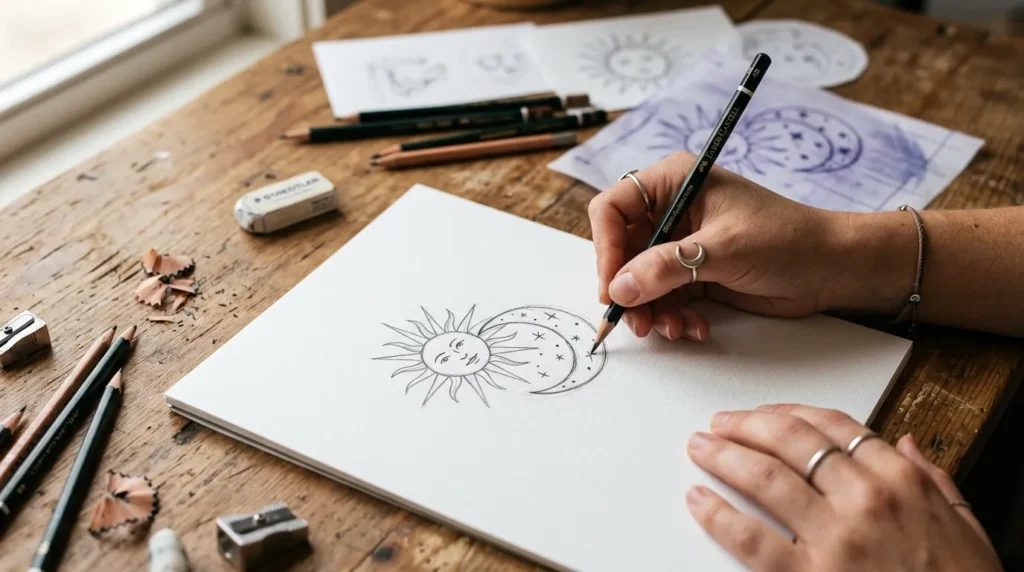
A sun and moon tattoo is one of the most timeless designs you can create. It symbolizes balance, light and darkness, energy and calmness, making it a favorite for tattoo lovers everywhere. Before any tattoo design comes to life, it starts with a clean stencil. The good news? You don’t need advanced drawing skills to create a simple and beautiful sun and moon tattoo stencil at home.
Whether you’re brainstorming your next tattoo idea, practicing sketching, or creating artwork for inspiration, this guide will help you make a neat DIY stencil with minimal supplies.
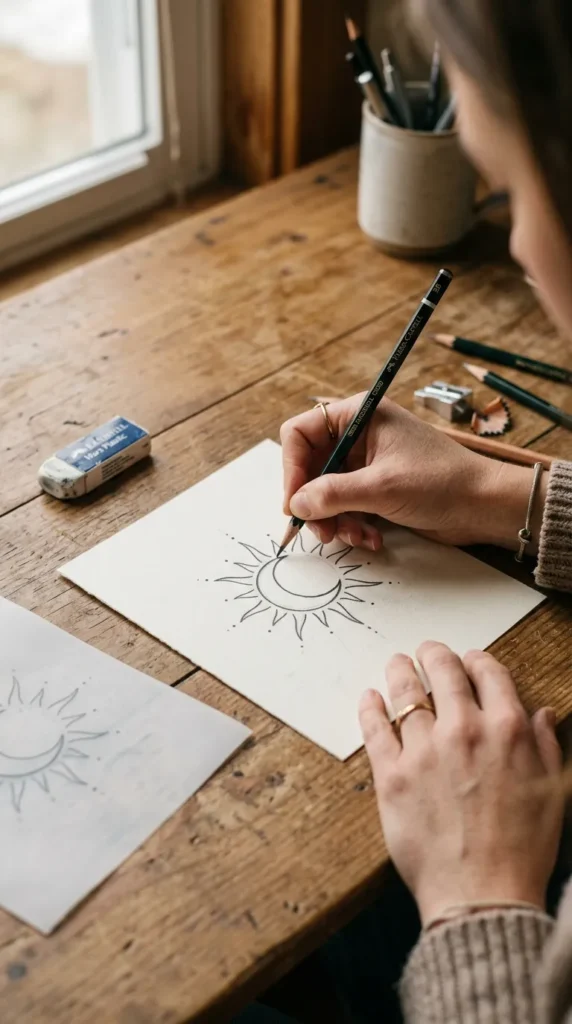
Why Start With a Simple Tattoo Stencil?
A stencil acts as the blueprint for your design.
It helps you:
- Keep proportions balanced
- Create cleaner lines
- Avoid mistakes during drawing
- Experiment with placement and style
- Refine your design before making it permanent
Simple designs are often the most elegant because they’re easy to recognize and look great at almost any size.
Gather Your Drawing Supplies
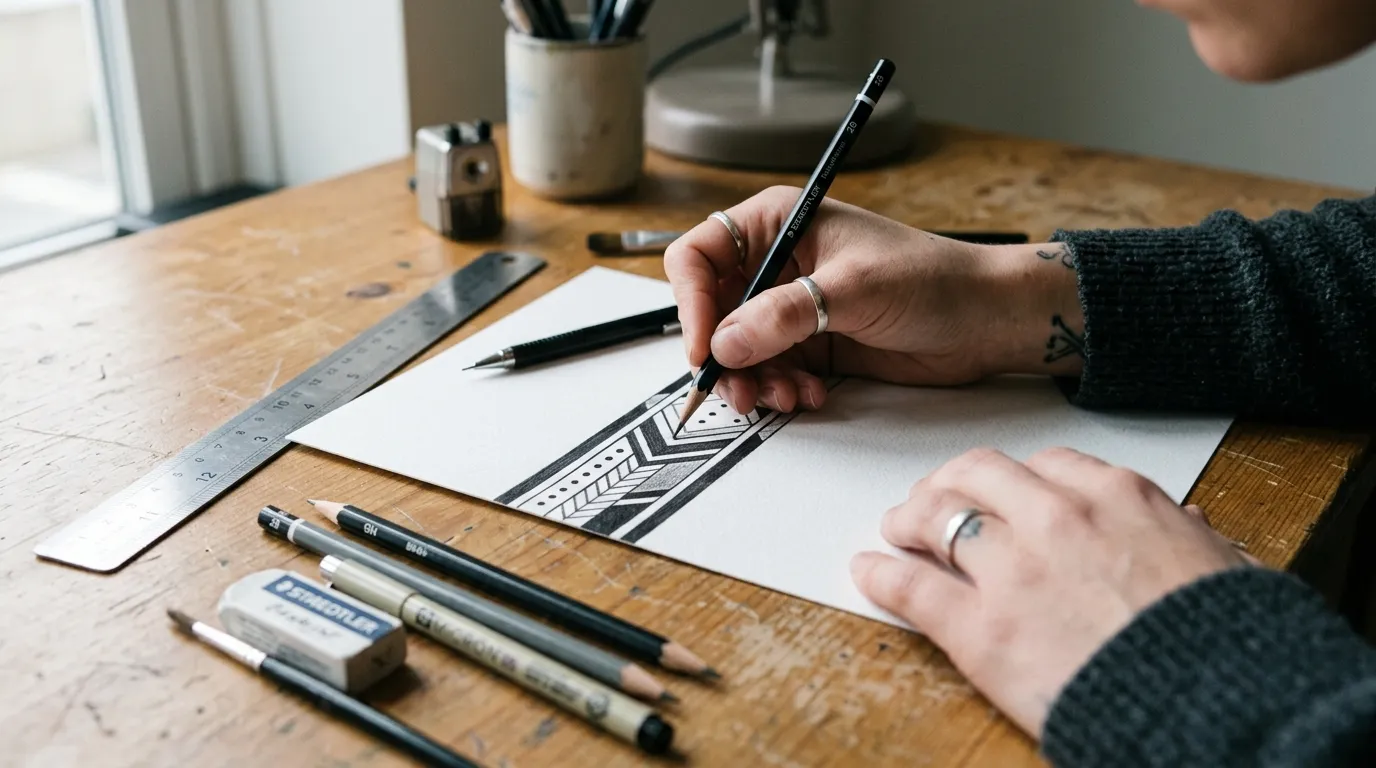
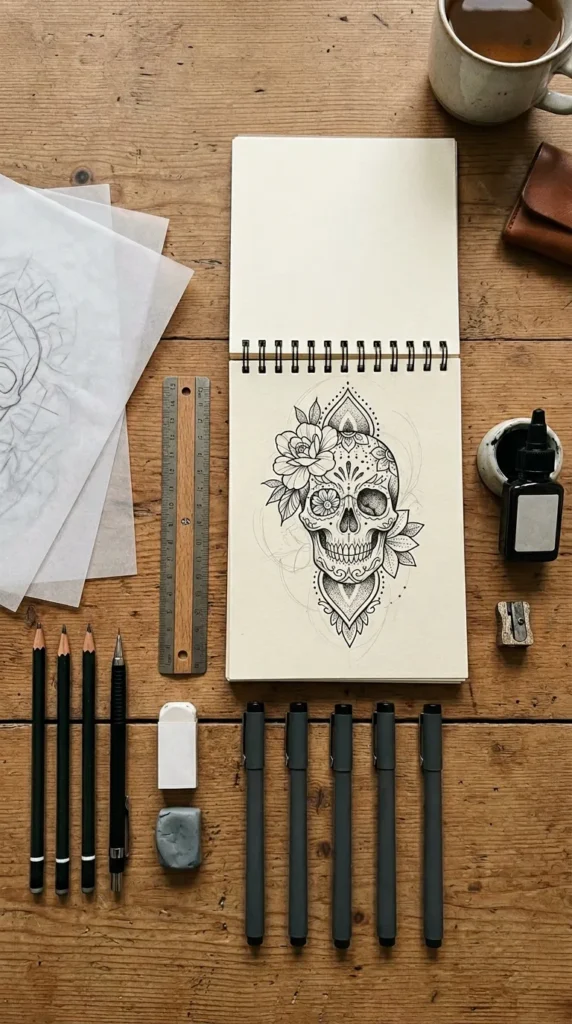
Before you begin, collect a few basic materials:
- White sketch paper
- Pencil
- Fine-tip black pen or marker
- Eraser
- Compass or round object for tracing circles
- Tracing paper (optional)
- Ruler
You likely already have most of these items at home.
Step 1: Draw the Main Circle
Start with the foundation of the design.
- Use a compass or trace a small round object.
- Draw a clean circle in the center of your page.
- Keep the lines light at first.
This circle will become the base for both the sun and moon elements.
A simple circle instantly gives the design symmetry and makes it easier to build the rest of the artwork.
Step 2: Create the Moon Shape
Now it’s time to add the moon.
- Draw a crescent shape inside one side of the circle.
- Erase any overlapping lines.
- Keep the crescent smooth and evenly curved.
The moon can be thin and delicate or slightly thicker depending on the look you want.
Many minimalist designs place the moon inside the sun, creating a balanced composition.
Step 3: Add Simple Sun Rays
The sun rays bring energy and movement to the design.
Try one of these easy options:
Minimalist Rays
- Short straight lines around the circle
- Even spacing between each ray
Soft Boho Rays
- Slightly curved rays
- Different lengths for a hand-drawn look
Geometric Rays
- Sharp triangular points
- Clean, symmetrical arrangement
Start simple. You can always add more detail later.
The goal is to keep the stencil clean and easy to trace.
Step 4: Outline Your Design
Once you’re happy with the sketch:
- Trace the final lines with a fine-tip pen
- Use smooth, confident strokes
- Allow the ink to dry completely
- Erase any remaining pencil marks
At this stage, your design should look crisp and easy to transfer.
Avoid adding excessive details that could make the stencil difficult to read.
Step 5: Refine and Balance the Design
Take a moment to inspect your stencil.
Ask yourself:
- Are both sides balanced?
- Do the rays look evenly spaced?
- Is the moon shape smooth?
- Are the lines clean and consistent?
Small adjustments can make a big difference.
Many professional tattoo artists spend extra time refining simple designs because precision is what makes them stand out.
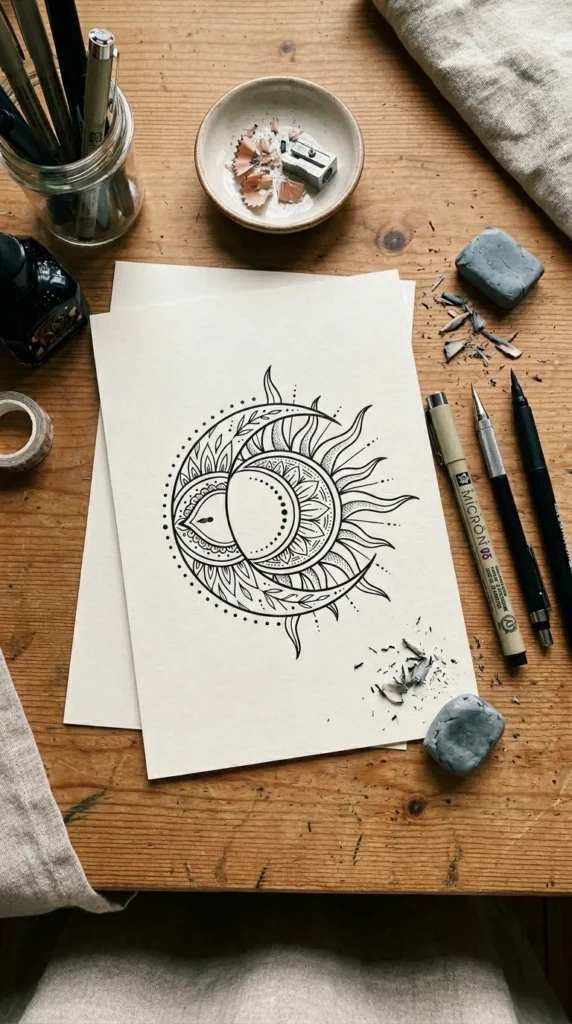
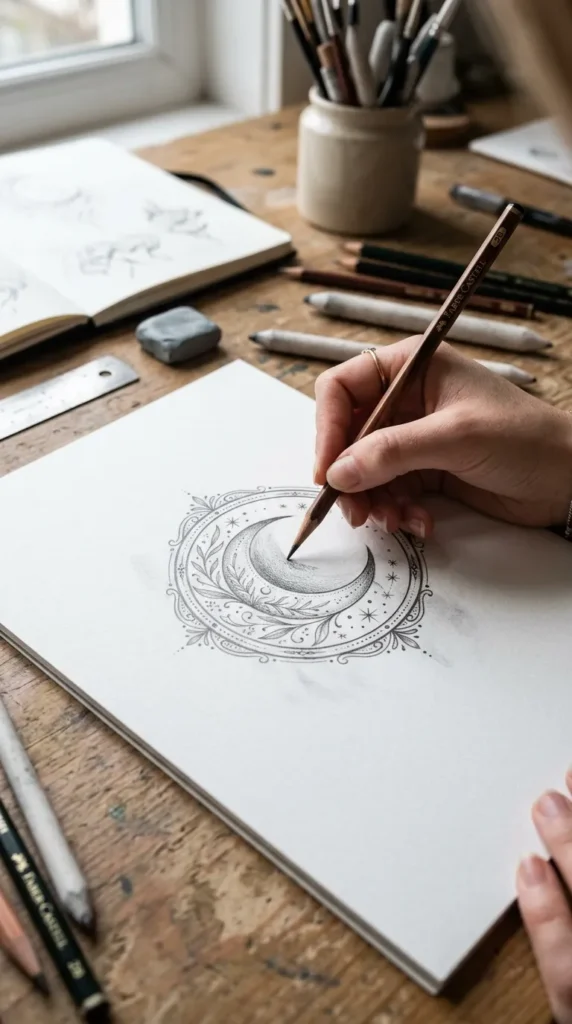
Optional Ways to Personalize Your Stencil
Once you’ve mastered the basic version, try adding personal touches.
Stars
Tiny stars around the moon create a dreamy look.
Dots
Dot work adds texture without overwhelming the design.
Floral Elements
Small flowers can soften the design and add elegance.
Celestial Details
Clouds, sparkles, or tiny planets can make the artwork feel unique.
Remember that even a simple tattoo can tell a meaningful story.
Tips for Creating a Professional-Looking Stencil
Keep these tricks in mind:
- Use light pencil pressure at first
- Work slowly and carefully
- Maintain consistent line thickness
- Avoid overcrowding the design
- Practice on scrap paper before creating the final version
The cleaner the stencil, the better the final result will look.
Simple designs often appear more polished than overly complicated ones.
Common Mistakes to Avoid
Beginners often run into a few common issues:
- Uneven circles
- Crooked moon shapes
- Overlapping rays
- Too many decorative details
- Dark pencil lines that are difficult to erase
Don’t worry if your first attempt isn’t perfect. Most artists create several drafts before settling on a final design.
Final Thoughts
Creating a simple sun and moon tattoo stencil is an enjoyable way to explore your creativity while designing a meaningful piece of art. With just a few basic supplies and a little patience, you can sketch a clean, balanced design that looks beautiful and professional.
Start with simple shapes, focus on clean lines, and make small refinements as you go. Sometimes the most striking tattoo designs are also the simplest.

Save this guide for later and use it whenever you’re ready to sketch your own sun and moon tattoo design!