



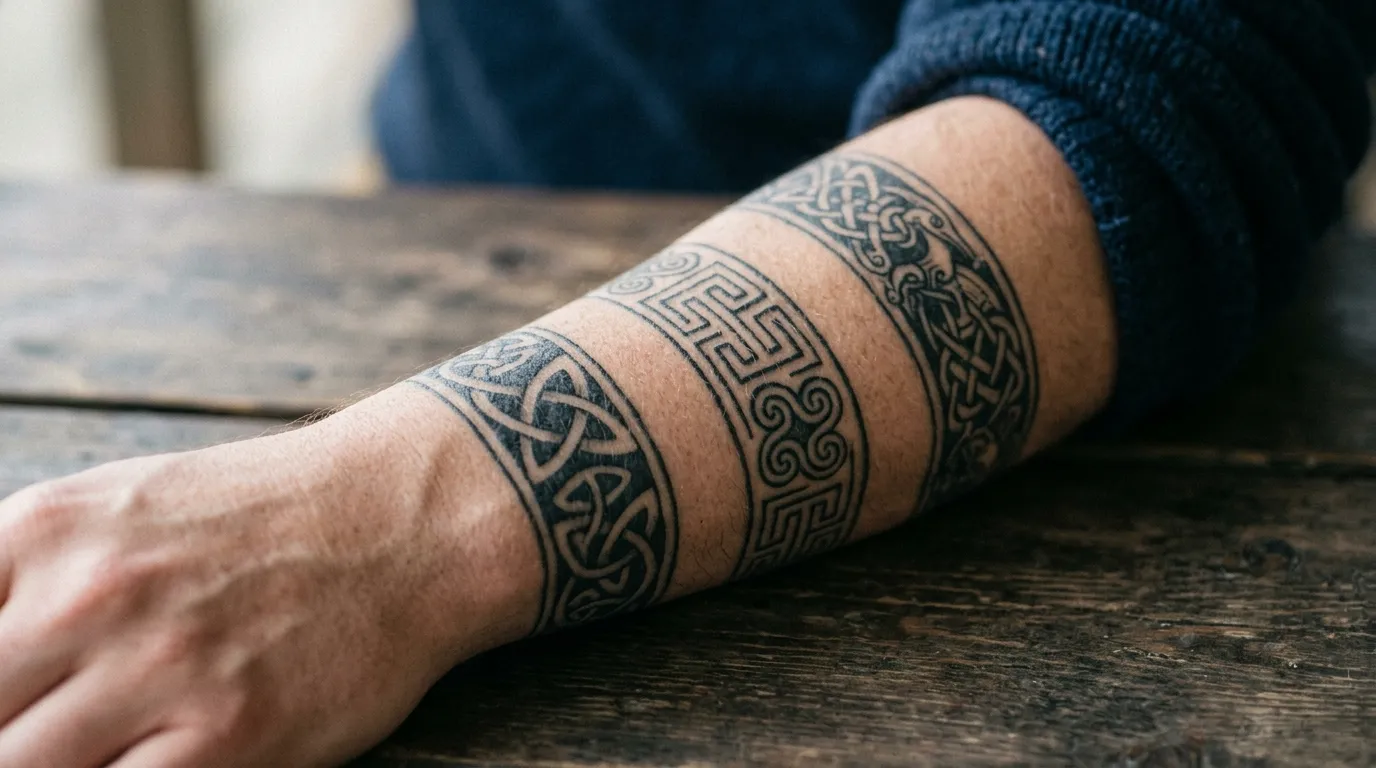
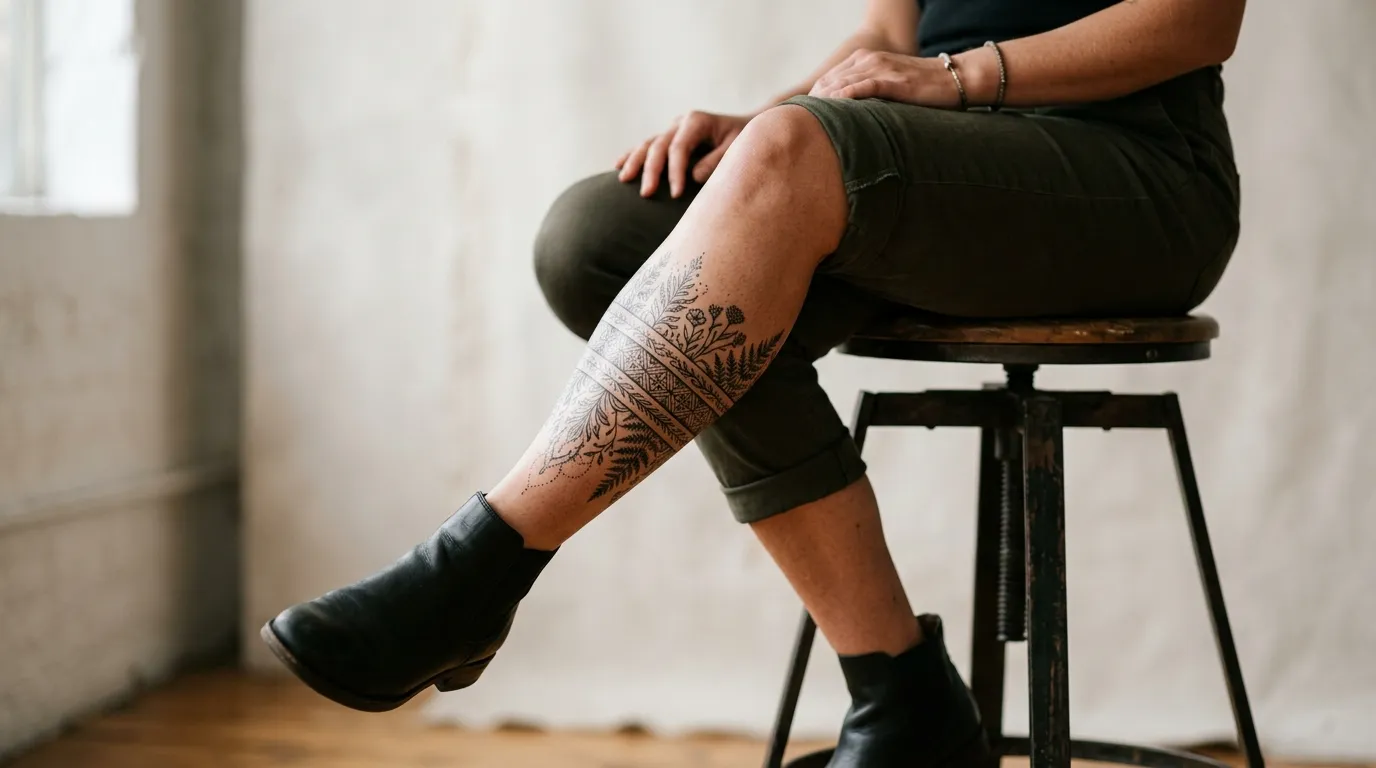
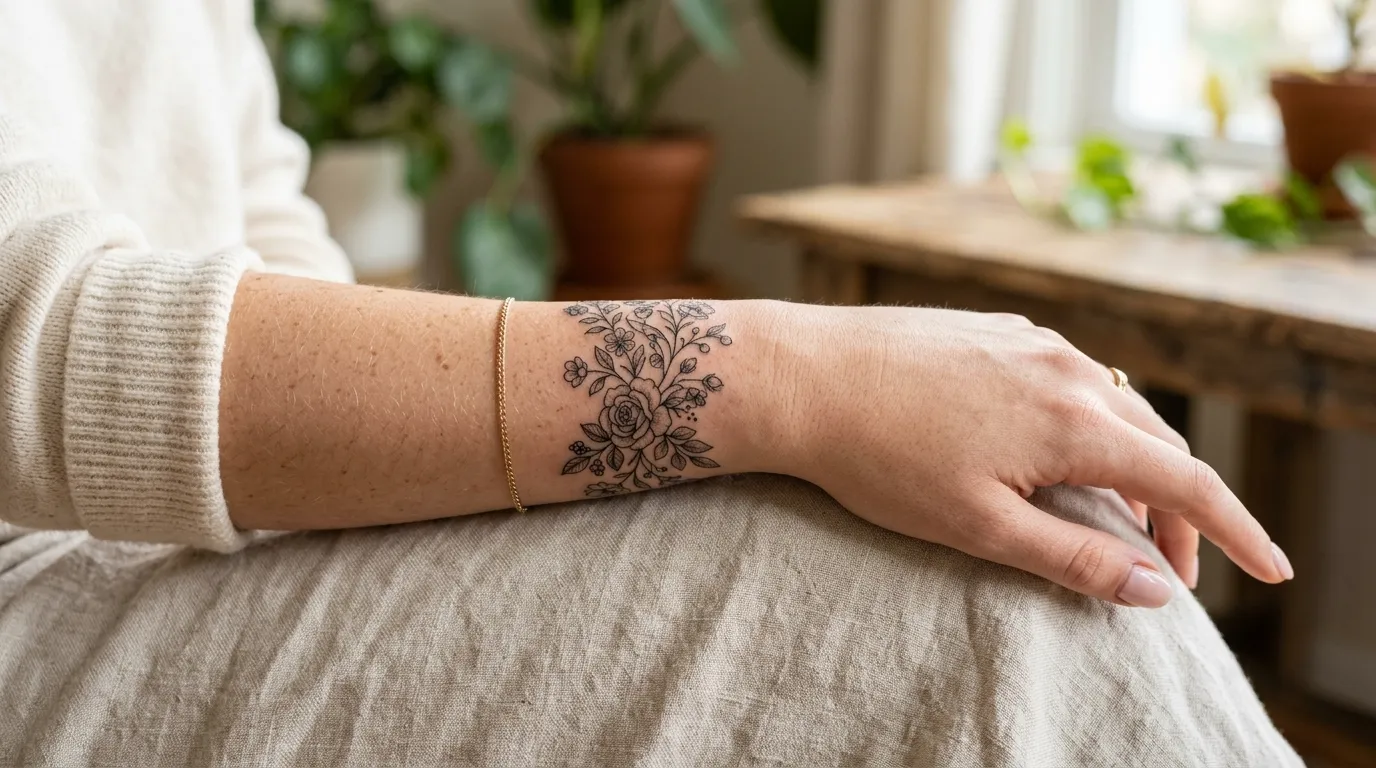


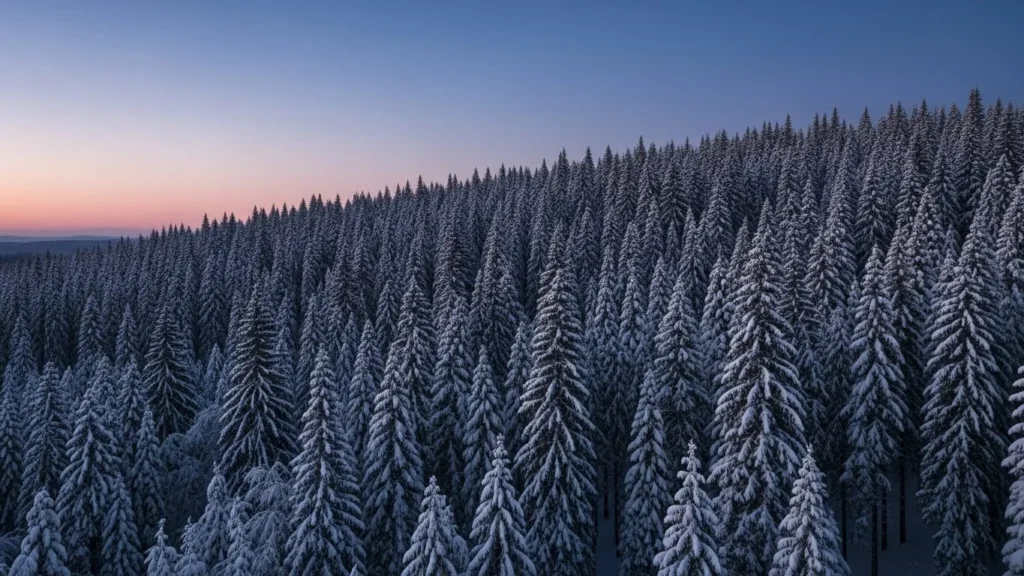
Creating a winter forest silhouette tattoo is one of the most magical ways to bring seasonal beauty to your skin. These designs look calm, mysterious, and timeless — perfect for anyone who loves nature, winter nights, or minimalist artwork. Before you start sketching, it helps to visualize the mood and details you want in your design.
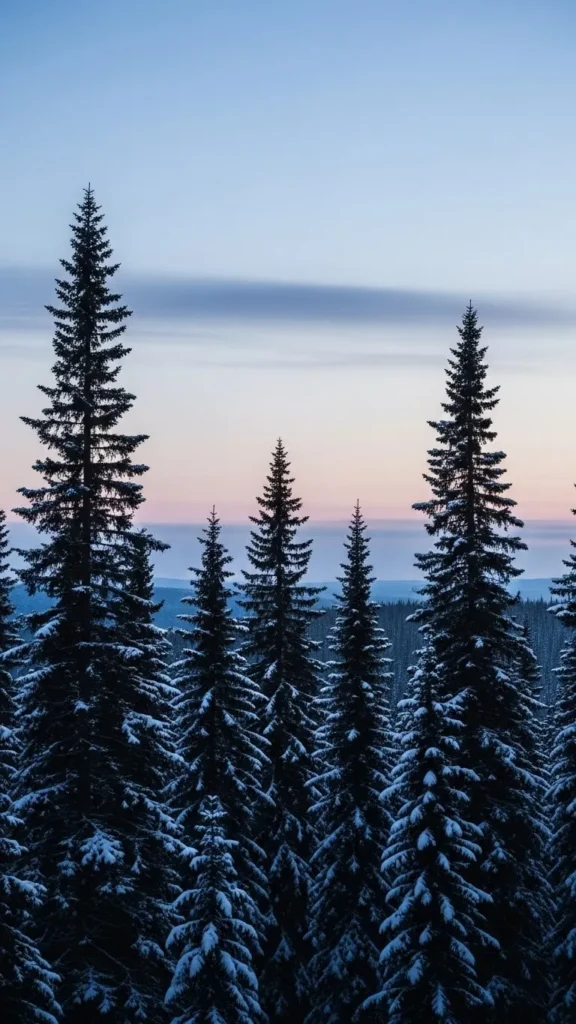
Let’s break down the process so you can design a tattoo that feels personal, artistic, and winter-ready.
Understand the Mood You Want to Create
Before you draw any lines, think about what you want your winter forest to express.
- Calm and quiet
- Mysterious and shadowy
- Magical, dreamy winter energy
- Clean, minimalist lines
A silhouette tattoo can shift dramatically depending on tree shape, spacing, and background shading. Winter forests usually feel still and peaceful, but you can add subtle personality based on your artistic choices.

Choose Your Forest Style
Your winter forest tattoo can look bold and dramatic or soft and delicate. Here are a few favorite styles:
1. Dense Pine Forest
This style creates a solid, dramatic block of trees. Perfect for a forearm, back, or rib tattoo.
2. Sparse, Minimal Trees
If you want a cleaner look, use tall, thin pines spaced apart. This style works beautifully on wrists, ankles, or the collarbone.
3. Layered Silhouettes
This approach uses multiple rows of trees fading into the background. It adds depth and looks especially striking when wrapped around the arm.
4. Winter Night Theme
Add hints of a moon or stars behind the silhouette for a dreamy, holiday-season feel.
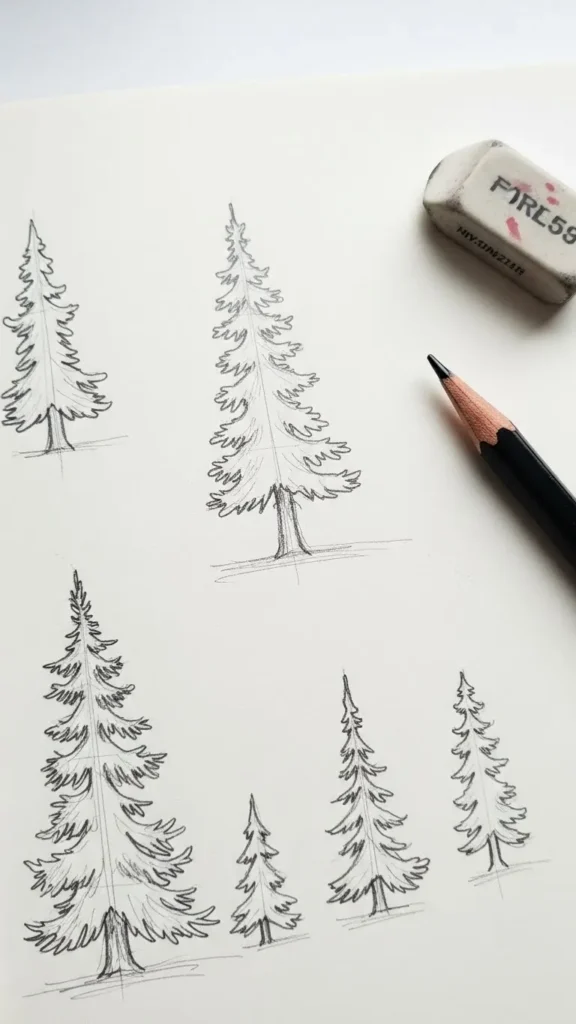
Sketch the Basic Tree Shapes
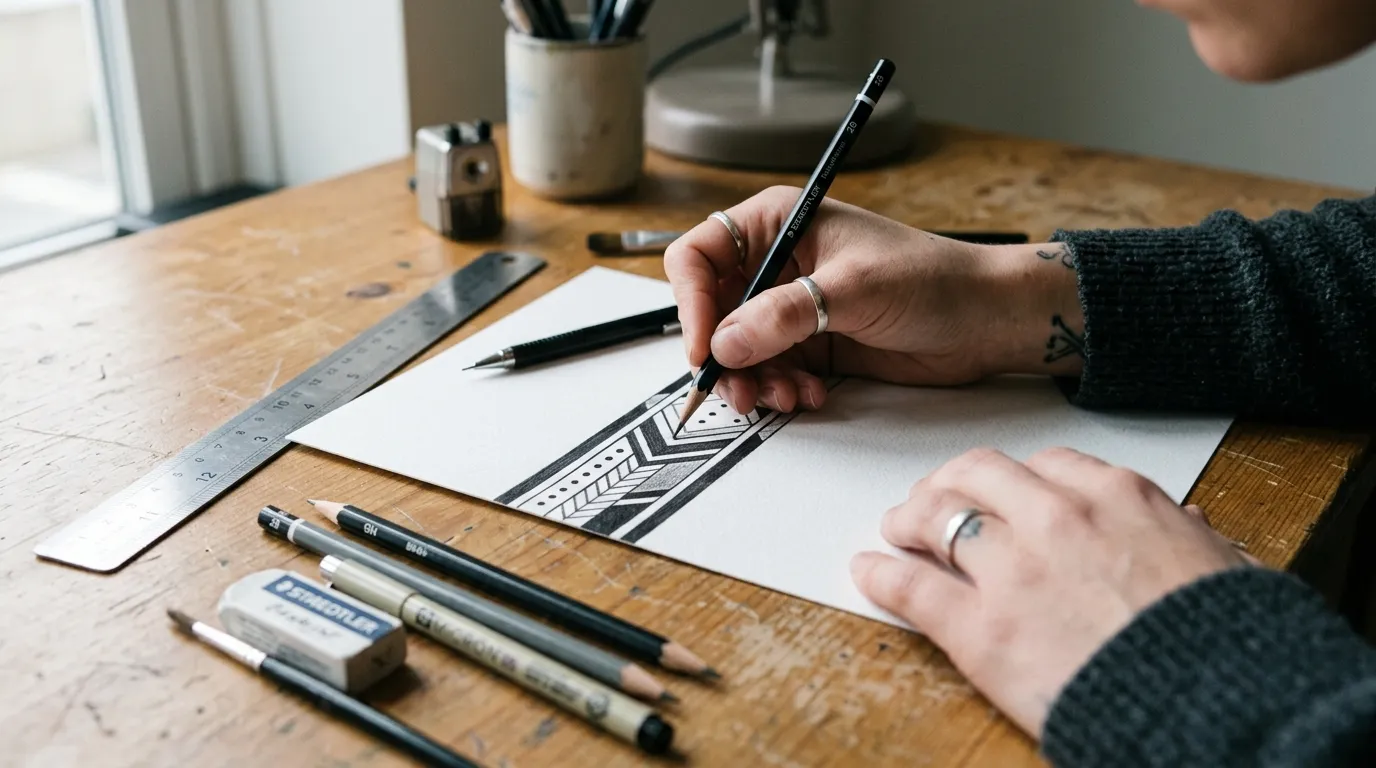
Start simple. You don’t need perfect details — silhouette tattoos rely more on shape than texture.
Tips for Sketching Trees:
- Use soft, long strokes to sketch pines.
- Keep the bottoms slightly uneven for a natural look.
- Change tree heights to avoid a stiff pattern.
- Add a few bare winter branches for variation.
Add Winter Elements for Seasonal Magic
What makes a winter forest tattoo stand out is the subtle cold-weather detailing. You don’t need heavy shading — small touches go a long way.
Ideas to Enhance the Winter Feel:
- Light snow resting on branches
- A crescent moon high above the trees
- A tiny snowy hill under the forest line
- Falling snowflakes in the background
- A lone cabin or animal silhouette (optional and small)
Just one or two winter elements are enough to give your tattoo personality without overpowering it.
Plan the Tattoo Layout for Your Body Placement
Where you plan to place the tattoo affects its shape. Consider these helpful layout ideas:
Forearm or Wrist
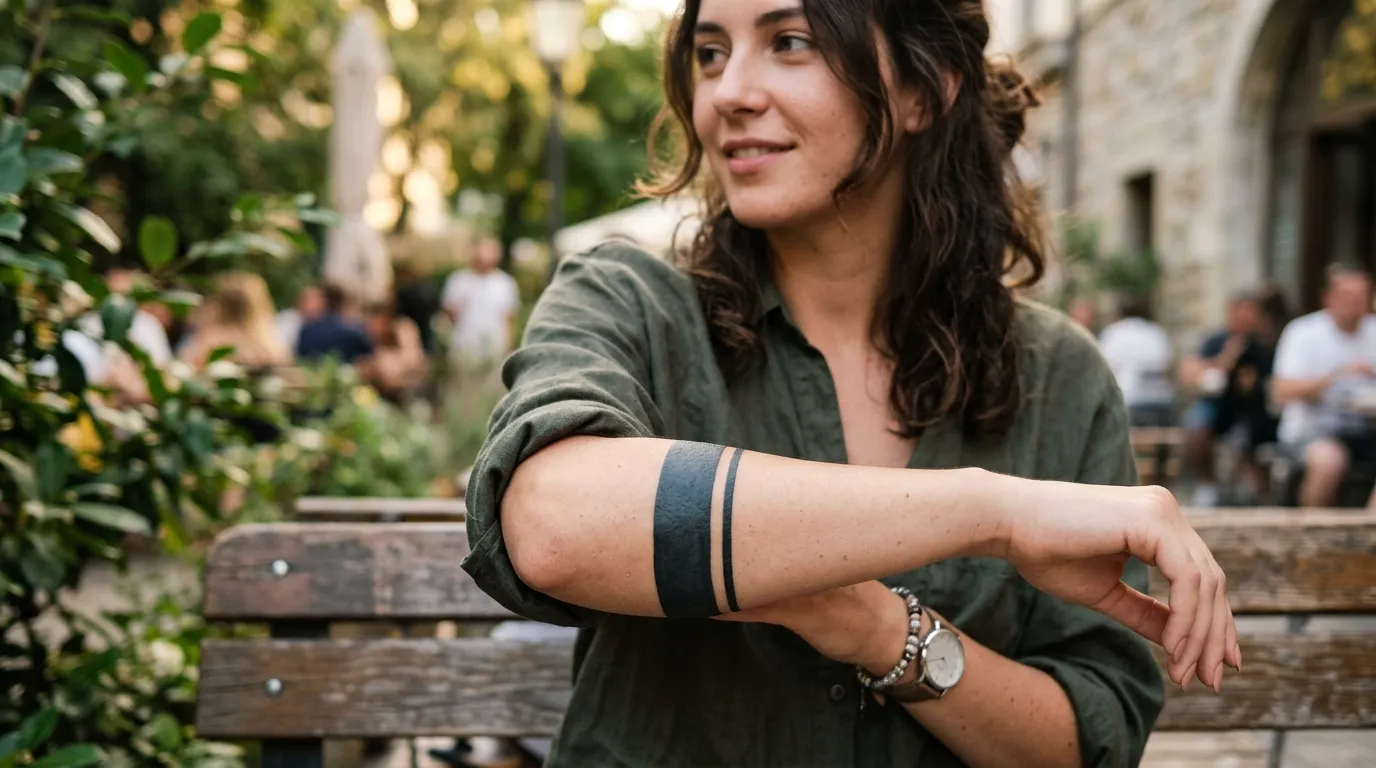
A horizontal forest line works beautifully here. You can wrap the trees slightly around the arm for a seamless look.
Back or Shoulder
A curved silhouette looks elegant and natural on these areas.
Ankle or Collarbone
Keep it minimal and delicate — thin trees or a narrow forest strip are ideal.
Ribs
Try a taller, vertical forest for a dramatic effect.

Choose the Right Level of Contrast
Contrast can completely transform your winter forest tattoo. Decide if you prefer:
- High contrast — solid black trees against pale skin
- Medium contrast — softer shading for a gentler look
- Low contrast — a faded winter style
If you add a moon or stars, make sure the contrast supports those highlights without making the design look too busy.
Refine the Edges and Final Details
Once the major shapes are done, refine the edges to keep the silhouette crisp. Focus on:
- Tree tips — slightly jagged for realism
- Branch angles — vary them so the trees don’t look identical
- Snow — add lightly with white ink if you prefer a brighter winter effect
White ink is optional, but it can create a beautiful frosty touch when used sparingly.
Talk to Your Tattoo Artist About Style Options
Bring your sketches and ideas to your tattoo artist so they can refine the final version. They may recommend:
- Smoother shading transitions
- Adjusted tree spacing for balance
- A layout that complements your body shape
- Better placement for moon or snow elements
Artists who love nature-inspired designs will help your winter forest idea shine.
Takeaway: Create a Winter Forest Tattoo That Feels Like You
A winter forest silhouette tattoo is more than just trees — it’s a mood, a memory, and a piece of quiet seasonal beauty. Whether you prefer bold silhouettes or delicate lines, this design offers endless ways to personalize it.
Save this guide for later and use it when you’re ready to design your perfect winter forest tattoo!