

Anchors aren’t just nautical symbols—they’re timeless emblems of stability, strength, and grounding. Whether you’re a tattoo artist perfecting your craft or an enthusiast planning your next ink, drawing an anchor outline that stays crisp over time takes both technique and care. Today, we’ll walk through practical steps, tips, and insights to create sharp, long-lasting anchor outlines.
Start With the Right Tools
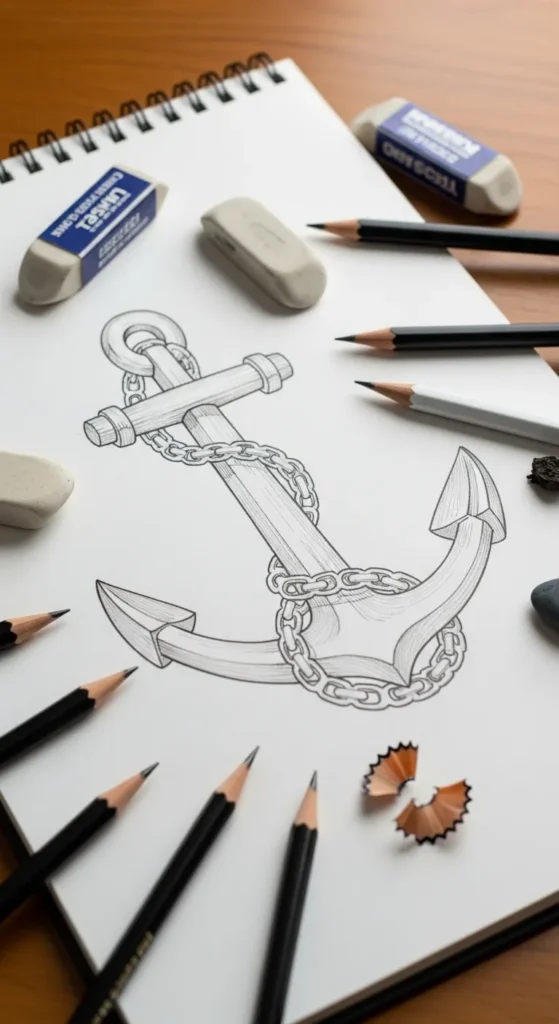
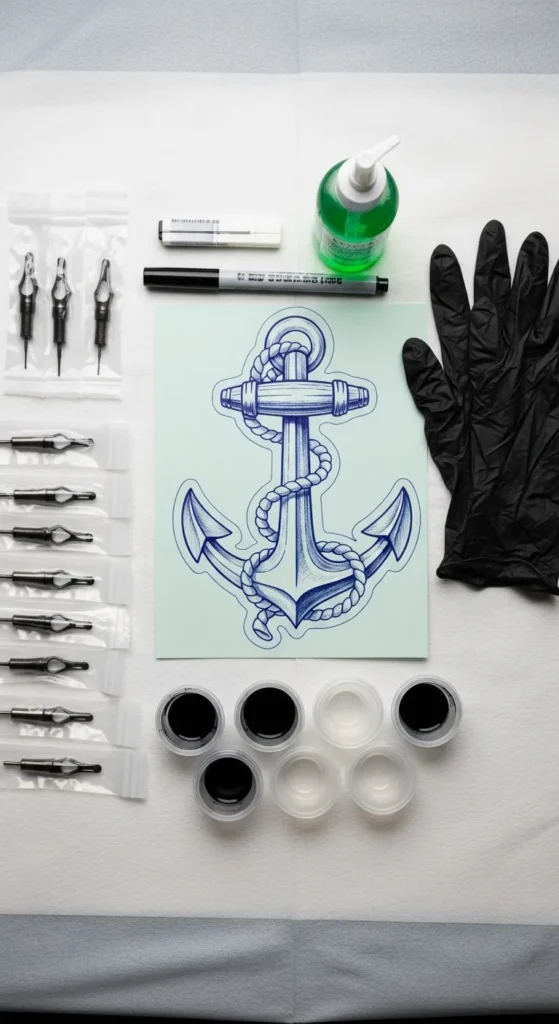
The foundation of any sharp tattoo begins with your tools. Choosing the right pencils, pens, or digital brushes can make all the difference.
- Sketching Pencils: Use a soft B or 2B pencil for initial outlines. They’re easy to erase and won’t damage your paper.
- Fine Liners or Ink Pens: Once your design feels solid, transfer it with a waterproof fine liner for sharp, crisp lines.
- Digital Options: Tablets with pressure-sensitive styluses allow for precise control over line thickness and consistency.
Pro tip: Always have erasers, sharpeners, and blotting paper nearby. Tiny smudges can ruin a clean outline before inking.
Understand Anchor Anatomy
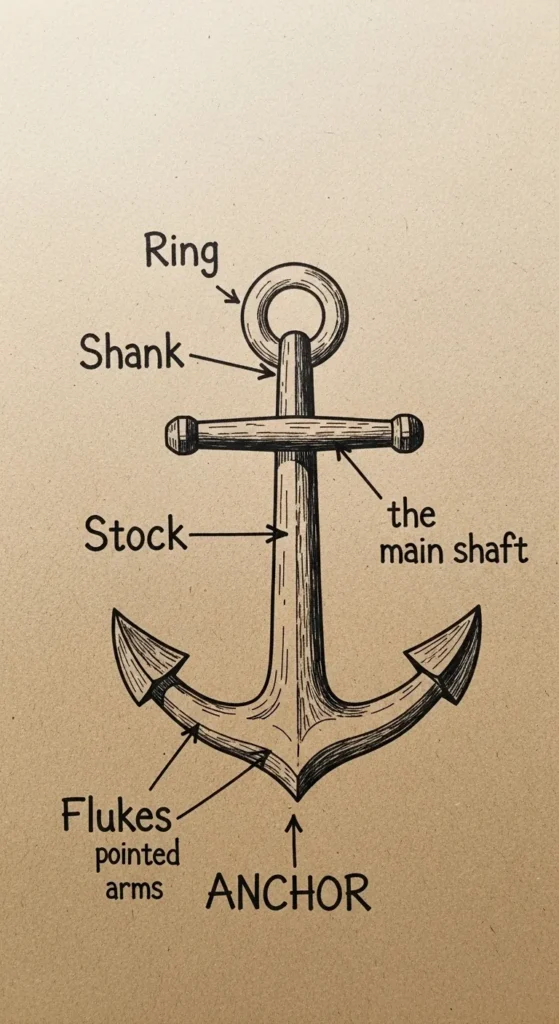
Before drawing, it’s important to know what makes an anchor recognizable.
Most anchors include:
- Shank: The long central line running vertically.
- Stock: The horizontal crossbar near the top.
- Flukes: The pointed parts at the bottom that “dig in.”
- Ring or Eye: The loop at the top for ropes.
Knowing these parts ensures your outline looks authentic and balanced, even when scaled down for smaller tattoos.
Sketch With Proportion and Symmetry
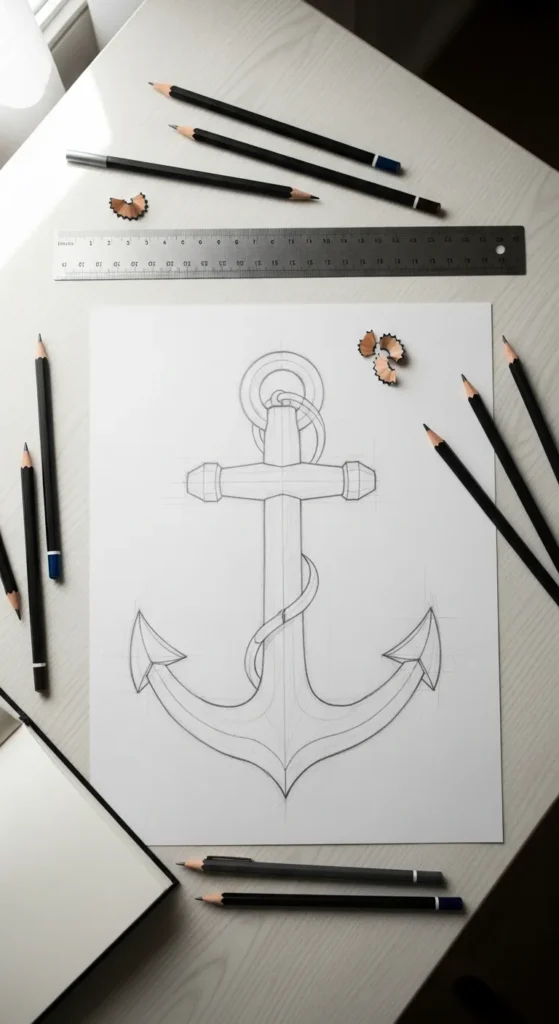
An anchor’s appeal lies in its symmetry.
Follow these steps to maintain proportion:
- Draw a Vertical Guideline: Lightly mark a center line for the shank.
- Mark Horizontal Reference Points: Indicate where the stock and flukes will go.
- Outline the Ring and Stock: Keep curves smooth and avoid jagged edges.
- Add Flukes: Ensure both sides mirror each other. Small asymmetries can make the tattoo look off.
- Refine the Outline: Erase extra guidelines, keeping only the final anchor shape.
Tip: Step back occasionally to view your sketch from a distance—it helps spot proportional issues early.
Keep Lines Sharp and Clean
A sharp tattoo outline requires precision at the drawing stage.
Consider these tricks:
- Consistent Pressure: Apply even pressure when drawing lines to avoid uneven thickness.
- Use Smooth Strokes: Avoid sketchy or broken lines; one continuous stroke gives a cleaner base.
- Layer Gradually: Build up dark lines slowly instead of pressing too hard at once.
- Digital Clean-Up: If working digitally, use vector brushes or line smoothing features to eliminate wobbles.
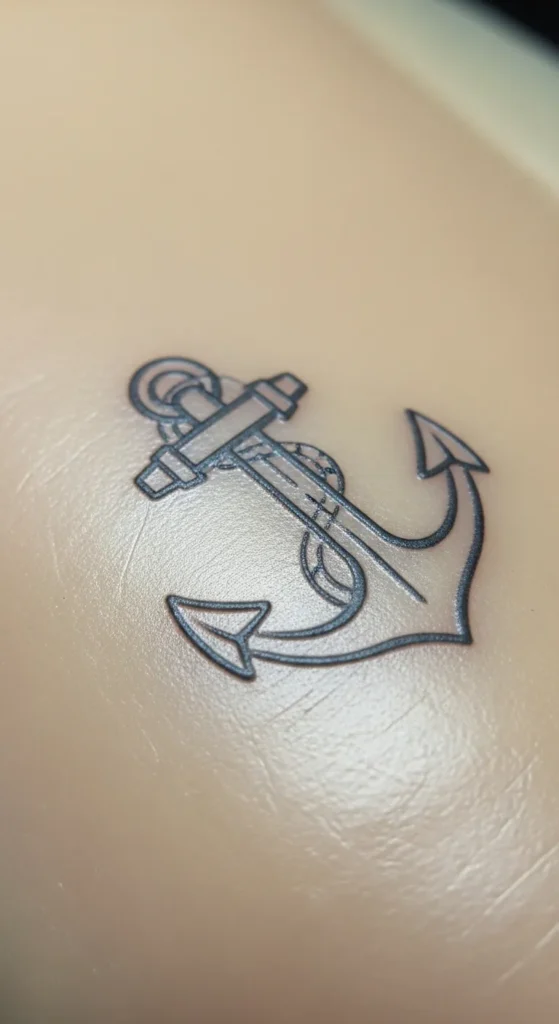
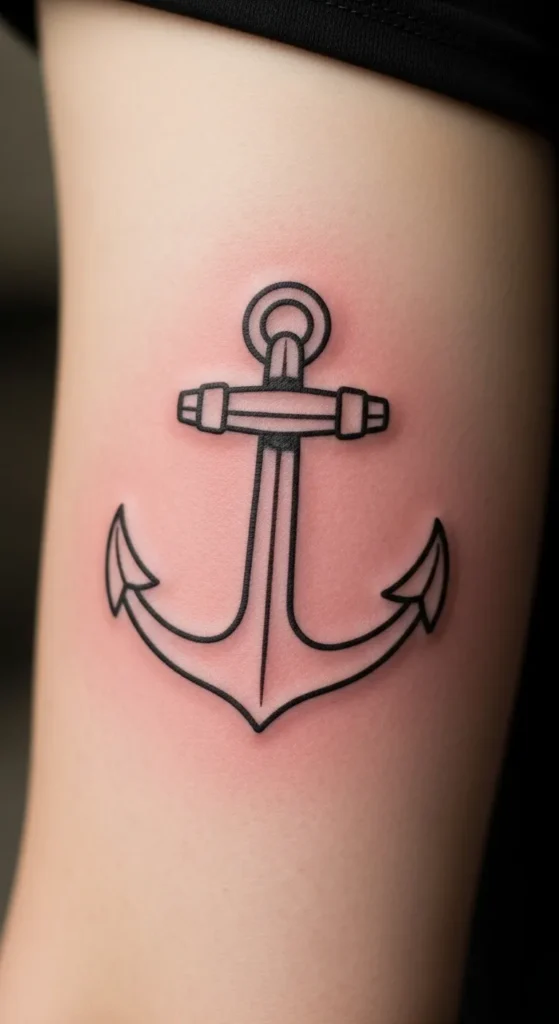
Extra Tip: Minimalist anchors with bold, consistent outlines tend to age better as tattoos.
Test Small Details
Tiny embellishments like rope wraps, shadows, or subtle curves can make your anchor stand out—but too much detail in the outline stage can blur over time.
- Keep lines distinct.
- Avoid overcomplicating the flukes or stock.
- Simplify rope twists; the design should remain recognizable at smaller sizes.
Final Touches Before Inking
Before going permanent, prepare your design carefully:
- Trace and Transfer: Use tracing paper or stencils to replicate the exact outline on skin.
- Check Symmetry One Last Time: Flip the paper or view it in a mirror for any inconsistencies.
- Ink With Confidence: A steady hand ensures the tattoo will keep its crispness.
Remember, a well-prepared outline is half the battle. Clear lines now mean a tattoo that ages gracefully.
Key Takeaways
Drawing an anchor outline that stays sharp isn’t just about artistic skill—it’s about preparation, proportion, and attention to detail.
- Use quality tools and keep lines clean.
- Respect anchor anatomy for authentic, balanced designs.
- Test details and refine your outline for symmetry and clarity.
- Minimalist, bold lines age better and maintain sharpness over time.
Save this guide for later, and the next time you sketch an anchor tattoo, your outlines will look crisp, professional, and ready for inking.

Leave a Reply