

Freedom has a shape.
Sometimes it’s wide open wings. Sometimes it’s a simple line that still feels like motion. Bird outline tattoos capture that feeling in the most minimal, elegant way—and learning how to draw them yourself makes the design even more meaningful.
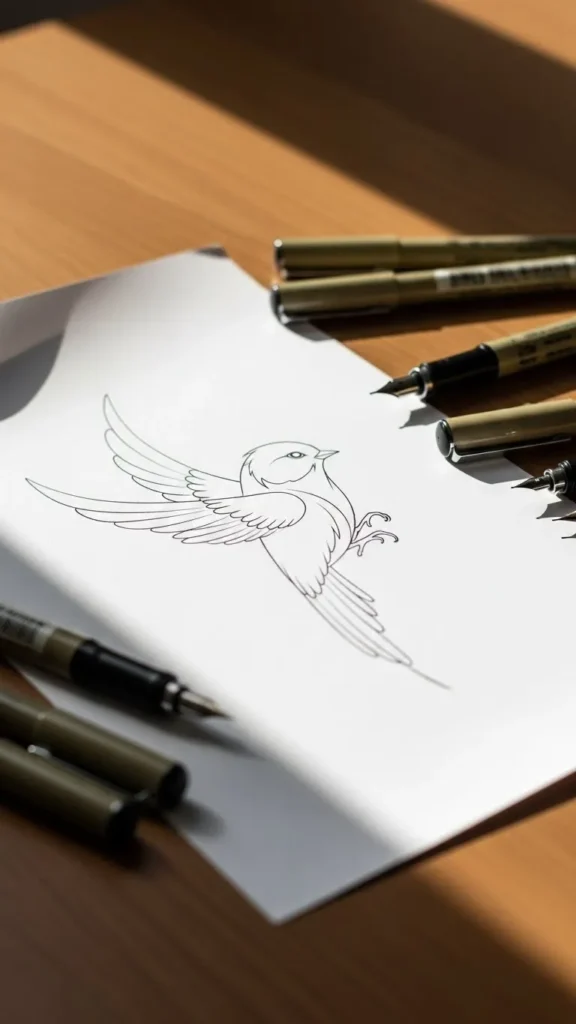
Whether you’re sketching for fun, planning a future tattoo, or building a reference for an artist, this guide walks you through how to draw bird outline tattoos that feel light, symbolic, and timeless.
Why Bird Outline Tattoos Feel So Powerful
Birds have always symbolized:
- Freedom and independence
- Travel and new beginnings
- Peace, hope, and resilience
When drawn as an outline, the meaning becomes even stronger. There’s no excess. No distractions. Just movement and emotion captured in a few lines.
Outline bird tattoos are especially popular because they:
- Age well over time
- Work at any size
- Fit almost any placement
- Feel personal without being loud
Step 1: Choose the Right Bird Silhouette
Before you draw anything, decide what kind of freedom you want the tattoo to express.
Different birds carry slightly different meanings:
- Swallows → safe return, loyalty
- Doves → peace, healing
- Sparrows → simplicity, protection
- Generic flying birds → pure freedom without labels
For outline tattoos, realism matters less than flow.
Focus on:
- Wing position
- Body curve
- Overall balance
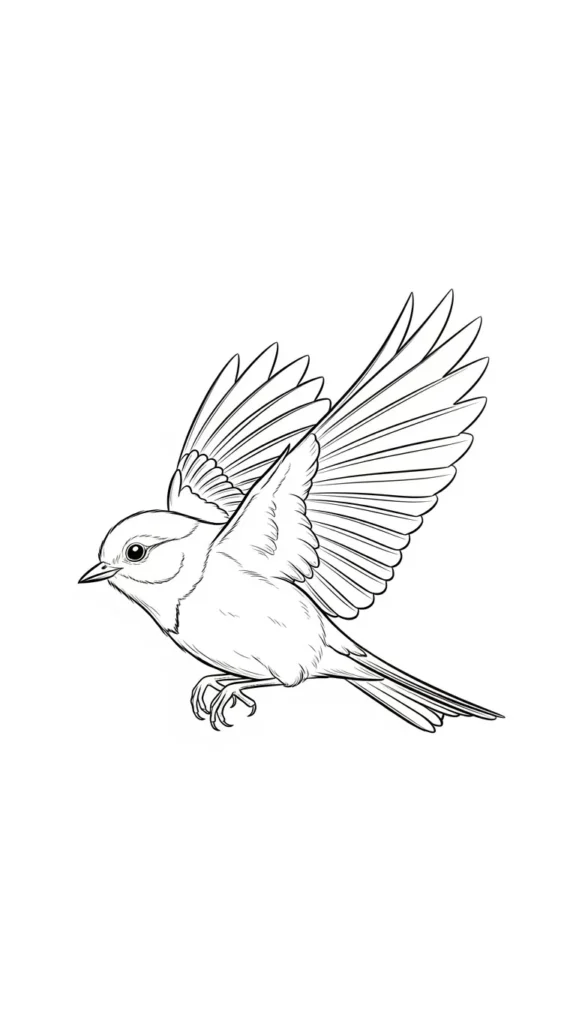
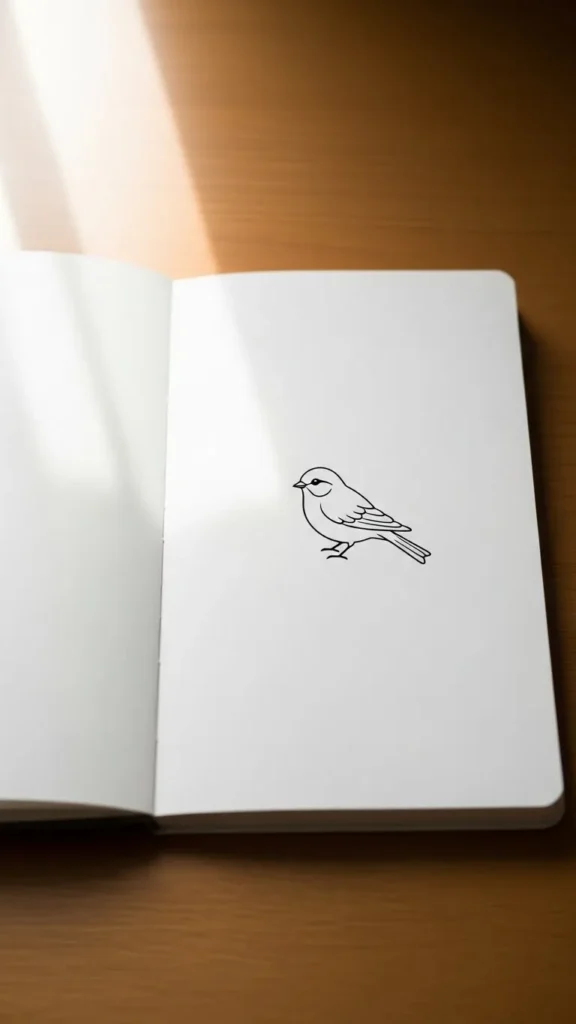
Step 2: Start With Simple Wing Shapes
The wings are the soul of a bird outline tattoo.
Instead of drawing feathers one by one:
- Use long, curved strokes
- Let the wings form a gentle “V” or arc
- Keep both sides balanced but not identical
A common beginner mistake is over-detailing. Outline tattoos rely on suggestion, not precision.
Try this:
- Draw one smooth line for the top of each wing
- Add a slightly shorter line underneath to hint at feathers
- Stop before it feels busy
If it looks airy, you’re doing it right.
Step 3: Keep the Body Small and Light
In outline bird tattoos, the body should never overpower the wings.
Best practices:
- Use a small oval or teardrop shape
- Avoid sharp angles
- Let the head blend naturally into the body
The goal is motion, not anatomy.
Many popular designs barely define the body at all—and that’s okay. Negative space adds elegance and keeps the tattoo feeling weightless.
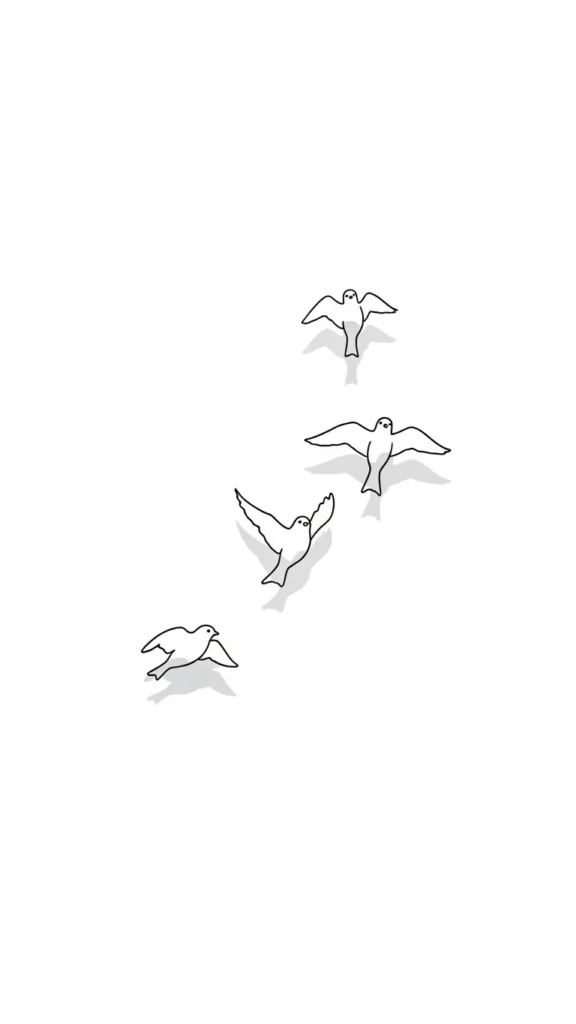
Step 4: Decide on Single Bird or Flock Design
This choice changes the entire message of the tattoo.
Single bird outline
- Personal freedom
- Independence
- Quiet strength
Multiple birds in flight
- Letting go
- Transformation
- Moving forward
If drawing a flock:
- Vary sizes slightly
- Angle birds in different directions
- Keep spacing uneven for a natural look
Step 5: Use One Continuous Line (If Possible)
One-line bird tattoos are incredibly popular—and for good reason.
They feel:
- Clean
- Modern
- Intentional
To practice:
- Start at one wing tip
- Move through the body
- End at the opposite wing
Don’t lift your pen unless necessary. Even slight imperfections add character.
If one continuous line feels too difficult, limit yourself to two or three strokes total.
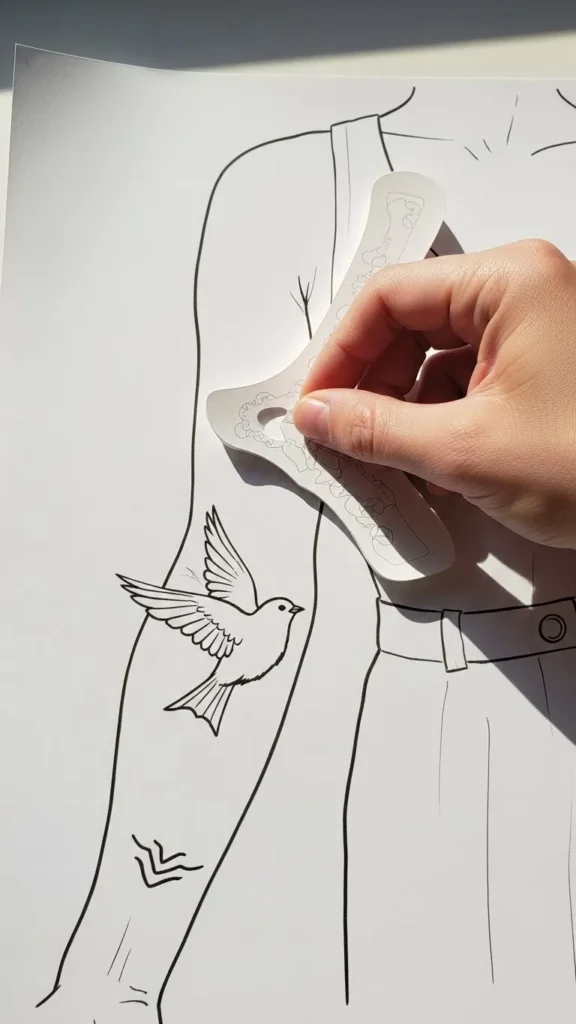
Step 6: Test Placement While You Draw
Bird outline tattoos look different depending on placement.
As you sketch, imagine:
- Wrist → smaller, more delicate birds
- Collarbone → gentle upward flight
- Ankle → horizontal movement
- Shoulder blade → wider wing span
Try lightly drawing the design on:
- Curved paper
- A printed arm outline
- Tracing paper over a photo
Common Mistakes to Avoid
Even simple designs can go wrong.
Watch out for:
- Lines that are too thick
- Overlapping wings that feel heavy
- Too much symmetry
- Tiny details that won’t age well
When in doubt, simplify.
Then simplify again.
Outline tattoos thrive on restraint.
Final Touches Before You Commit
Before turning your drawing into a real tattoo:
- Redraw it at the exact size
- View it from a distance
- Flip it horizontally to check balance
If it still feels light, free, and emotional—it’s ready.
Final Takeaway
Bird outline tattoos prove that freedom doesn’t need detail to be powerful. A few thoughtful lines can carry deep meaning, personal stories, and a sense of movement that lasts forever.
Save this guide, practice often, and let your lines fly.

Leave a Reply