

Botanical tattoos are more than just pretty ink—they’re living art on your skin. From delicate wildflowers to lush leafy vines, these tattoos celebrate nature’s elegance. But designing a botanical tattoo that looks organic and natural can be tricky. Without the right approach, flowers can appear flat, leaves stiff, or the overall design too busy.
Whether you’re a tattoo enthusiast planning your next piece or an artist looking to refine your craft, this guide will help you create botanical tattoos that truly feel alive.
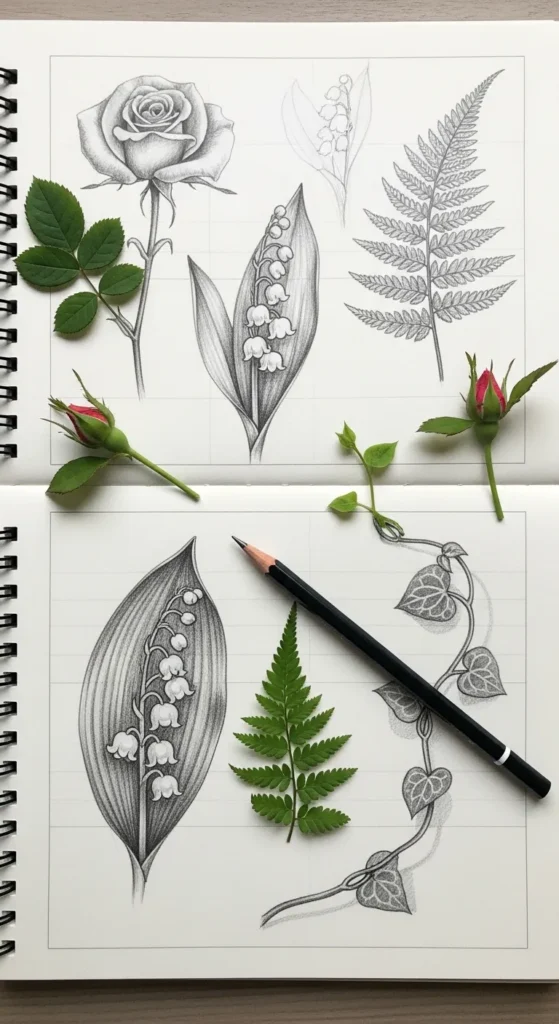
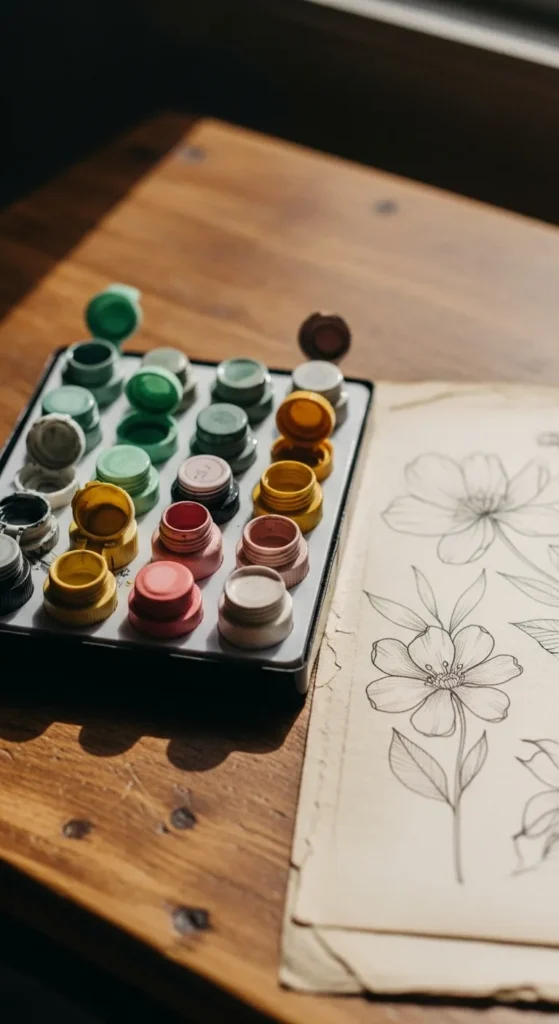
Start with Inspiration from Nature
Nature is your ultimate guide when designing botanical tattoos. Observing real plants helps you capture details that make your design believable.
- Sketch from real plants: Visit a garden or park and take notes on leaf shapes, stem curves, and petal textures.
- Take reference photos: Lighting and perspective matter. Capture how leaves overlap, how stems bend, and how flowers grow in clusters.
- Research botanical illustrations: Scientific drawings are excellent for understanding structure and proportions.
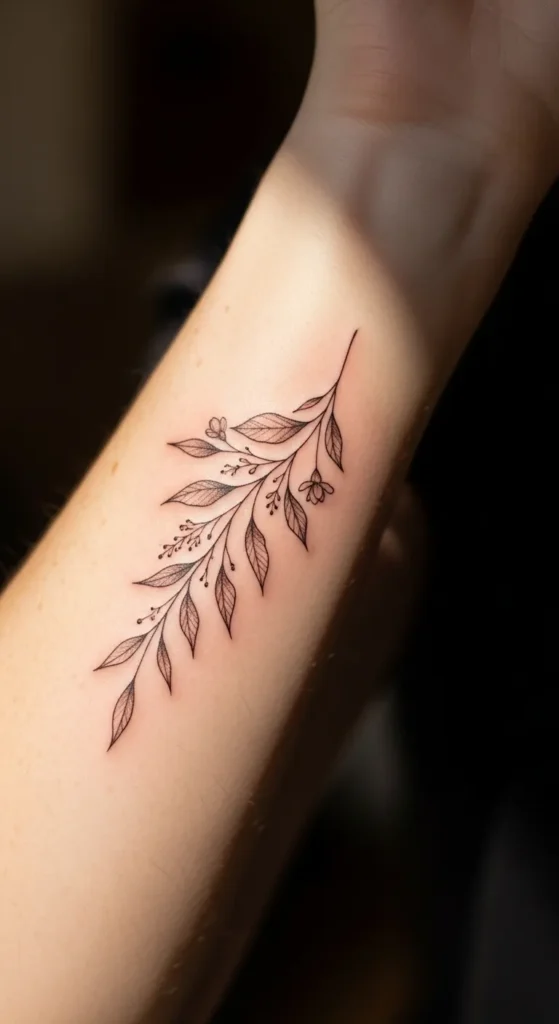
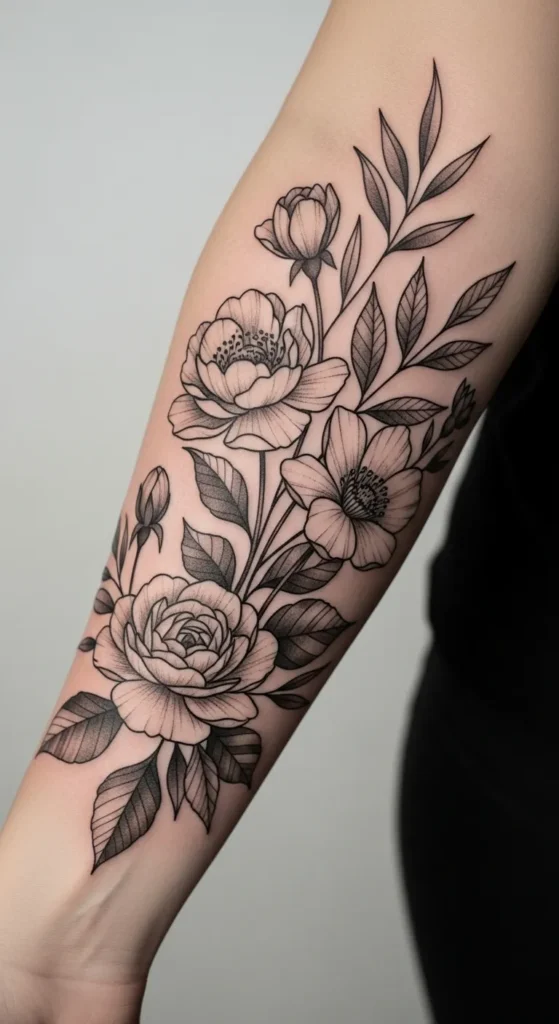
Focus on Flow and Placement
A natural-looking botanical tattoo shouldn’t feel pasted onto the skin—it should move with it. Think about the body’s curves and how the design can complement them.
- Follow natural lines: Place vines along the arms, collarbone, or spine to enhance body contours.
- Consider size and scale: Larger flowers work well as centerpieces; smaller buds and leaves can fill gaps naturally.
- Layer elements thoughtfully: Overlapping leaves and petals create depth, making the tattoo appear more organic.
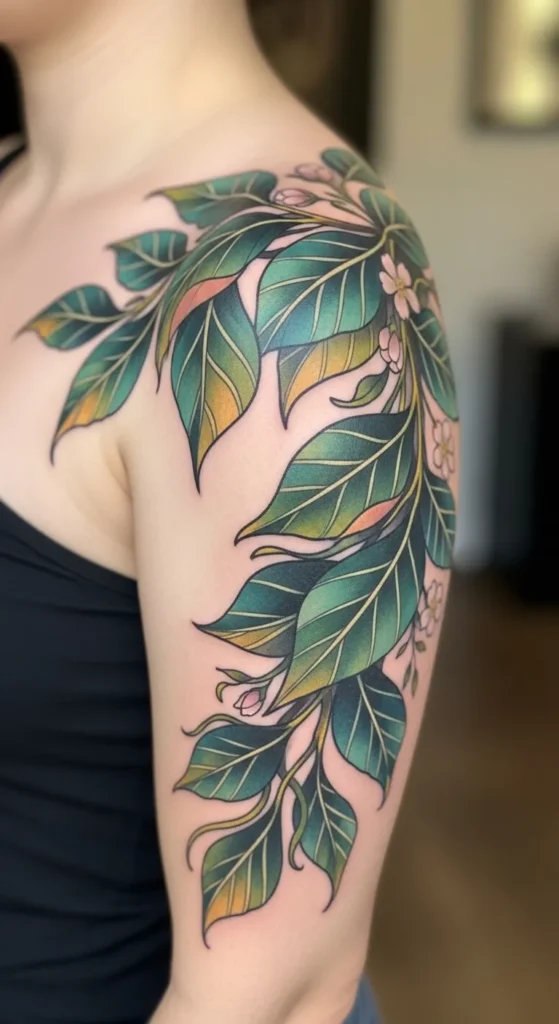
Master the Details
Small details are what turn a simple outline into a lifelike botanical design. Focus on textures, edges, and subtle color variations.
- Vary leaf shapes and sizes: Not every leaf should be identical. A few irregularities mimic nature.
- Use fine line work: Thin, delicate lines create a light, airy effect perfect for floral tattoos.
- Incorporate shading: Gentle gradients add dimension and prevent a flat appearance.
- Mind the stem connections: Twisting or bending stems look more natural than straight, rigid lines.
Choose the Right Colors
Color choice is key in botanical tattoos. Too bright or saturated, and the design may feel artificial. Too muted, and it can lose vibrancy.
- Start with a muted palette: Soft greens, gentle yellows, and pastel florals often read more naturally on skin.
- Layer colors: Blend multiple shades for leaves or petals to mimic real light and shadow.
- Highlight sparingly: Small white highlights can make dew drops or petals pop without overpowering the design.
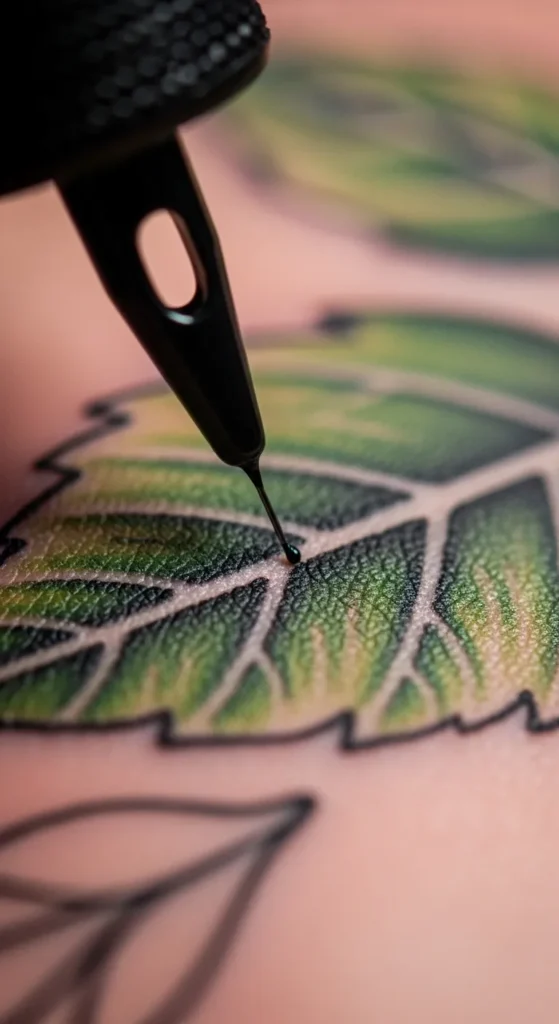
Plan for Longevity
Botanical tattoos need to maintain their elegance over time. Certain design choices help them age gracefully.
- Avoid excessive tiny details: Small lines can blur as the tattoo ages.
- Think about sun exposure: Areas like the forearms or hands fade faster. Placement matters.
- Consult your tattoo artist: Experienced artists can adjust line thickness and spacing to ensure your design lasts.
Final Tips for a Natural Look
- Keep your design balanced but not perfectly symmetrical—nature rarely is.
- Mix fully bloomed flowers with buds and leaves to add variety.
- Consider negative space as part of the composition; it helps the tattoo breathe.
- Don’t rush the process—take your time planning and refining sketches.
Botanical tattoos are a celebration of nature’s subtle beauty. By observing real plants, planning thoughtful placement, and focusing on detail and color, you can create designs that feel organic and alive.
Save this guide for your next tattoo session or share it with a friend who’s looking to embrace nature in ink. Your next piece could be as timeless and elegant as a garden in full bloom!

Leave a Reply