

Knot sleeve tattoos carry a timeless pull. They feel grounded, symbolic, and deeply personal. These designs trace back to ancient cultures that valued connection, continuity, and quiet strength. Today, knot sleeves blend old-world meaning with modern placement. They work well for people who want a sleeve that flows without relying on loud imagery. This guide walks through knot sleeve tattoo ideas that feel thoughtful, wearable, and achievable. Each concept includes practical tips so you can plan a sleeve that fits your style and budget without feeling overwhelming.
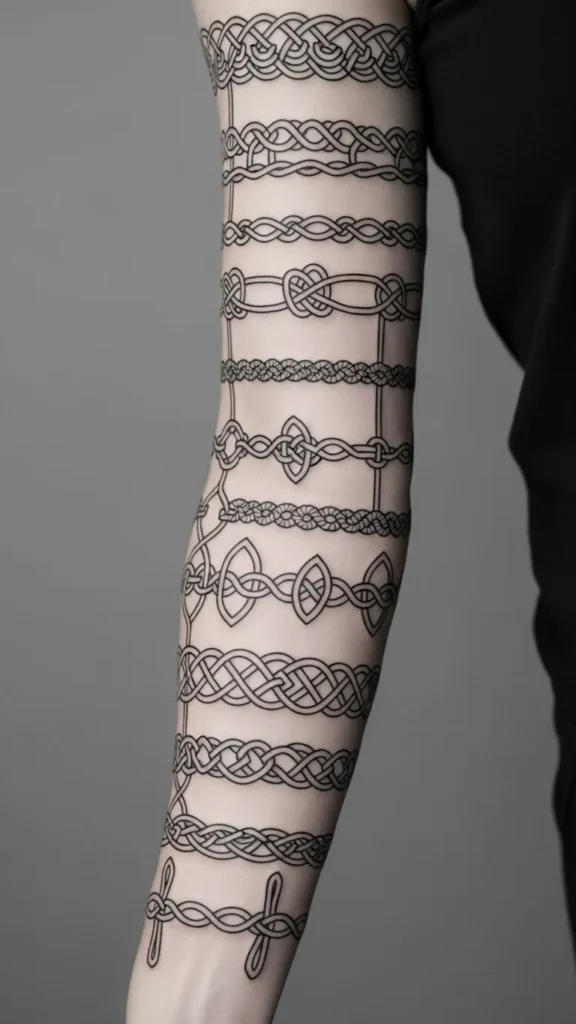
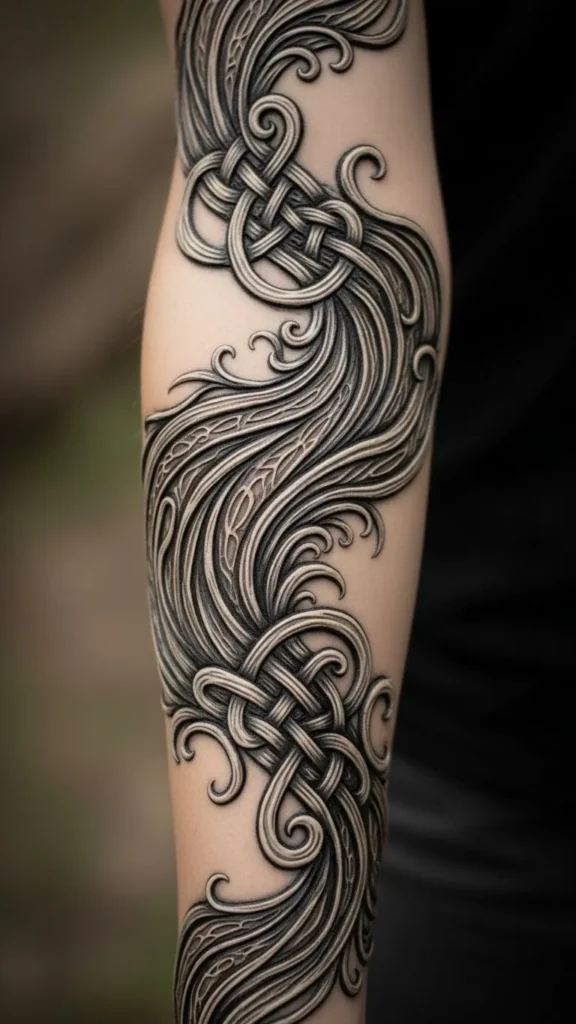
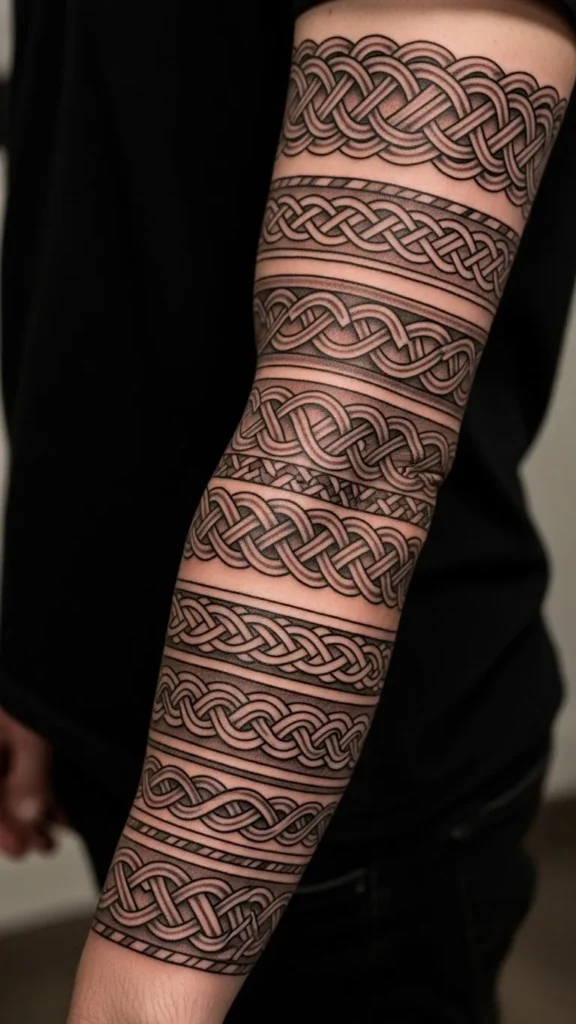
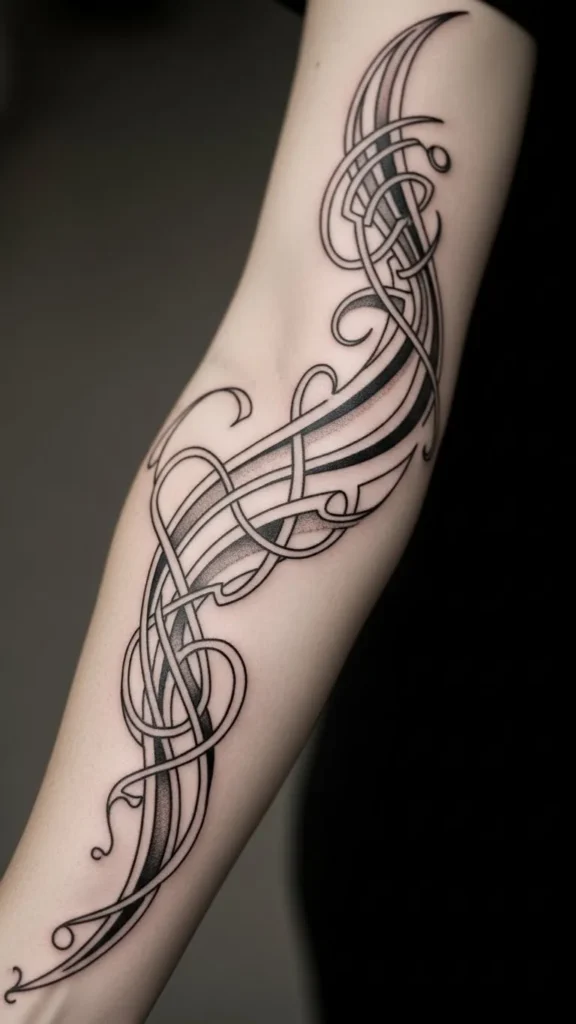
1. Celtic Endless Loop Sleeve
This sleeve centers on the endless loop. The lines never break. That visual rhythm makes the arm look longer and more connected. Many people choose this style to represent loyalty or long-term bonds. You can start small with one loop near the wrist. Later, expand upward as time and budget allow. Black ink keeps costs lower and ages well. Ask your artist to space the loops evenly so the design breathes. For DIY planning, sketch the loop pattern on paper first. Wrap it around a printed arm outline. This helps you see flow before committing. Keep shading minimal. Clean linework carries the design without extra sessions.
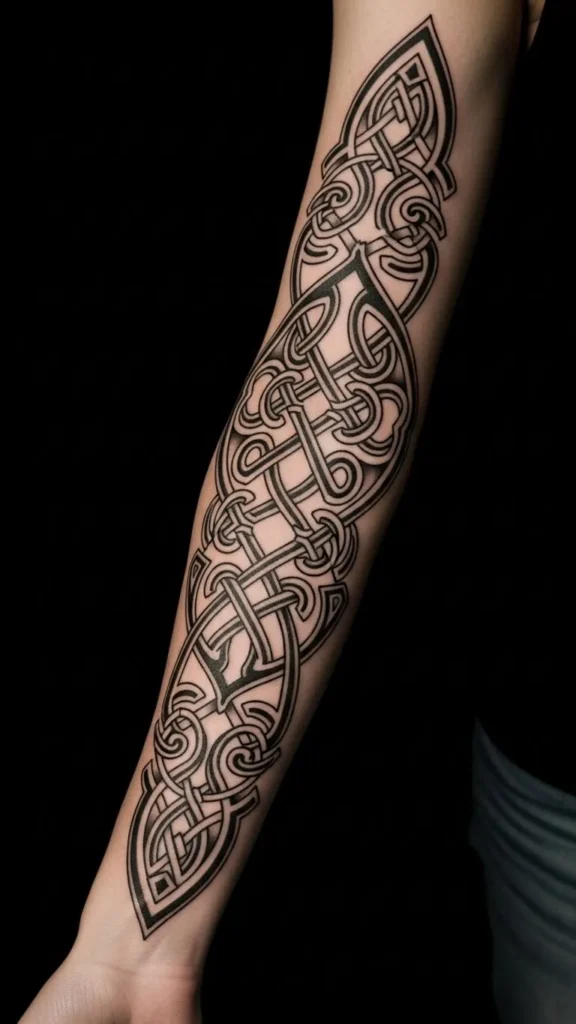
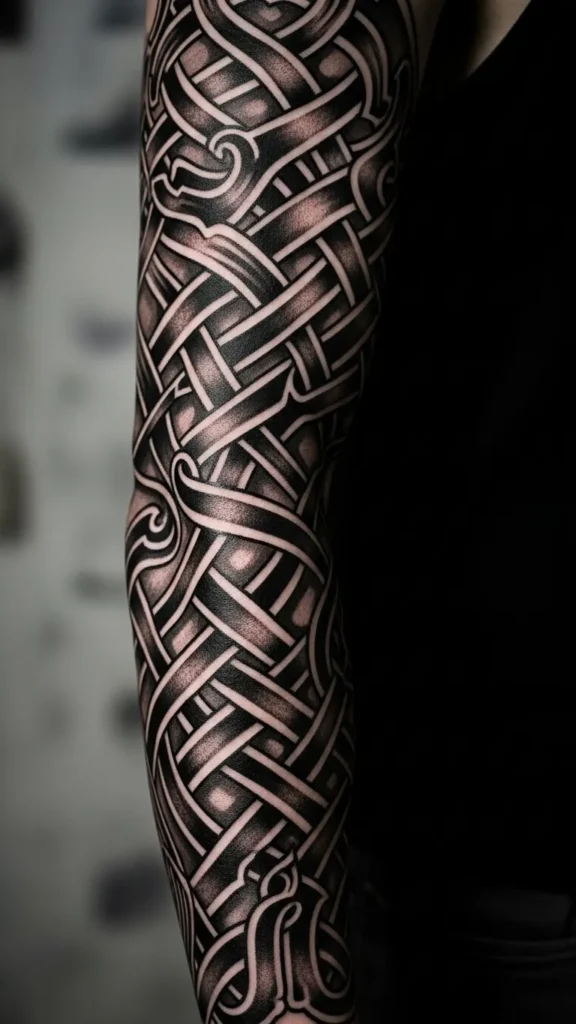
2. Nordic Interlace Arm Wrap
Nordic knotwork leans bold. The lines feel grounded and strong. This makes it ideal for sleeves that need structure. Start with thicker bands near the elbow or shoulder. Let them taper as they move down the arm. This keeps the sleeve from feeling heavy. Many artists recommend negative space between strands. That saves time and ink. If you’re pacing sessions, complete one band per visit. Temporary stencil markers can help you test scale at home. This style pairs well with short sleeves and rolled cuffs. It reads clearly from a distance without extra detail.
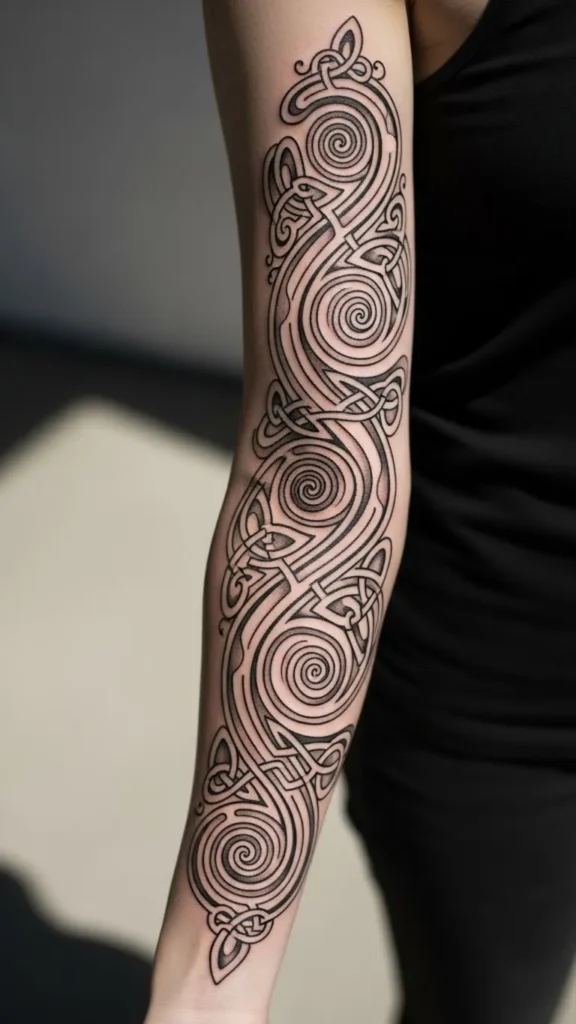
3. Triple Knot Spiral Sleeve
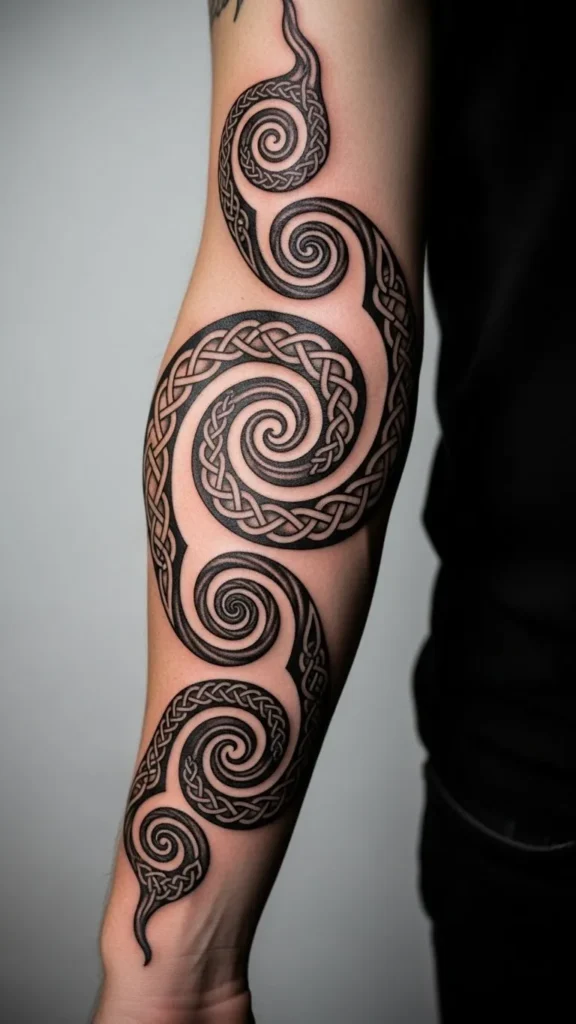
Triple knots carry balance themes. Body, mind, and spirit often guide the layout. A spiral format helps the sleeve move naturally with muscle lines. Begin the spiral near the shoulder. Let it unwind toward the wrist. This approach works well for staggered appointments. Budget-friendly tip: keep the spiral consistent. Avoid added symbols until the base is finished. Use reference photos printed at actual size. Tape them around your arm to check spacing. A clean spiral reads strong even without shading.
4. Minimal Knot Band Sleeve
This sleeve uses repetition instead of density. Thin knot bands stack vertically. Each band can mark a moment or year. That makes it easy to build slowly. You can add one band per session. This spreads cost and healing time. Keep line weight consistent for a unified look. Artists often suggest leaving small gaps between bands. That prevents crowding. For planning, decide band width early. Consistency matters more than complexity here. This style fits well in professional settings.
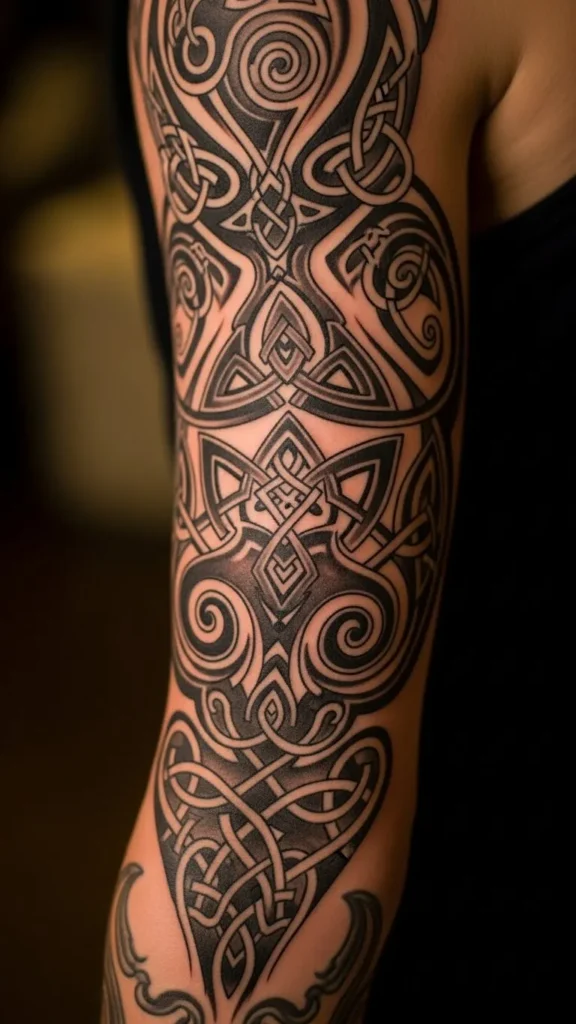
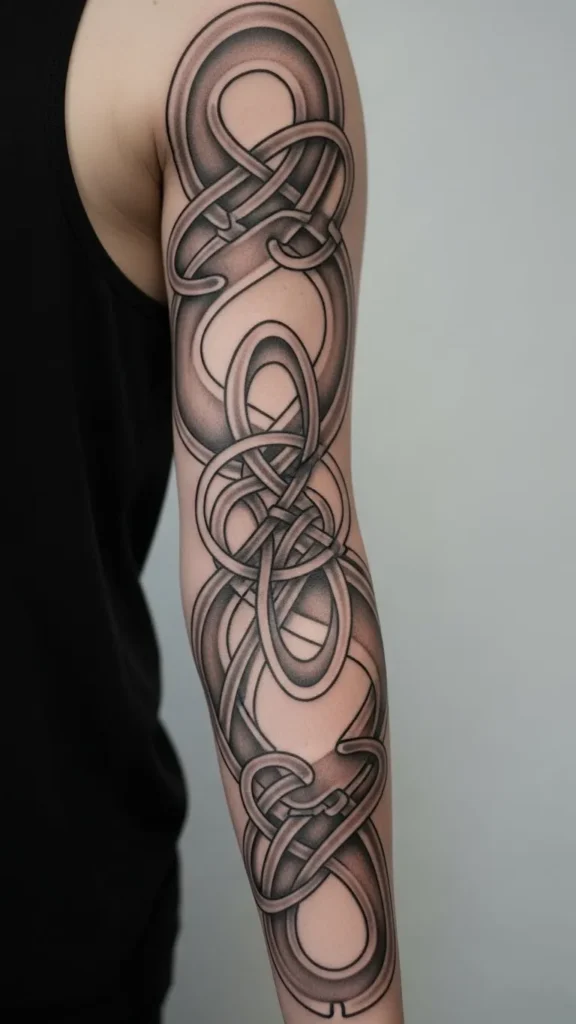
5. Ancient Braid Full Sleeve
Braided knots mimic woven rope. They feel organic and warm. This sleeve looks best when the braid follows muscle curves. Start with the upper arm where there’s more surface. Let the braid narrow as it travels down. Shading can add depth, but light shading saves time. If budget is tight, outline first. Add shading later if desired. Practice braid sketches at home. Understanding overlap helps you talk clearly with your artist.
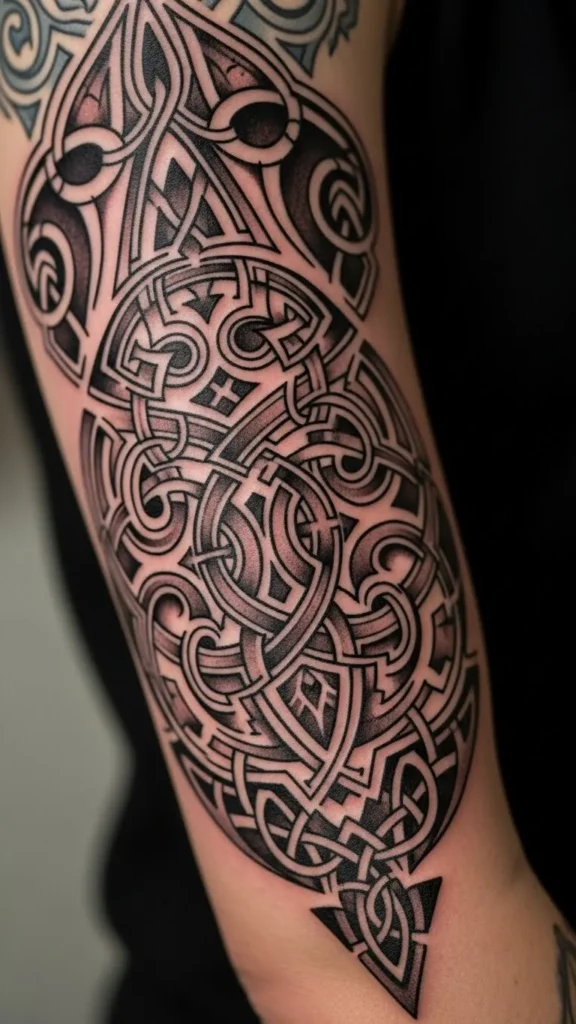
6. Celtic Cross Knot Sleeve
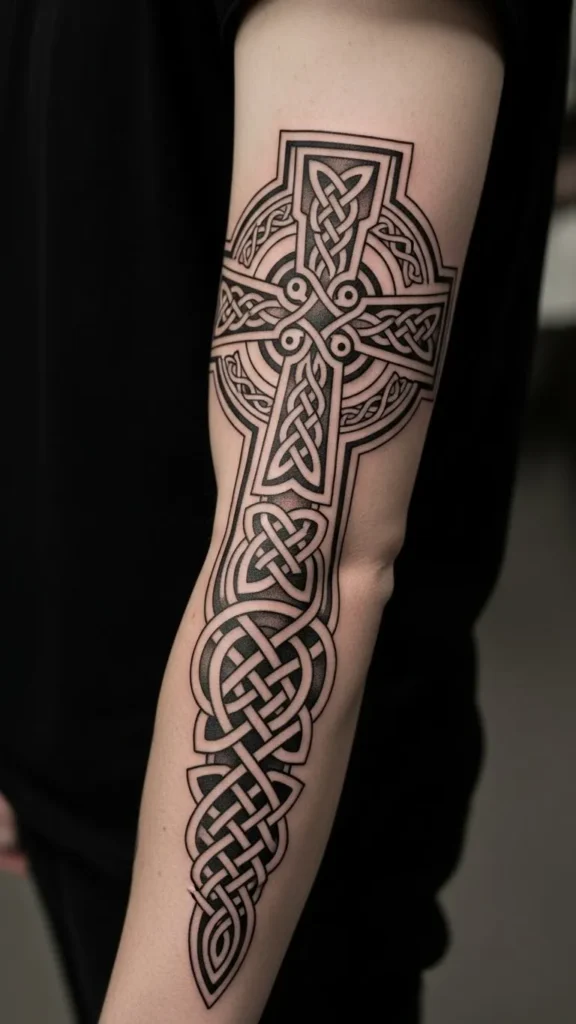
This sleeve anchors around a cross knot focal point. The surrounding knots radiate outward. Start with the center piece first. Build outward in later sessions. This method keeps the design balanced even if you pause midway. Stick with black or dark gray for longevity. Avoid overly tight fills. Open spacing keeps healing easier.
7. Spiral Vine Knot Sleeve
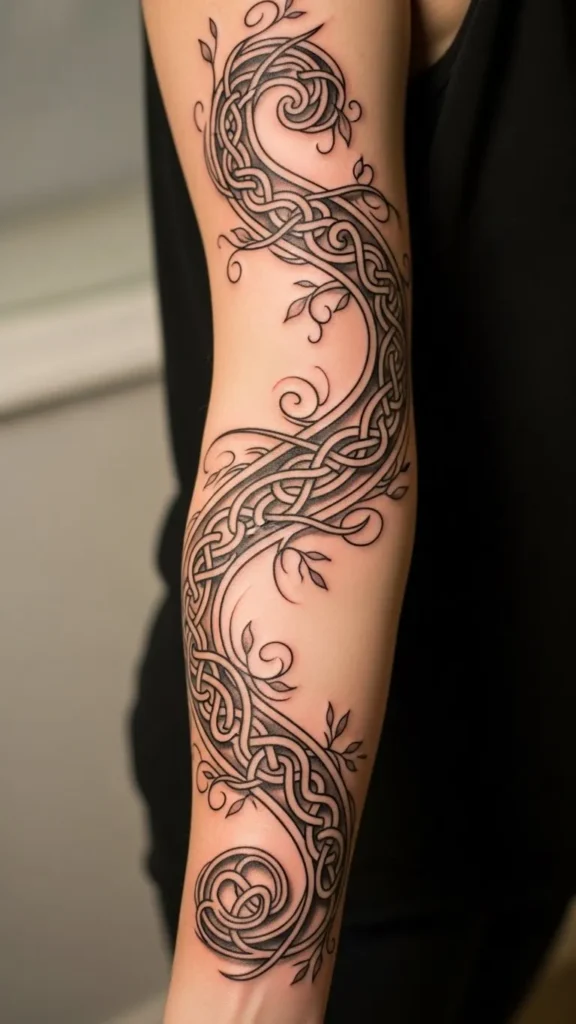
This design blends knotwork with vine flow. The knots feel softer and more natural. It works well for people who want movement without sharp angles. Begin near the wrist and spiral upward. This allows easier hiding early on. Keep vines thin to manage cost. Ask for mockups before ink. Flow matters more than detail here.
8. Warrior Knot Armor Sleeve
This sleeve uses thick knots to mimic armor panels. It feels protective and grounded. Large sections reduce session count. That helps with budgeting. Place heavier sections near the shoulder. Lighter patterns below keep balance. Test placement with washable markers at home. This style reads strong even from afar.
9. Knotwork Pathway Sleeve
This sleeve tells a visual journey. Knots connect like stepping paths. You can add sections over time. Each addition still feels complete. Keep paths evenly spaced. Avoid crowding. This makes future expansion easier. Great for long-term projects.
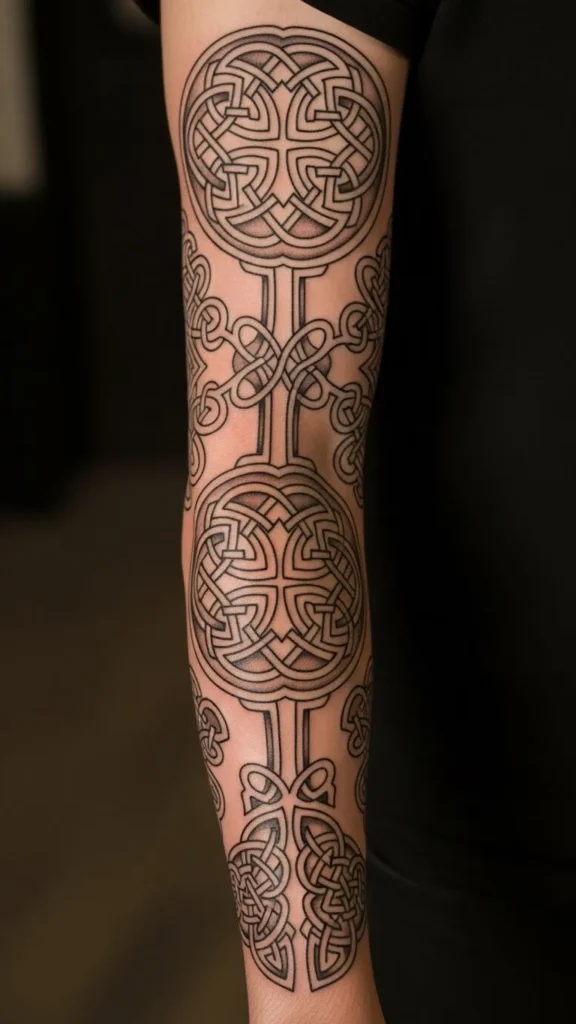
10. Circular Rune Knot Sleeve

Circular knots repeat around the arm. They create rhythm without complexity. Each circle can stand alone. That helps pacing. Start with three or four circles. Add more later. Use consistent sizing. This keeps the sleeve cohesive.
11. Flowing Infinity Knot Sleeve
Infinity knots stretch naturally along the arm. They suit slimmer or athletic builds. Keep curves smooth. Avoid sharp breaks. This style heals cleanly and stays readable. Outline-only versions cost less and age well.
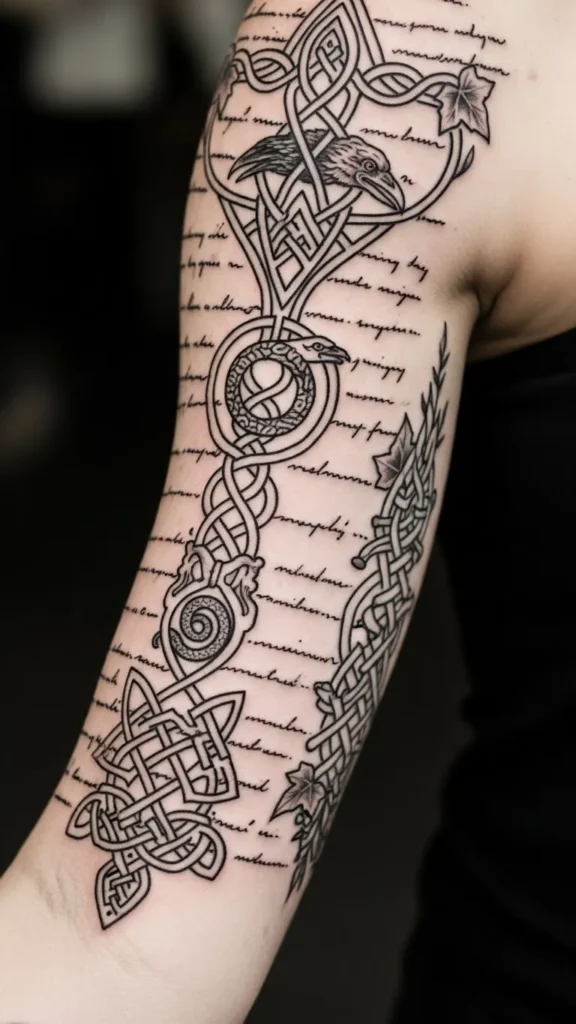
12. Old World Manuscript Knot Sleeve

Inspired by ancient manuscripts, this sleeve uses thinner lines and spacing. It feels historical without clutter. Keep ink light. Avoid heavy fills. This reduces session length. Reference old knot illustrations for planning.
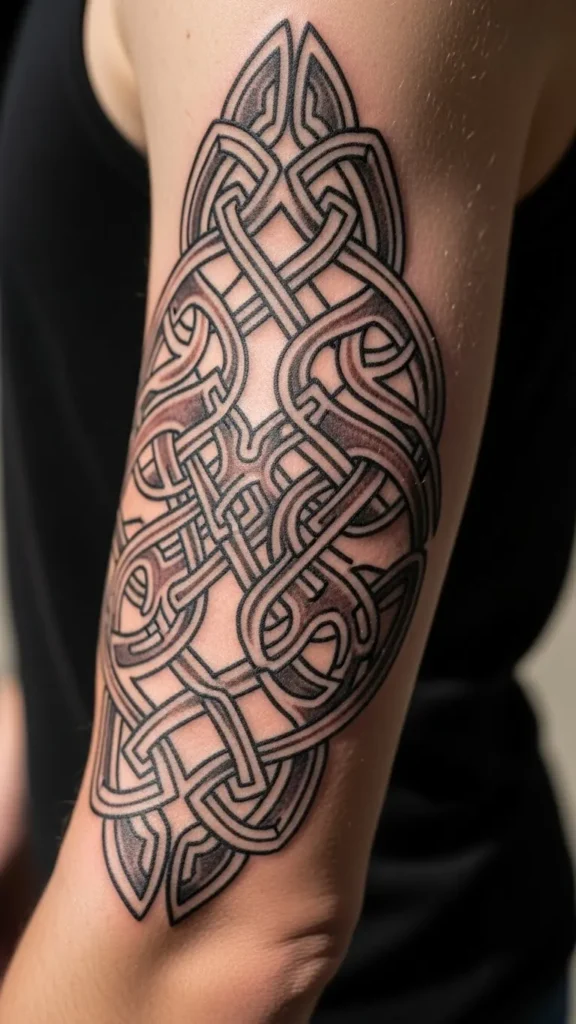
13. Interlocking Shield Knot Sleeve
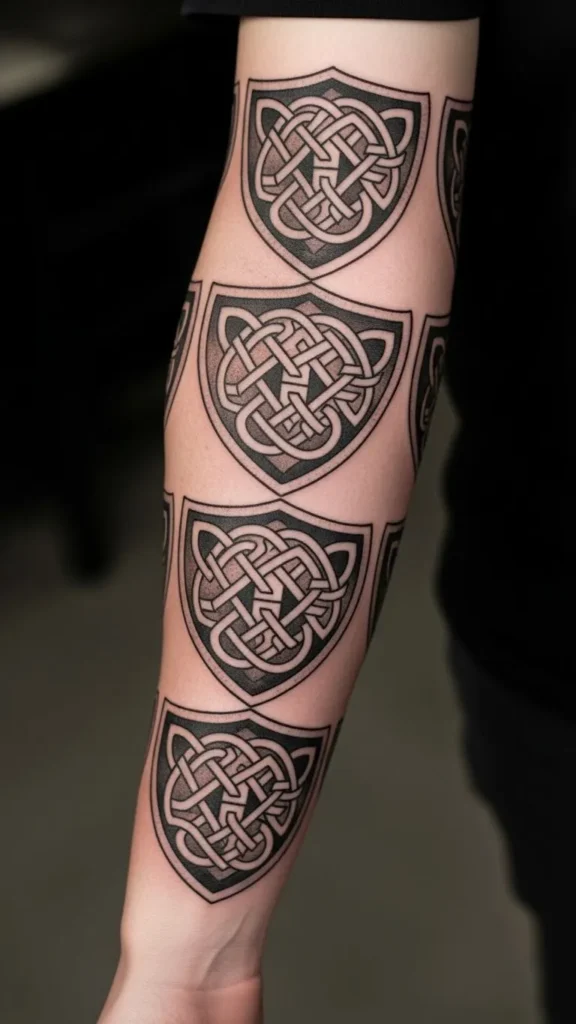
This sleeve uses shield shapes formed by knots. Each section feels contained. You can finish one shield per session. This helps budgeting. Keep edges clean. Symmetry matters more than shading here.
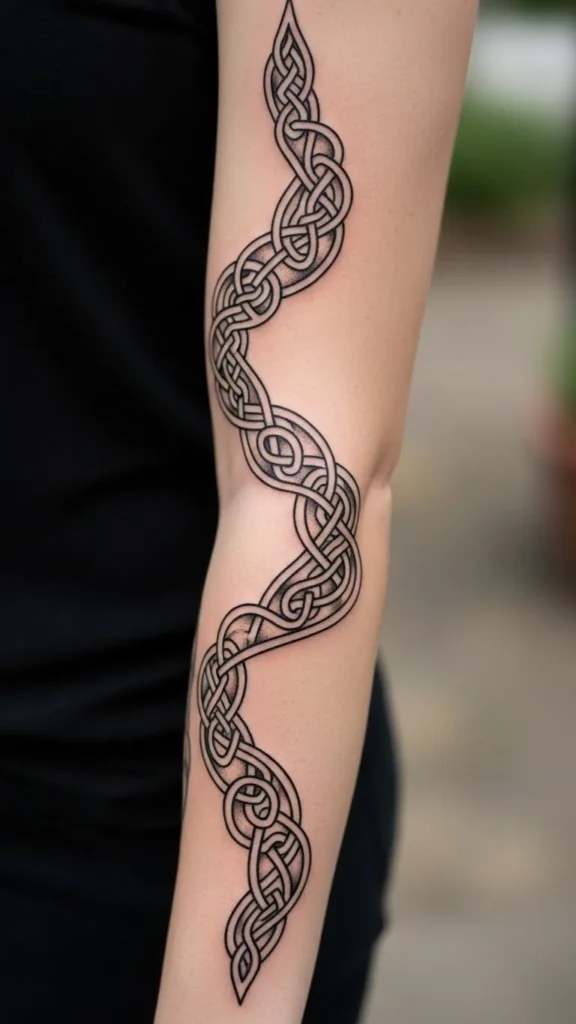
14. Celtic River Knot Sleeve
River-style knots curve gently. They guide the eye along the arm. Start at the elbow crease. Build outward. This placement reduces distortion. Minimal shading keeps sessions shorter.
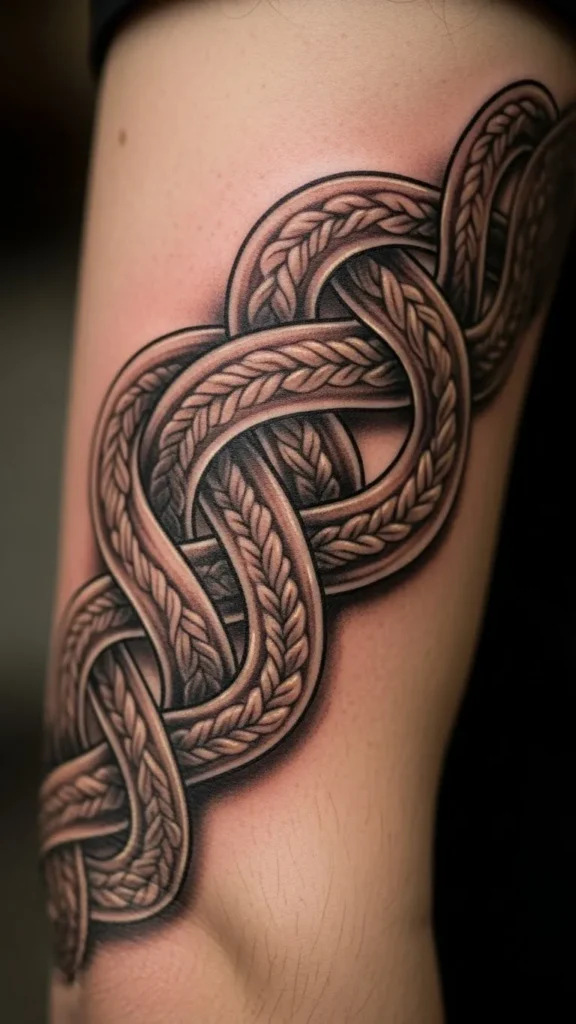
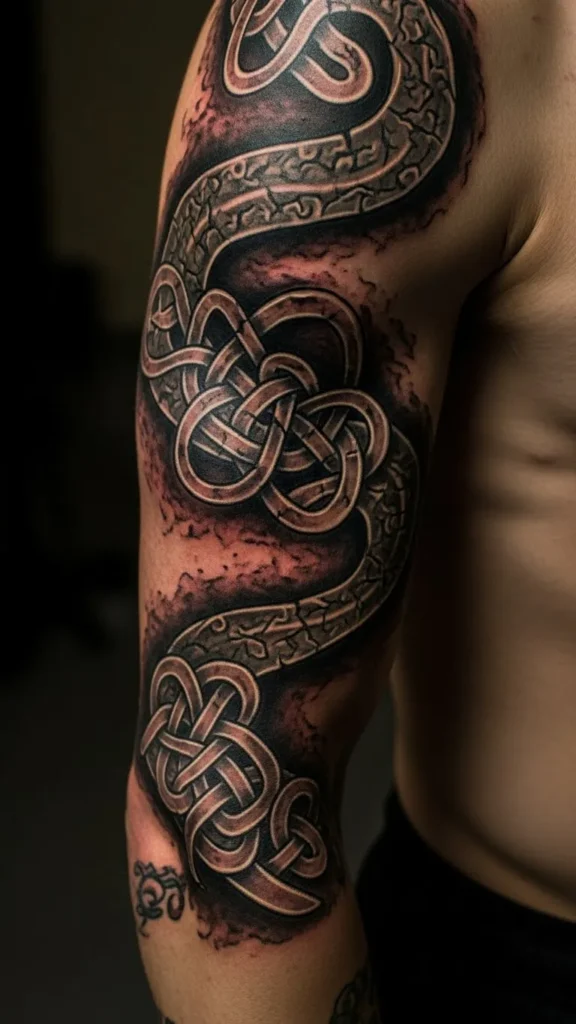
15. Ancestral Rope Knot Sleeve
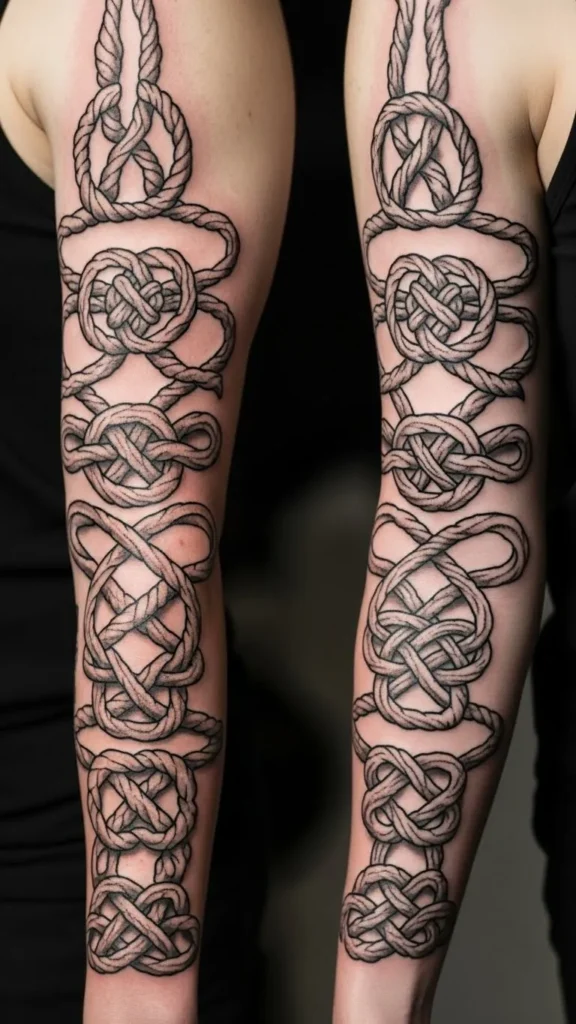
Rope knots feel tactile. They symbolize connection and heritage. Use light texture lines instead of heavy shading. This saves time. Rope patterns hide minor inconsistencies well.
16. Geometric Knot Grid Sleeve
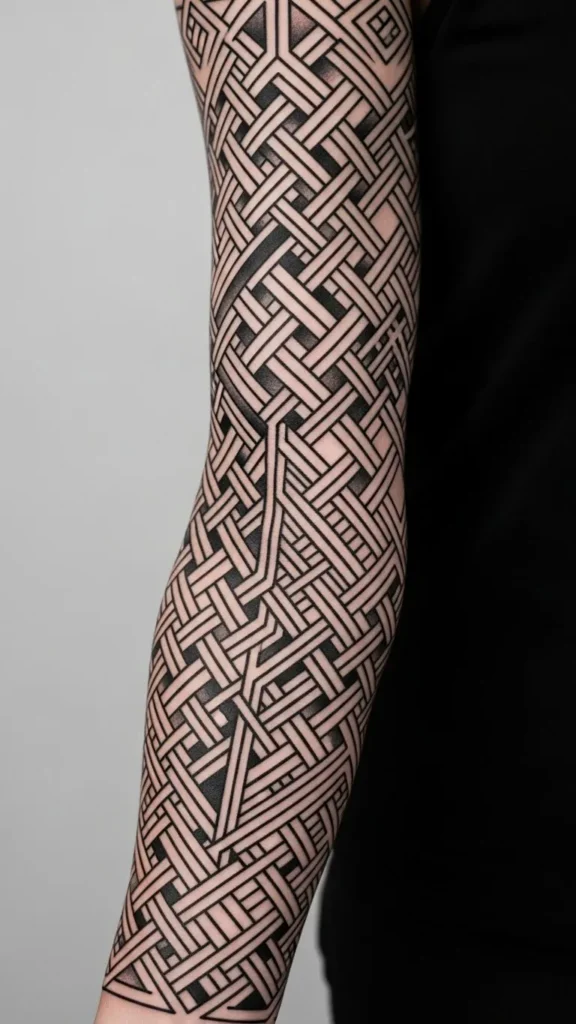
This sleeve blends knots with grid structure. It feels modern yet ancient. Straight edges help alignment. Stencil placement matters. Spend time on prep to avoid rework later.
17. Serpent Knot Flow Sleeve
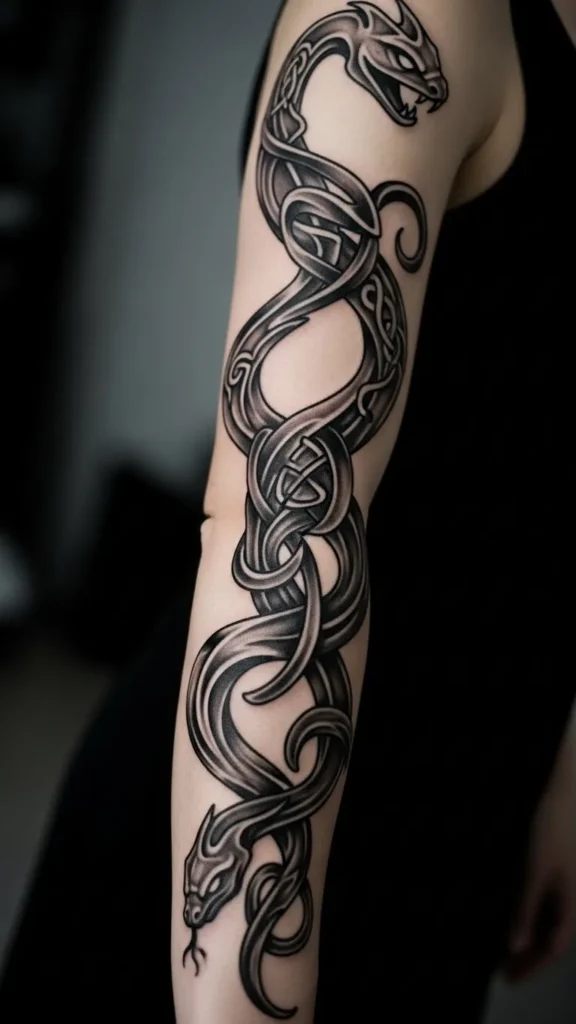
Serpent-style knots twist smoothly. They add motion without imagery. Keep line thickness even. This style adapts well to muscle movement.
18. Heritage Band Knot Sleeve
Stacked heritage bands allow slow build. Each band stands alone. This suits smaller budgets. Keep spacing consistent. Bands heal fast and age well.
19. Sacred Geometry Knot Sleeve
This sleeve mixes knots and shapes. Keep geometry simple. Too many angles increase cost. Plan symmetry early to avoid adjustments later.
20. Shadow Line Knot Sleeve

Shadow-line knots rely on light shading. They look subtle and refined. Less ink means quicker sessions. Ideal for first-time sleeves.
21. Warrior Path Knot Sleeve
This design uses staggered paths. Each path feels intentional. You can pause between sessions without losing cohesion.
22. Ancient Compass Knot Sleeve
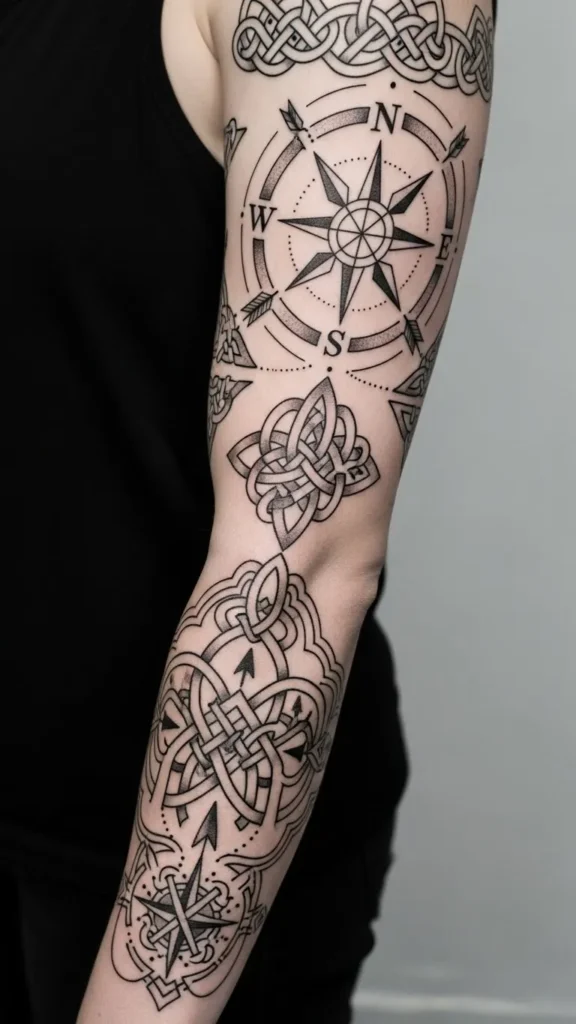
Compass knots guide direction themes. Place focal points at shoulder or forearm. Build outward gradually.
23. Woven Chain Knot Sleeve

Chain knots feel connected and strong. Repeating links simplify planning. Outline first. Add depth later if desired.
24. Spiral Guard Knot Sleeve
Guard spirals feel protective. Start central. Expand slowly. Keep spacing open for comfort.
25. Elder Script Knot Sleeve
This style stays light and airy. Thin lines reduce cost and healing time. Ideal for subtle sleeves.
26. Stone Carving Knot Sleeve
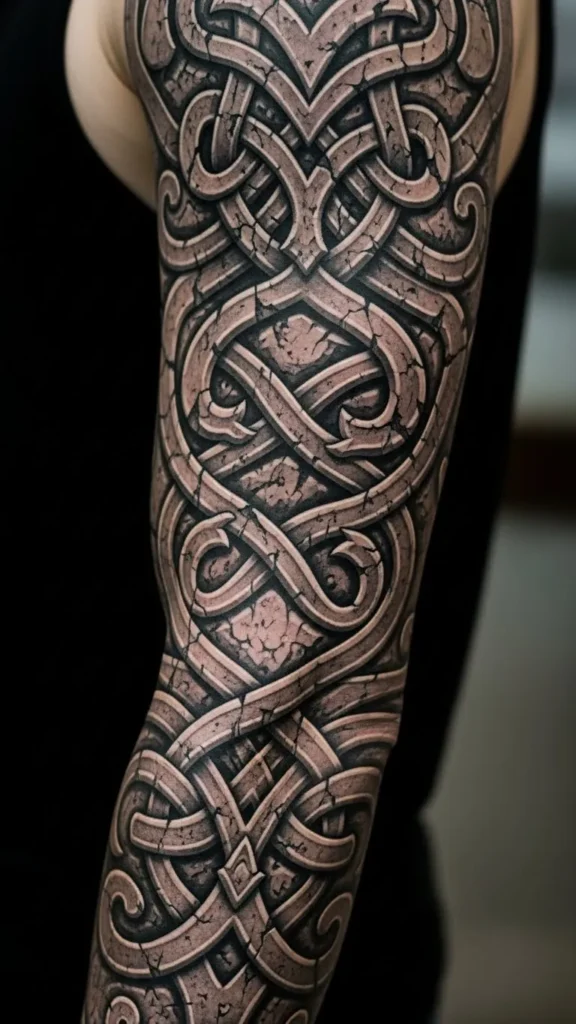
Stone-inspired knots feel grounded. Use simple shading to suggest depth. Avoid heavy fills.
27. Ancestral Circle Knot Sleeve
Circular repetition keeps things calm. Each circle can be added over time. Planning ahead keeps alignment clean.
28. Eternal Line Knot Sleeve
This sleeve uses one unbroken line. It feels meditative and personal. Fewer breaks mean fewer touch-ups. Clean execution matters most.
Conclusion
Knot sleeve tattoos offer a steady way to carry history on your skin. They rely on flow, patience, and thoughtful planning rather than excess detail. By choosing designs that grow over time, you control both cost and comfort. Start with a clear base. Build gradually. Focus on clean lines and natural movement. Save your favorite ideas and talk them through with your artist before the first session.

Leave a Reply