

Flames are more than just fire—they’re symbols of passion, intensity, and transformation. If you’ve ever admired the bold lines and dynamic curves of a flame tattoo, you might be curious about creating your own. Whether you’re a beginner doodler or aspiring tattoo artist, learning to draw flame tattoos can be both fun and deeply expressive.
In this guide, we’ll break down the process step by step, share tips for making your flames dynamic, and explore how to add personal meaning to your designs.
Understanding the Symbolism of Flames
Before putting pen to paper, it’s essential to know why flame tattoos are so compelling.
Flames are often associated with:
- Passion: The intensity of desire or drive.
- Transformation: Fire represents change, growth, and rebirth.
- Energy: Flames are alive, symbolizing motivation and creativity.
- Protection: In some cultures, fire wards off negativity.
Knowing the meaning behind your design will help you create a tattoo that’s not only visually stunning but also emotionally significant.
Step 1: Gather Your Materials
You don’t need much to get started—just the basics:
- Sketchbook or smooth drawing paper
- Pencils (preferably 2B for sketching)
- Fine-tip pens or markers for outlining
- Colored pencils or markers if you want a fiery look
- Eraser for refining your lines

Having everything organized helps your creativity flow without interruptions.
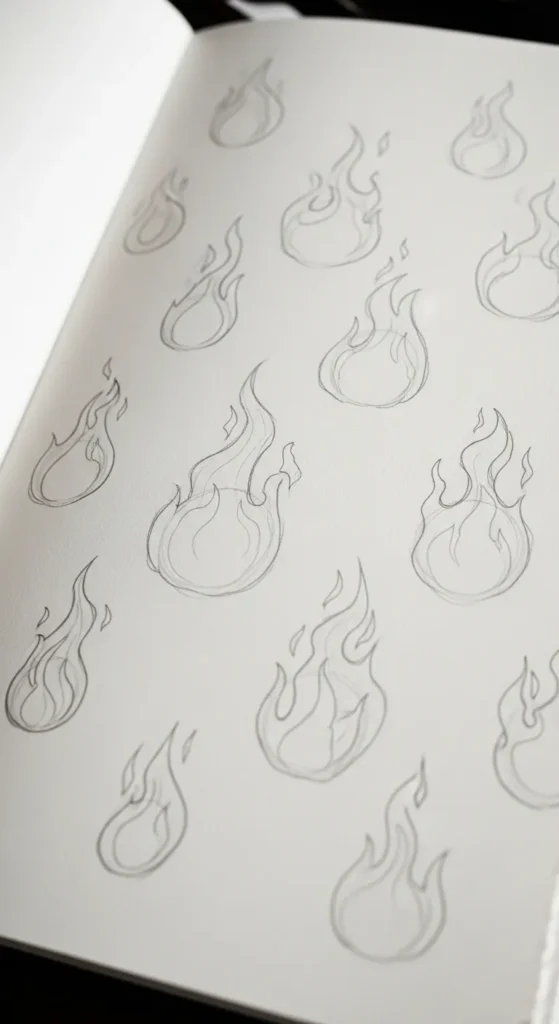
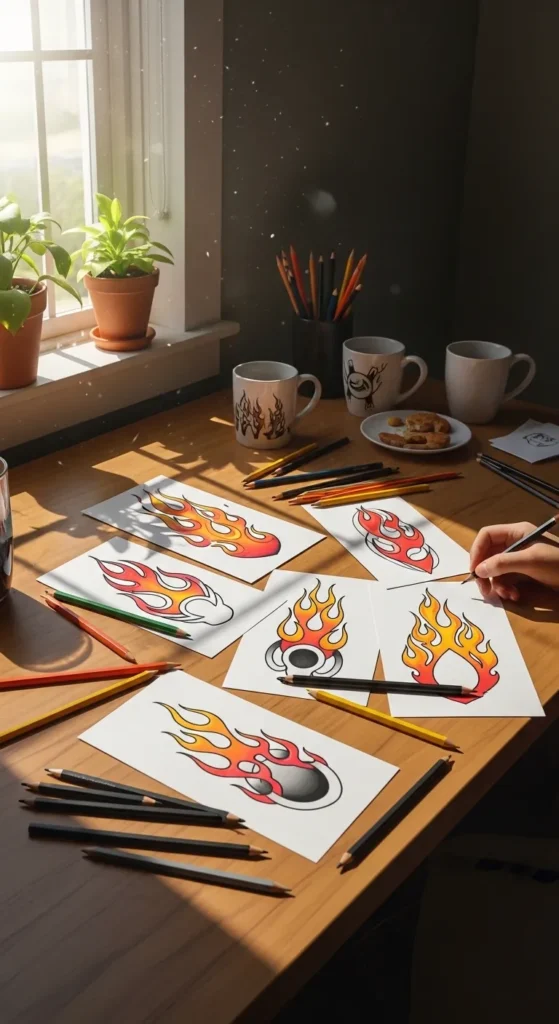
Step 2: Start with the Basic Shape
Flames aren’t just random squiggles—they have flow.
Here’s how to start:
- Draw a central flame shape: Begin with a long, pointed oval as your flame’s core.
- Add curves around the base: Flames have movement, so sketch soft, wavy lines extending outward.
- Create multiple tips: Flames often have several peaks—experiment with asymmetry for a natural look.
Keep your pencil strokes light at this stage—you’ll refine them later.
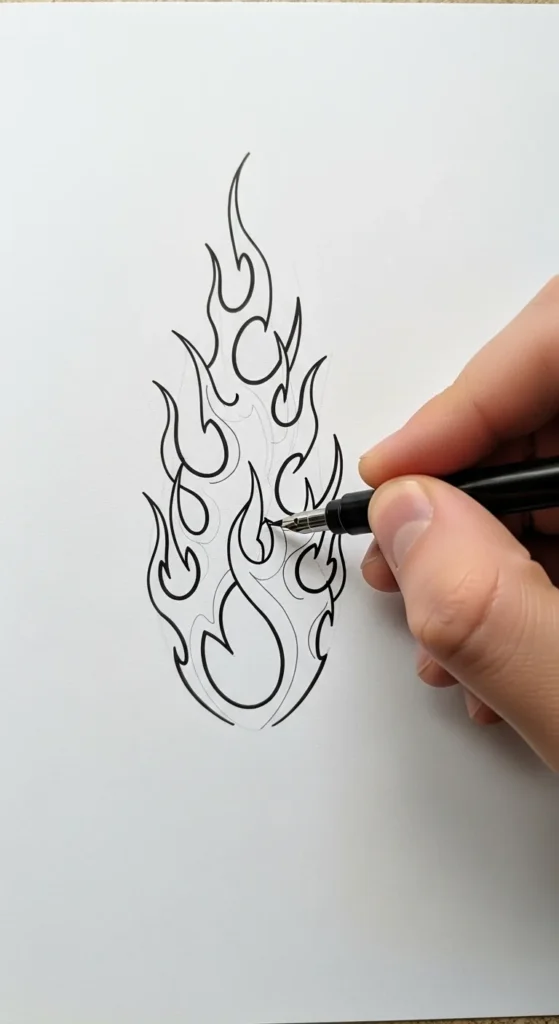
Step 3: Refine the Details
Once the basic shapes are down, it’s time to make your flame dynamic:
- Vary the width: Make the tips thin and the base wider to suggest energy rising.
- Add inner curves: Flames look alive when they curl and twist inward.
- Layer overlapping flames: Multiple layers create depth and realism.
Take your time—small adjustments can turn a flat sketch into something visually striking.
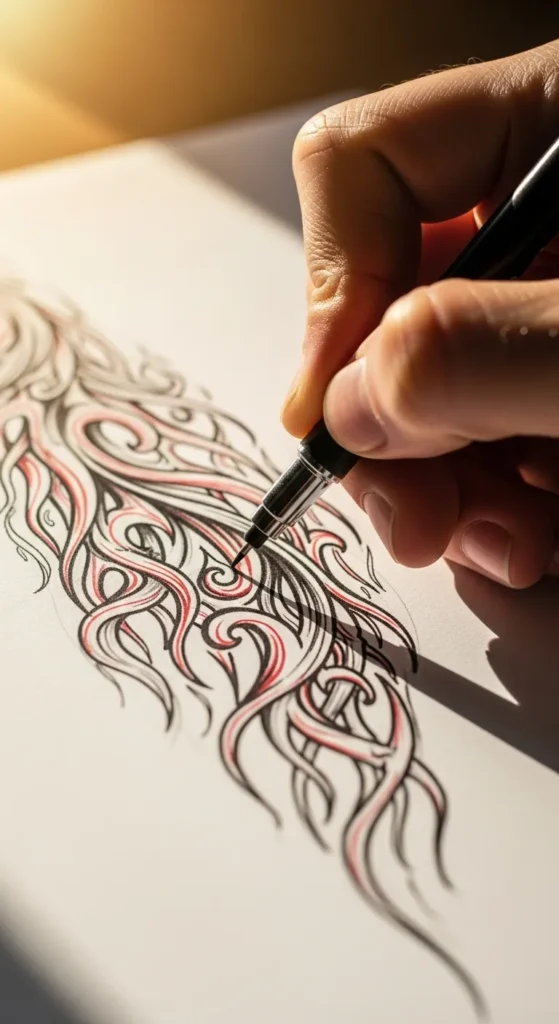
Step 4: Inking Your Design
Now for the bold step:
Outlining with ink or a fine-tip pen.
- Trace over your finalized pencil lines with steady, confident strokes.
- Use thicker lines for the outer edges and thinner lines for interior details.
- Don’t worry about perfect symmetry—flames are naturally chaotic.
After inking, gently erase any remaining pencil marks to reveal your clean, polished design.
Step 5: Adding Color and Personal Touches
Flame tattoos come alive with color.
Here’s how to choose your palette:
- Traditional fire colors: Reds, oranges, and yellows for a classic look.
- Cool flames: Blues, purples, or greens for a mystical or unique vibe.
- Gradient shading: Blend colors from base to tip for realistic depth.
- Optional highlights: Use white gel pens to mimic flickering light.
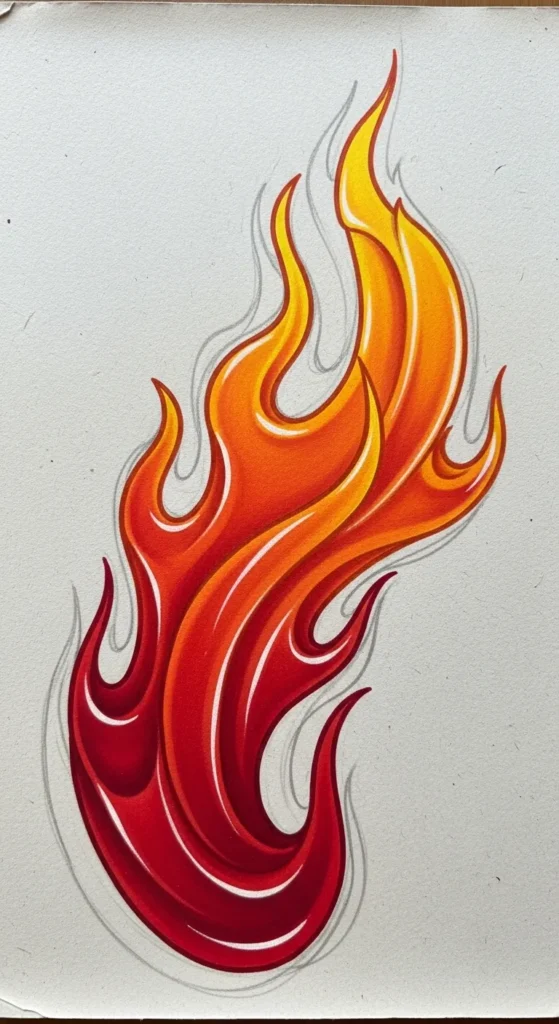
Personal touches can also include symbols or shapes hidden in the flame—hearts, stars, or initials—to make the tattoo uniquely yours.
Step 6: Practice Makes Perfect
Even professional artists refine their skills with repetition. Tips for practice:
- Draw flames daily in different shapes and sizes.
- Study fire in nature—observe movement, color, and flow.
- Experiment with abstract designs to see what feels right.
- Take photos of your sketches to compare progress over time.
Remember, the more you draw, the more confident and creative your designs will become.
Final Thoughts
Flame tattoos are bold, vibrant, and full of meaning. By following these steps, you can create your own designs that express passion, energy, and individuality. Keep practicing, embrace imperfections, and let your creativity blaze.
Save your favorite sketches and watch your skills grow—you might even create a design worthy of being inked someday!

Leave a Reply