

If you love playful holiday ink, a Santa cookie outline tattoo is one of the cutest mini designs you can get. It’s simple, charming, and instantly festive—perfect for anyone who wants holiday cheer without committing to a large tattoo. Whether you’re sketching ideas for your artist or creating a DIY temporary version at home, you can design this sweet little outline in just a few minutes.

Below, you’ll learn how to draft the shape, add details that make the cookie recognizable, and personalize the design so it truly reflects your style.
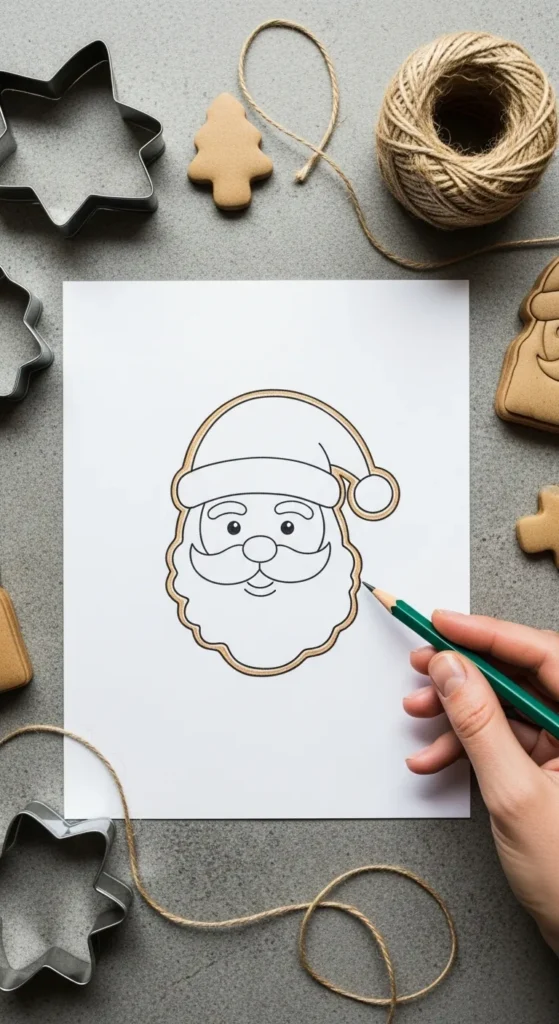
Step 1: Start With a Simple Cookie-Shaped Base
The charm of a Santa cookie outline tattoo is its friendly, rounded shape. You don’t need intense drawing skills—just a soft, cookie-like silhouette.
Start with:
- A rounded head
- A fluffy hat outline
- A slightly curved beard shape
- A simple mitten hand or cookie bite mark (optional!)
Keep your lines loose and imperfect. Cookie-style tattoos naturally look better when they feel hand-crafted.
This first outline sets the foundation, so don’t worry about tiny details yet. Think soft curves rather than sharp edges. The goal is “baked,” not “polished.”
Step 2: Add Cute Face Features and Santa Details
Once you have the cookie silhouette, you can begin adding the fun parts—the face and signature Santa features.
These might include:
- Two tiny dot eyes
- A round button nose
- A fluffy hat trim
- Curved mustache lines
- A gentle smile
The key is to keep everything simple. Outline tattoos shine when they’re clean and crisp. Too much detail can make the cookie look busy, so pick your favorite three or four features and build from there.
If you want personality, tilt the hat slightly or add a tiny star or snowflake on the hat. Even a tiny heart-shaped nose can make the design feel extra sweet.
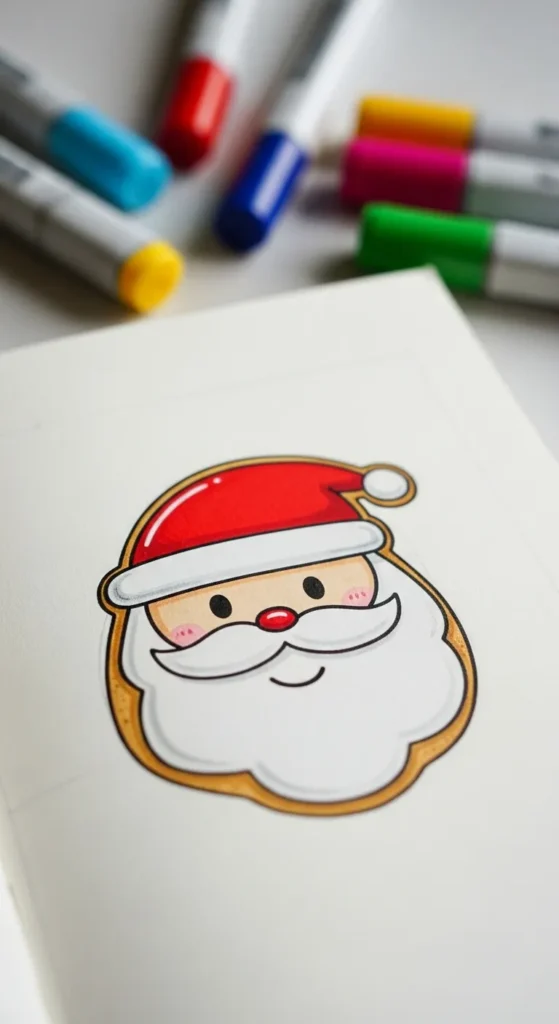
Step 3: Give the Cookie That “Freshly Baked” Look
To really embrace the cookie theme, add small touches that mimic baked edges. These little marks make outline tattoos look adorable and festive.
Ideas include:
- Short dashed lines around the edge
- A slightly uneven border
- A tiny “bite” mark on one corner
- Mini dots to mimic sugar texture
These tiny accents help the tattoo feel warm, soft, and holiday-ready.

Remember, your tattoo doesn’t need to look perfect—cookies never are. That’s what makes this theme fun.
Step 4: Choose the Perfect Placement for Your Tattoo
Placement can make a huge difference in how playful your Santa cookie outline looks. Think about where a small, charming holiday tattoo would shine the most.
Popular spots include:
- Wrist
- Collarbone
- Ankle
- Behind the ear
- Inner forearm
- Finger side
Smaller areas work great because cookie designs tend to be tiny and cute. If you’re making a temporary tattoo, try different spots with washable markers before committing.
Placement tip:
Avoid areas with heavy creasing if you want very crisp lines—smooth spots give cleaner results.
Step 5: Personalize Your Santa Cookie to Make It Unique
This step is what turns a simple outline into something that feels like you. A Santa cookie tattoo is incredibly customizable, so feel free to get creative.
Personalization ideas:
- Add a tiny snowflake in the beard
- Draw a mini star near the hat
- Make the beard heart-shaped
- Add small “crumbs” around the cookie outline
- Include your initials hidden in the trim
- Add a second cookie next to it (tree, mitten, or gingerbread-style character)
You can also adjust the overall shape—some people prefer a round cookie look, while others like a more playful wavy border.
These little touches help the tattoo stand out and feel one-of-a-kind.
Step 6: Finalize the Design for Your Tattoo Artist
Before your appointment (or before creating a temporary version), finalize your outline with smooth, clean lines. A dark pen or digital drawing app works best for crisp edges.
Make sure your final drawing includes:
- A consistent outline thickness
- Clear, readable face features
- A well-defined hat shape
- Any tiny accents (crumbs, bite marks, dashed edges)
Once the design looks balanced and charming, you’re ready to bring it to life.

If you’re getting it inked, bring both a printed version and a phone version so your artist can choose the best reference.
Step 7: Enjoy Your Festive New Tattoo
A Santa cookie outline tattoo is one of those designs that instantly sparks smiles. It’s simple. It’s festive. And it’s adorable on any skin tone or placement.
You can show it off during holiday gatherings, add it to a growing collection of tiny seasonal tattoos, or enjoy its charm year-round.
Final Takeaway
A fun Santa cookie outline tattoo doesn’t require complicated art skills—just a soft silhouette, a few simple features, and playful cookie-like edges. With the right touches, you can design a piece that’s festive, meaningful, and totally unique to you.
Save this idea for later or share it with someone who loves cute holiday tattoos!

Leave a Reply