

Snowflake cluster tattoos bring together the charm of winter and the artistry of fine detail. People love them for their gentle lines, soft sparkle, and the way each cluster can tell a small personal story. If you’re searching for ideas that feel dreamy, meaningful, and easy to customize, this list gives you plenty of inspiration. Each design is simple to adapt, budget-friendly, and perfect for anyone wanting a small but expressive winter tattoo.
1. Tiny Wrist Snowflake Cluster
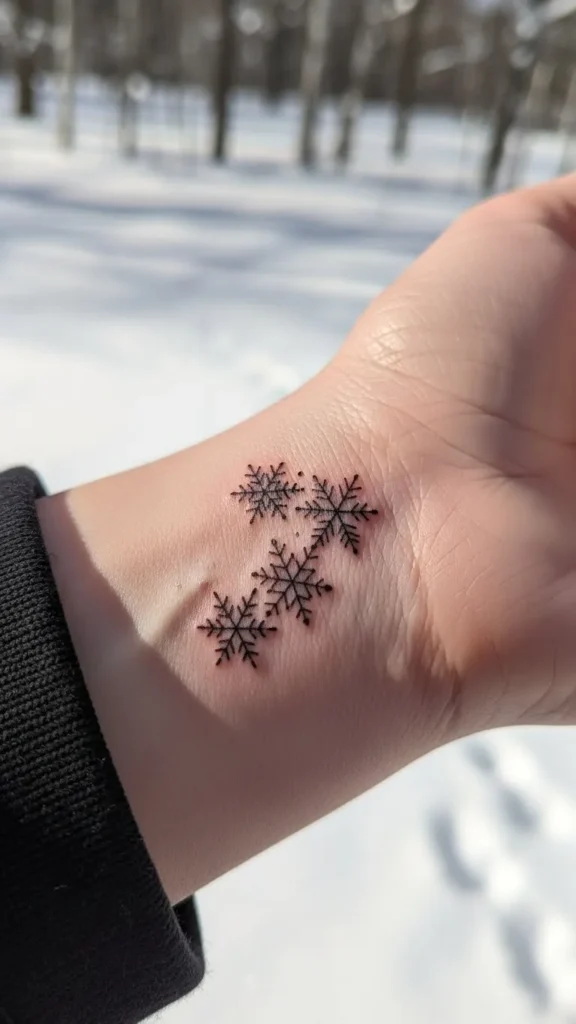
A tiny wrist snowflake cluster works well for anyone who wants something subtle. It sits lightly on the skin and doesn’t take much space. You can keep the pattern simple with three or four flakes grouped together. If you like DIY planning, sketch a few small shapes on tracing paper and hold them against your wrist to see what looks balanced. Keep the sizes mixed to add interest. A wrist design is usually quick to tattoo, which helps keep the cost low. Simple linework also heals faster and stays clean. If you’re sensitive to placement, ask your artist to map out the cluster with a washable marker. This helps you get the spacing right before the session starts. Pair the cluster with a tiny star dot or two if you want a touch of sparkle without overpowering the gentle look.
2. Collarbone Snowflake Drizzle
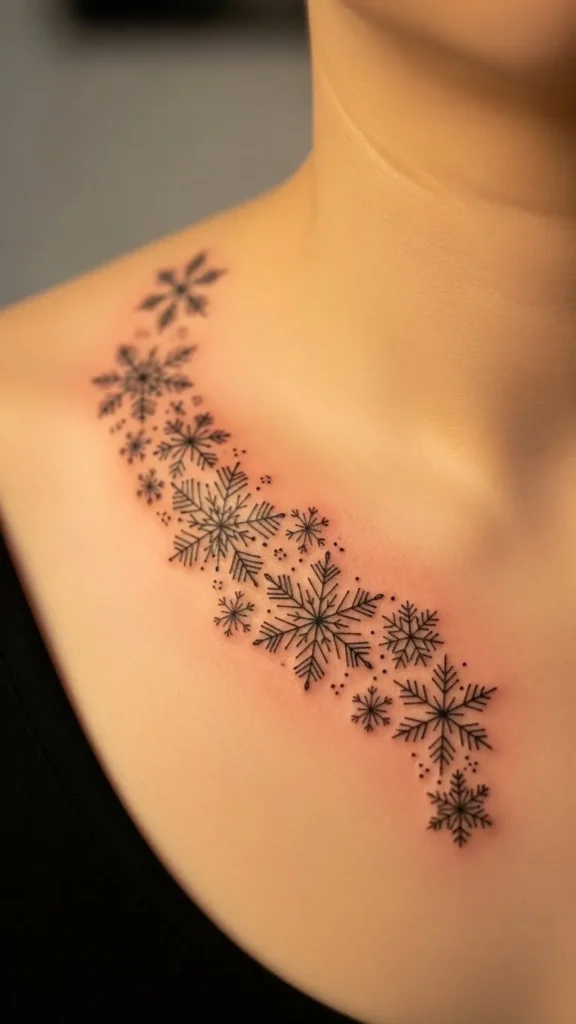
A collarbone snowflake drizzle gives you a soft and graceful shape that follows the curve of your body. Keep the flakes small so the line feels airy. This design works well if you like tattoos that peek out from sweaters or tops. Try laying out small stickers or temporary tattoos at home to test how the arc looks. This helps you figure out if you want the cluster tight or spread out. Because the collarbone is a bony area, a smaller design usually feels more comfortable during the session. Ask your artist to mix a few different flake styles to create movement. You can keep your cost low by choosing simple linework instead of shading. When healed, the design looks like a shimmer across your skin.
3. Shoulder Snowfall Cluster
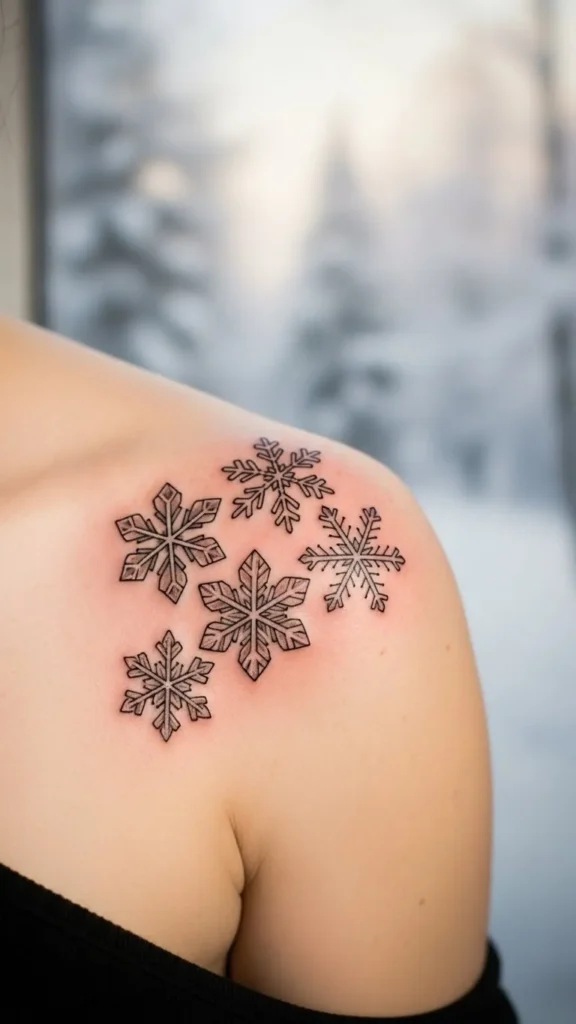
A shoulder snowfall cluster feels soft and open. You can place a handful of small flakes drifting toward the back or slightly downward. Use a notebook to sketch loose patterns, then cut them out and arrange them on your shoulder in front of a mirror. This is an easy way to test flow without guessing. Shoulder skin holds fine-line tattoos well, and the area gives enough room for a wider cluster. Ask your artist to use thin needles for crisp lines. Light dot accents around the flakes make the piece feel almost airy. If you’re keeping your budget tight, skip any color since black or gray linework already captures the winter look. This style pairs nicely with tank tops or off-shoulder sweaters.
4. Minimal Ankle Snowflake Set

An ankle snowflake set is simple, cute, and great for small tattoos. Keep the cluster compact so it fits with the natural curve of the ankle. You can print snowflake outlines in different sizes and tape them to your ankle to test the arrangement. It helps you decide if you prefer the design high or low on the bone. This placement is affordable because it doesn’t require a long session. Many choose thin-line flakes since they look light and clean. Add a single tiny dot or dash between flakes if you want a subtle trailing effect. The area heals fairly quickly, especially if you wear loose socks for the first few days.
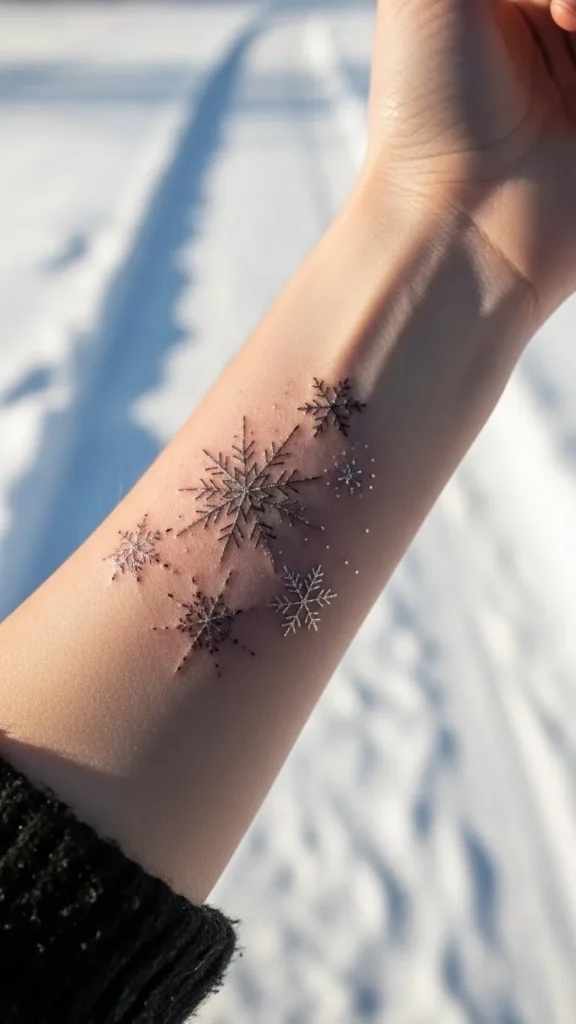
5. Snowflake Trio on the Forearm
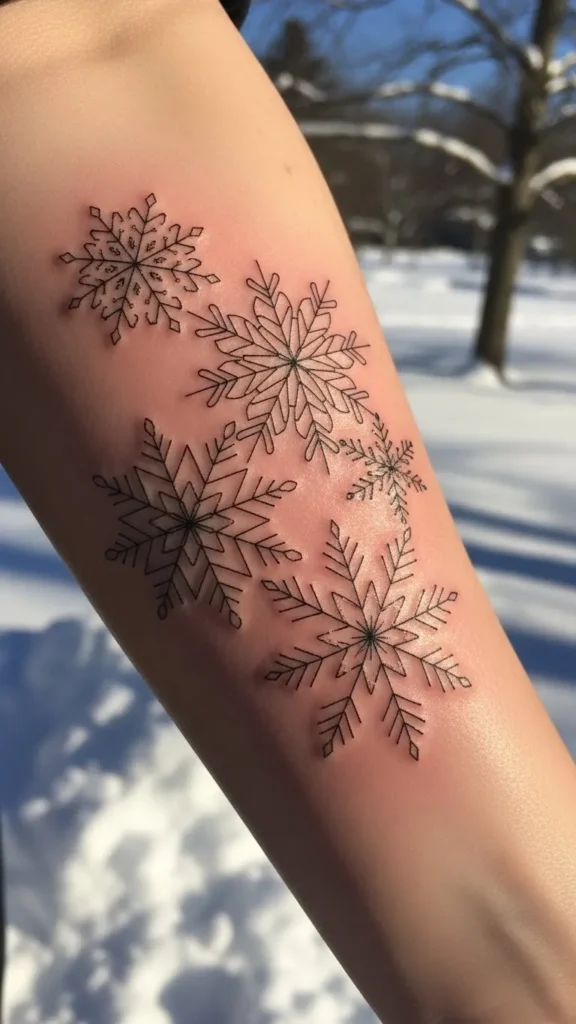
A forearm trio gives you a balanced cluster with room to play. You can keep the flakes symmetrical or mix different shapes for a more natural feel. Try tracing flakes onto transparent film and placing them along your forearm to see what spacing feels right. This spot is ideal if you enjoy designs you can see every day. The forearm also holds details nicely because the skin is smooth. Sticking to thin linework helps keep the tattoo affordable and easy to maintain. A tiny star or dot in the center ties the cluster together without crowding the space.
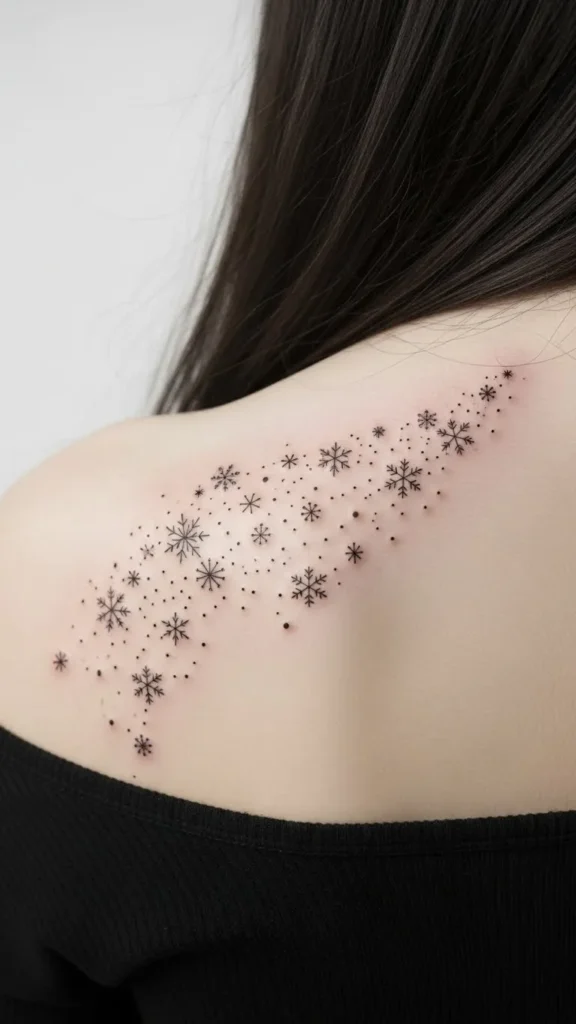
6. Delicate Back-of-Shoulder Cluster
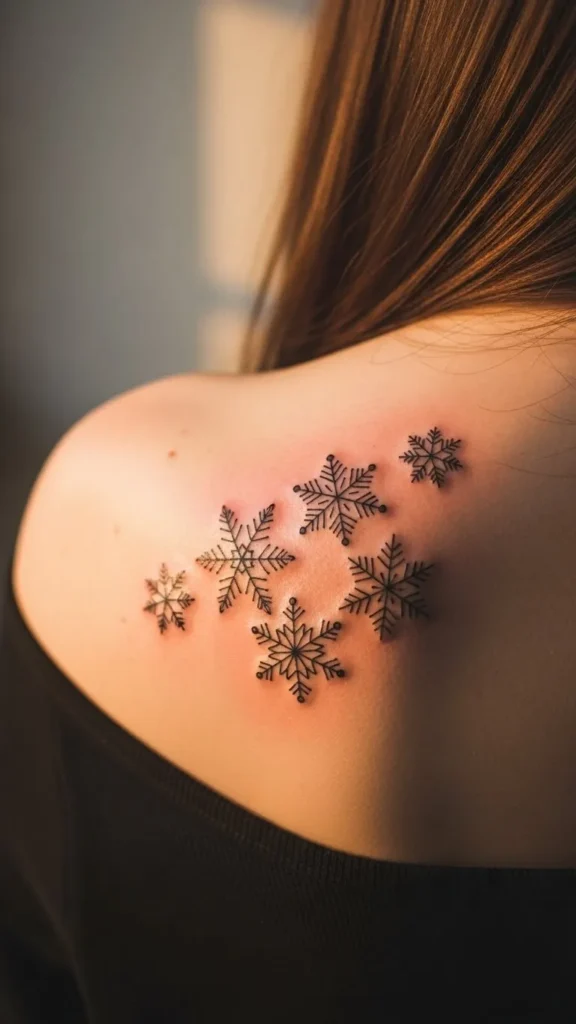
Back-of-shoulder tattoos are perfect for gentle clusters. This spot offers a wide canvas without feeling heavy. You can design the flakes to drift slightly outward for a soft, breezy effect. Use makeup eyeliner to test the placement before booking your appointment. This helps you picture how the pattern looks with different tops. Since this area sits away from friction, the tattoo usually heals well. For a budget-friendly twist, stick to simple outlines rather than filled shapes. A few tiny scattered dots around the flakes help the design feel airy and open.
7. Fading Snowflake Arc Around the Elbow
A fading snowflake arc works beautifully around the elbow if you want a design that wraps slightly. Use a curved arrangement of flakes that shrink as they reach the inner arm. You can sketch the pattern on flexible adhesive paper to test the curve. This helps you line it up correctly. Since elbows can be sensitive, keep the flakes small to shorten the session time. Fine lines make the arc look neat without needing heavy shading. If you’re keeping costs lower, skip any overlapping shapes. A light scattering of snow dots at the edges makes the arc feel gentle and flowing.
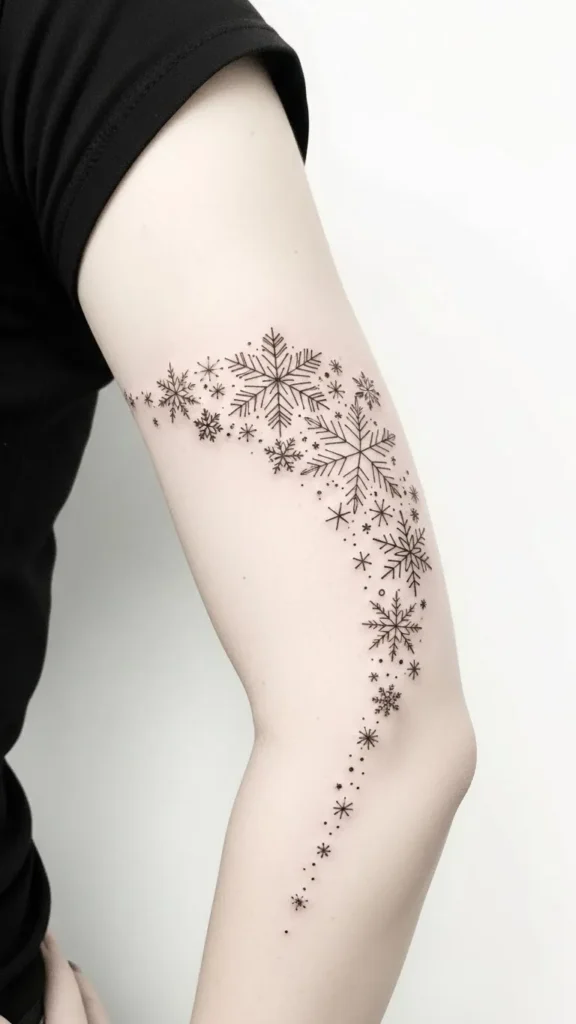
8. Snowflake Burst on the Upper Arm
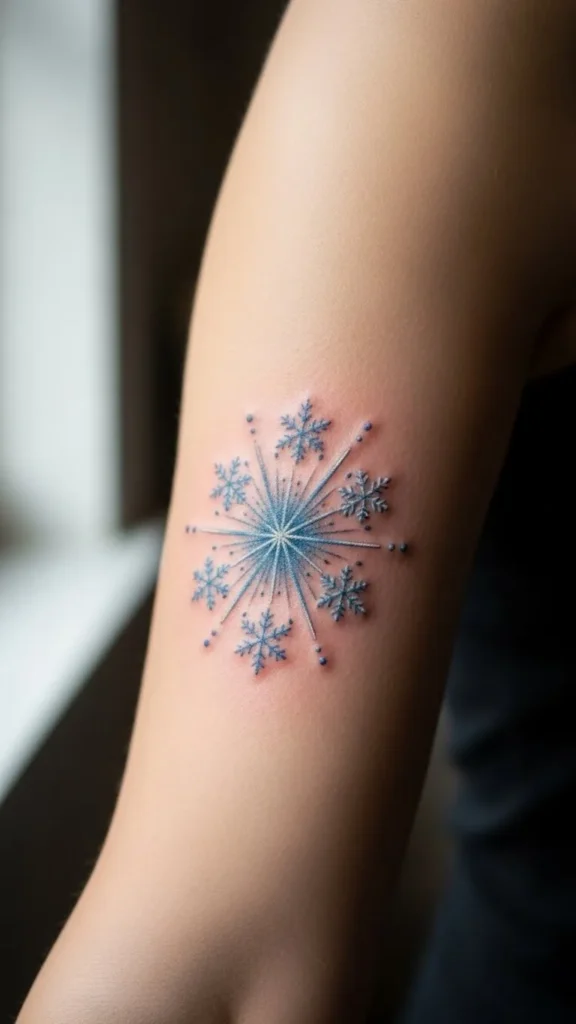
A snowflake burst has a playful feel and works well on the upper arm. You can arrange the flakes like a tiny explosion spreading outward. To test ideas, draw circles on paper and fill them with different flake styles, then hold them against your arm. This helps you see what level of spread looks best. The upper arm gives plenty of space and is often comfortable to tattoo. Keep your budget in check by choosing simple outlines. Add one or two micro-stars for extra charm. Because the design sits on a smooth surface, the lines heal crisp and clean.
9. Tiny Finger Snowflake Cluster
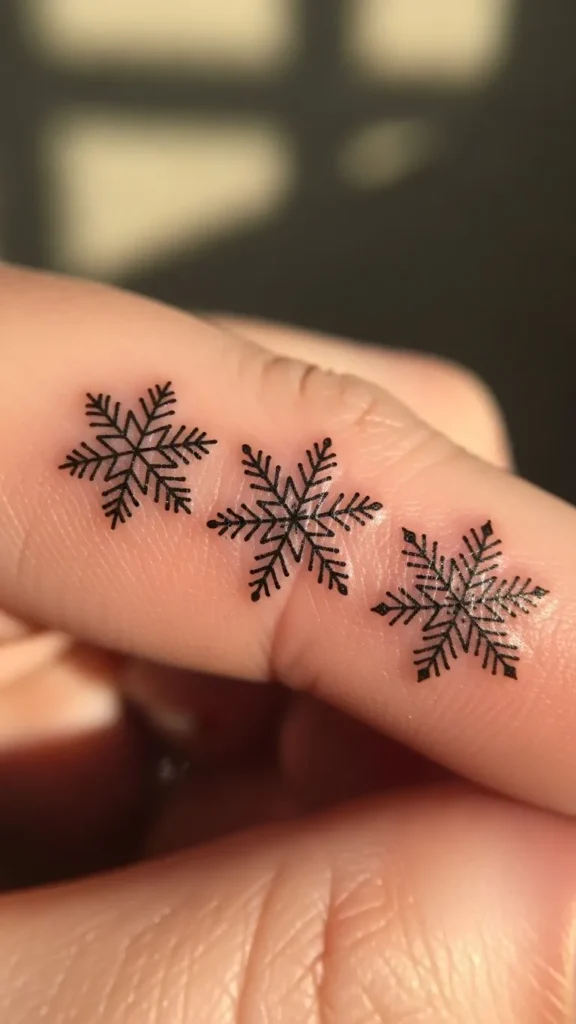
Finger tattoos are small and charming. A tiny snowflake cluster fits perfectly between the knuckles or on the side of a finger. Keep the design minimal since this area fades faster. Test the placement by drawing tiny dots or shapes with a fine-tip pen. This helps you pick the best position. Since finger tattoos are quick, they’re usually budget-friendly. Stick to one to three flakes so the details don’t blur over time. Touch-ups may be needed later, so simple linework works better here.
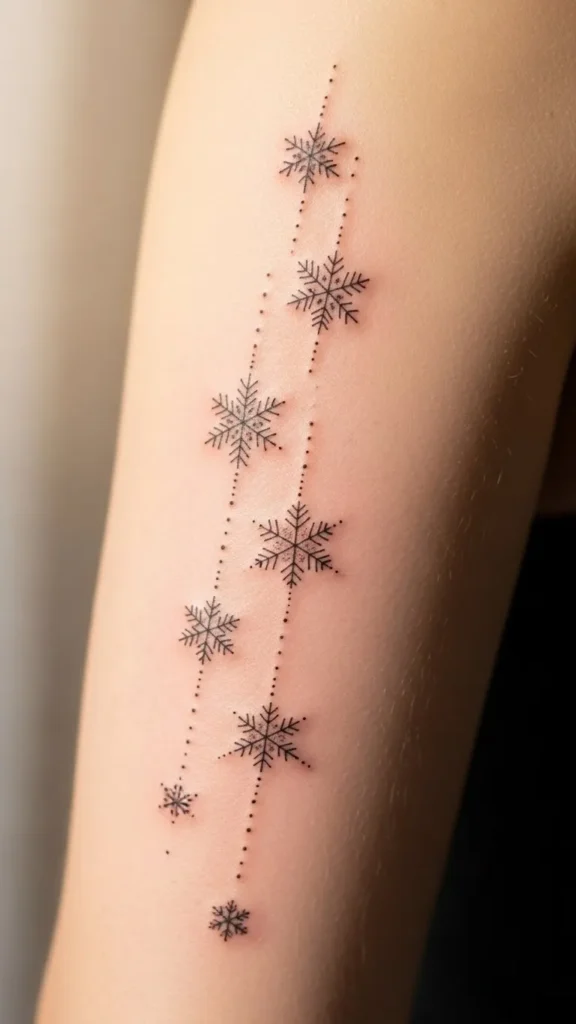
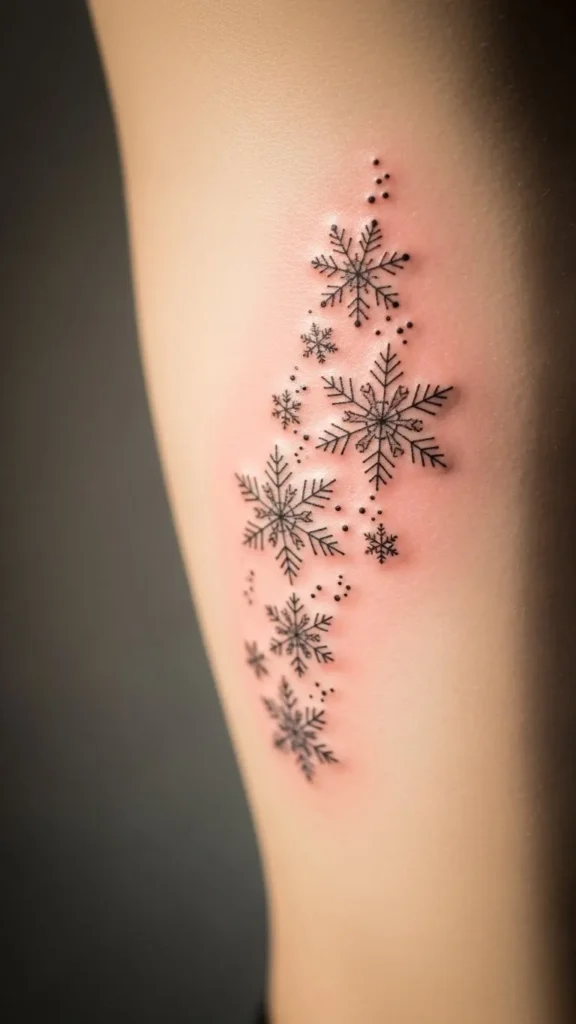
10. Inner Arm Falling Snow Cluster

This design gives the look of slow-falling snow along the inner arm. It’s elegant and easy to customize. Try taping small paper flakes down your arm to explore spacing. This makes it easier to picture the gentle drop effect. Because the skin here is soft, the lines heal neatly. A few tiny dot trails make the cluster feel more natural. Keep the flakes small to maintain that gentle rhythm. You can keep the cost low by avoiding color and sticking to clean lines.
11. Lower Leg Snow Scatter
A snow scatter on the lower leg gives you a tall area to work with. You can place flakes in a vertical drift or a loose diagonal pattern. Use tape and printed shapes to test different flows. This helps you decide if you like a dense or airy look. The lower leg is a comfortable spot for thin-line clusters, and the design often heals well. Choose three to six flakes for a simple but expressive pattern. Adding tiny dot accents makes the drift feel natural.
12. Shoulder Blade Snowfall Trail
A snowfall trail across the shoulder blade looks graceful. You can let the flakes start near the top and drift toward the spine or lower back. Test shapes with eyeliner to get the flow right. This area gives you room for larger patterns without crowding. Stick to simple outlines if you want to keep the cost low. You can also add tiny spark-like dots for a soft shimmer effect. Since the spot stays hidden under clothing, it heals without much friction.
13. Tiny Snowflake Crown on the Forearm
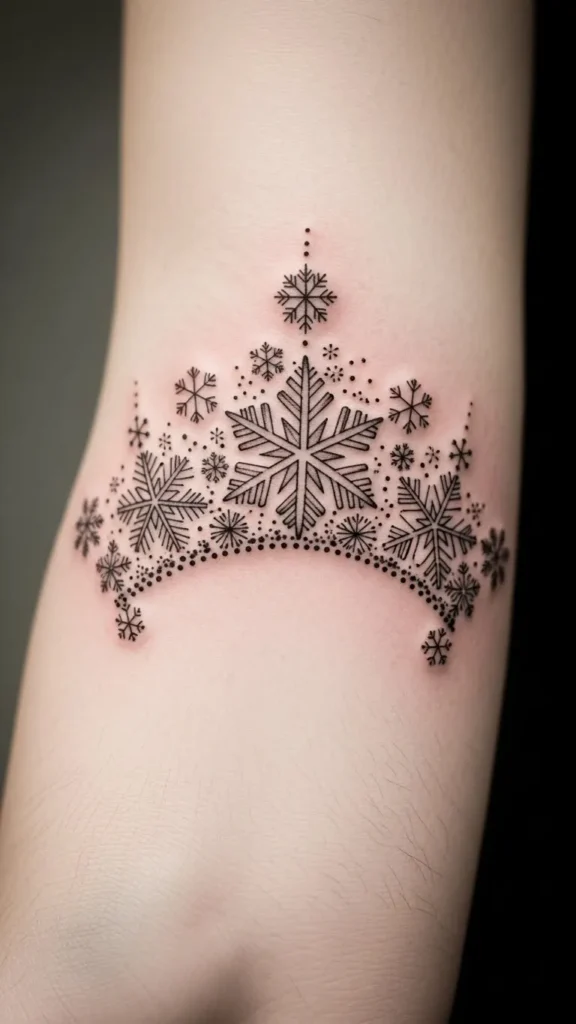
If you like structured designs, a tiny snowflake crown offers a cute arc shape. Arrange three or four flakes in a shallow curve. Use tracing paper to test the exact bend. This helps you keep the arc even. The forearm gives clean visibility and works well for crisp lines. Add micro-stars above the center flake if you want a hint of brightness. Keeping the design small helps control cost. The crown shape pairs well with bracelets or bangles.
14. Snowflake Ring Cluster Around the Upper Arm
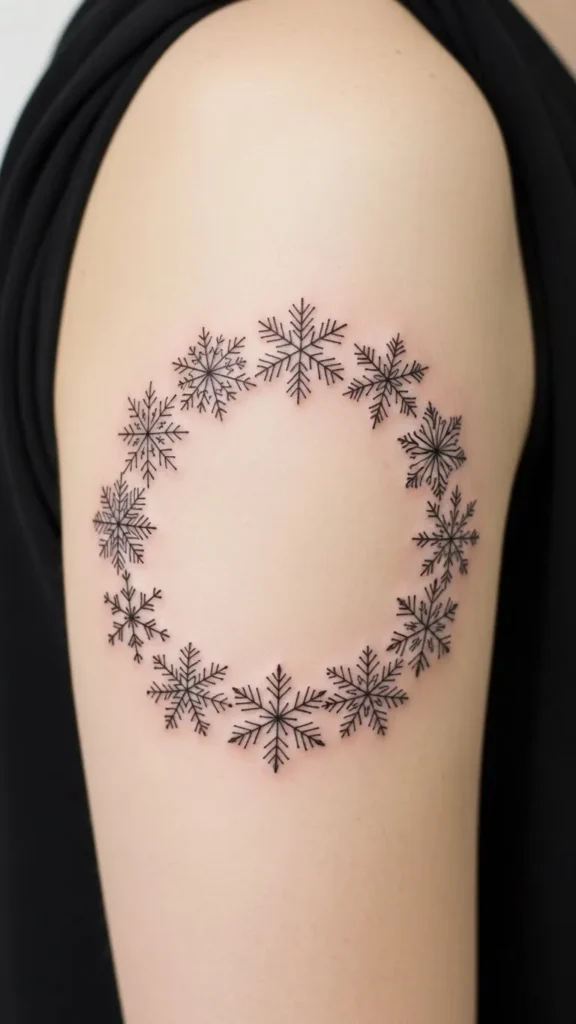
A snowflake ring cluster wraps softly around the upper arm. It can look like a delicate band of winter shapes. Use a strip of paper to map out the ring before your session. This helps you see if you want a full wrap or partial design. Keep the flakes small for a lighter feel. Choose simple outlines to keep the cost comfortable. Add tiny dots between flakes for an airy rhythm. This style pairs nicely with sleeveless outfits.
15. Micro Snowflake Pair Near the Ear

Two micro snowflakes near the ear give a soft accent. This area suits tiny designs since space is limited. Test placement by using a fine-tip makeup pen. The pair looks balanced when slightly staggered. Because the size is so small, the session is quick and affordable. Stick to very thin lines. Add one tiny dot for a gentle shimmer effect. This placement works well if you enjoy subtle tattoos that show only when your hair moves.
16. Outer Thigh Snowflake Drift
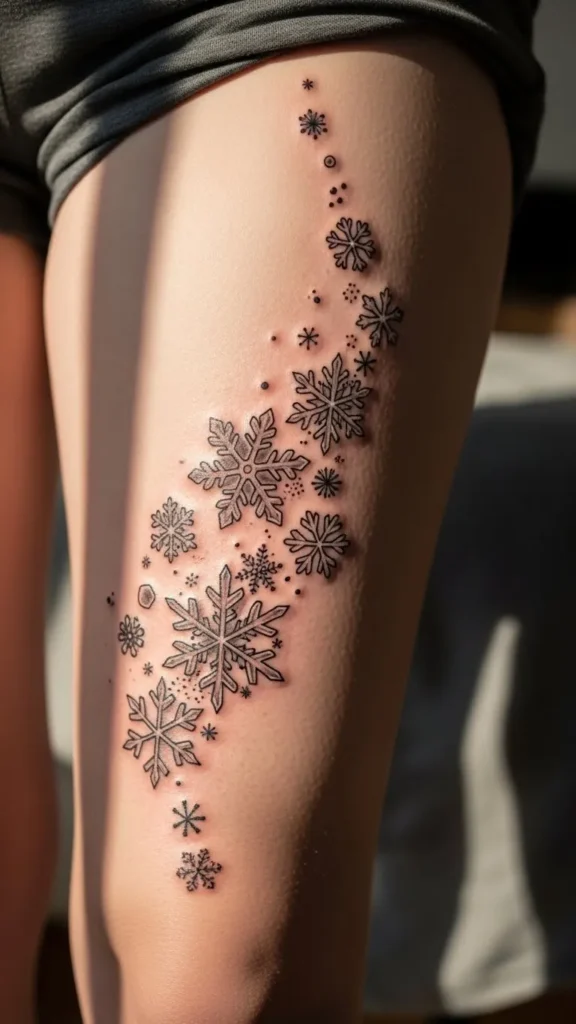
The outer thigh gives you space to play with larger clusters. You can use a gentle S-shaped drift to create movement. Use paper flakes or stickers to test the shape in a mirror. This helps you refine the curve. The thigh is often comfortable for tattoo sessions, even with multiple flakes. Keep the style simple with thin lines if you want to control the cost. Light dot accents can make the drift appear airy and soft.
17. Back-of-Arm Snowflake Scatter
The back of the arm is a popular spot for small clusters. You can arrange a handful of flakes in a loose flow. Test the layout by sketching on transparent film and taping it in place. This gives you a clear view in the mirror. Because the design stays hidden most of the day, it heals smoothly. Stick to thin-line flakes to keep the pattern crisp. This placement works well for people who prefer subtle designs.
18. Hip Snowflake Ribbon Cluster
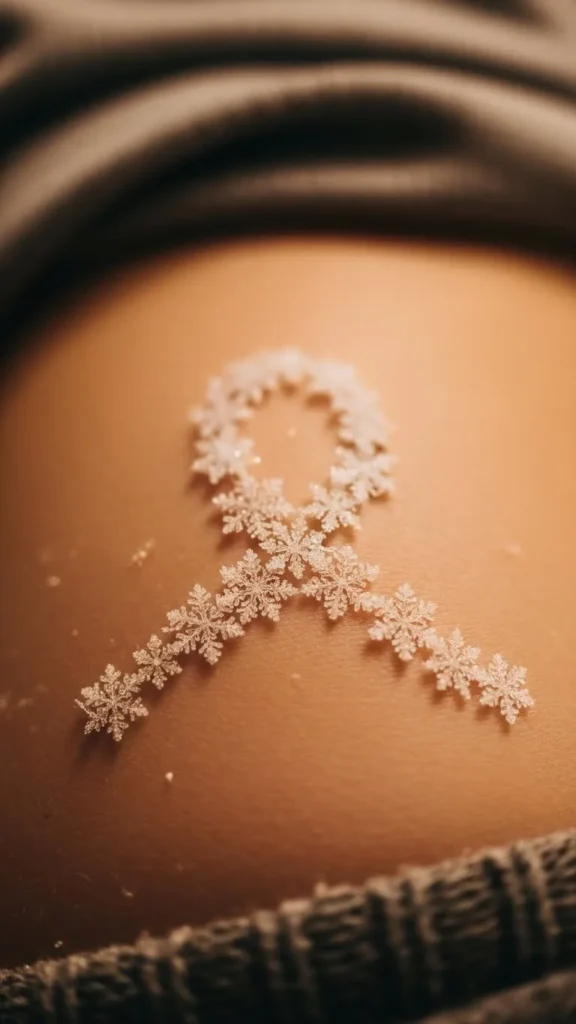
A snowflake ribbon cluster wraps gently along the hip. You can design the flakes to follow a thin ribbon-like curve. Test the shape with a long sticker or strip of paper. This helps you check how the curve fits your body line. The hip area allows enough space for a soft twist. Choose simple outlines if you’re watching your budget. Add a few micro-dots at each end of the ribbon for a clean finish.
19. Spine-Side Falling Snowflakes
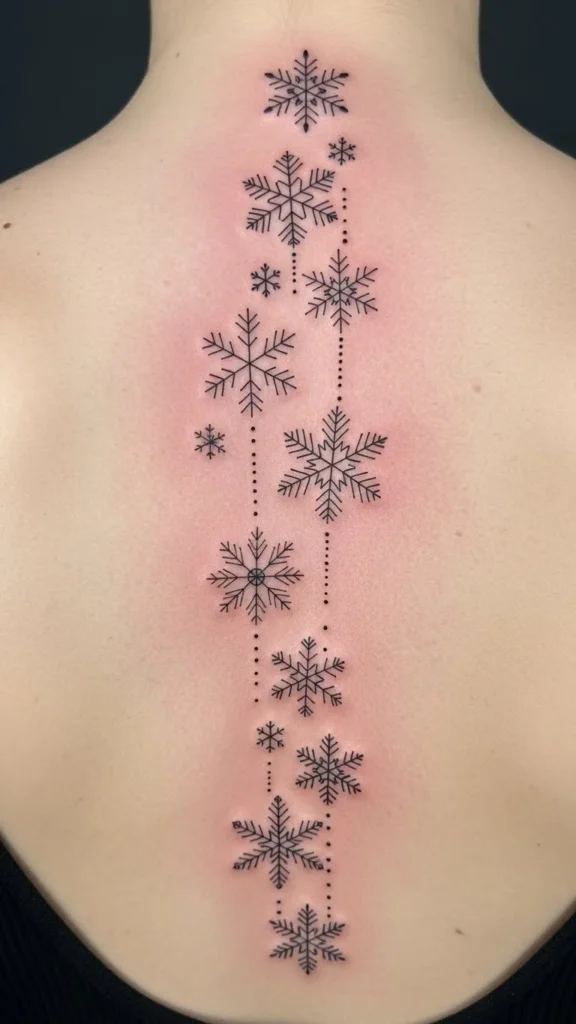
A falling snow pattern beside the spine feels elegant and balanced. You can arrange the flakes in a long line or a soft S-shape. Use a mirror and tracing paper to test lengths. This area holds fine lines nicely. Keep the flakes small so the cluster stays gentle. Add tiny dots for a delicate drop effect. To keep the session affordable, choose simple linework without shading. The result feels airy and expressive.
20. Snowflake Ring Around the Ankle
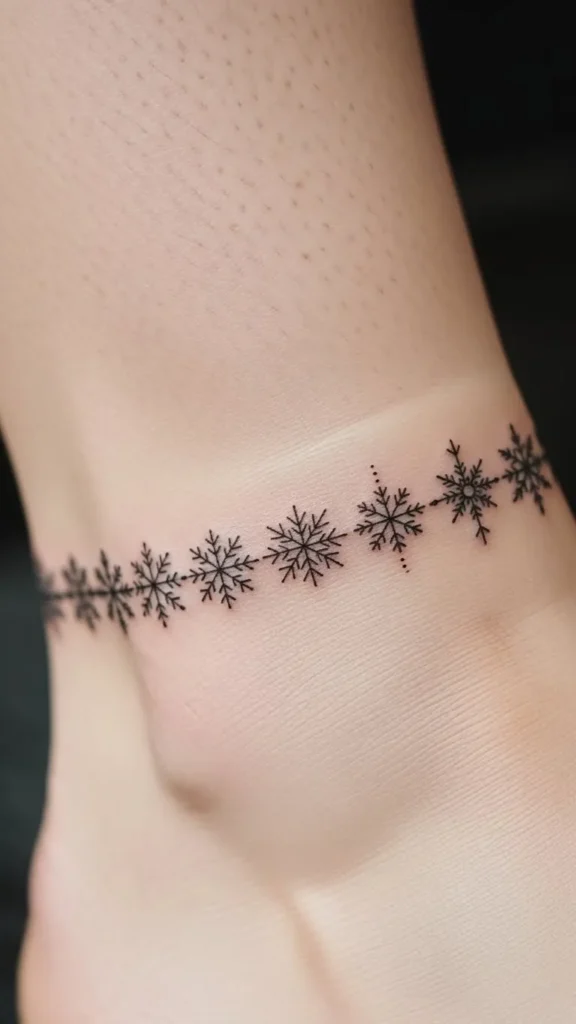
An ankle ring gives you a bracelet-like look. You can place small flakes evenly spaced around the ankle. Use a measuring tape and temporary stickers to test symmetry. This keeps the band smooth. Since the designs are tiny, the session is affordable. Stick to thin lines for a clean pattern. Add micro-dots between each flake to keep the band light. This placement pairs well with sandals or rolled-up jeans.
21. Petite Snowflake Corner Cluster on the Hipbone
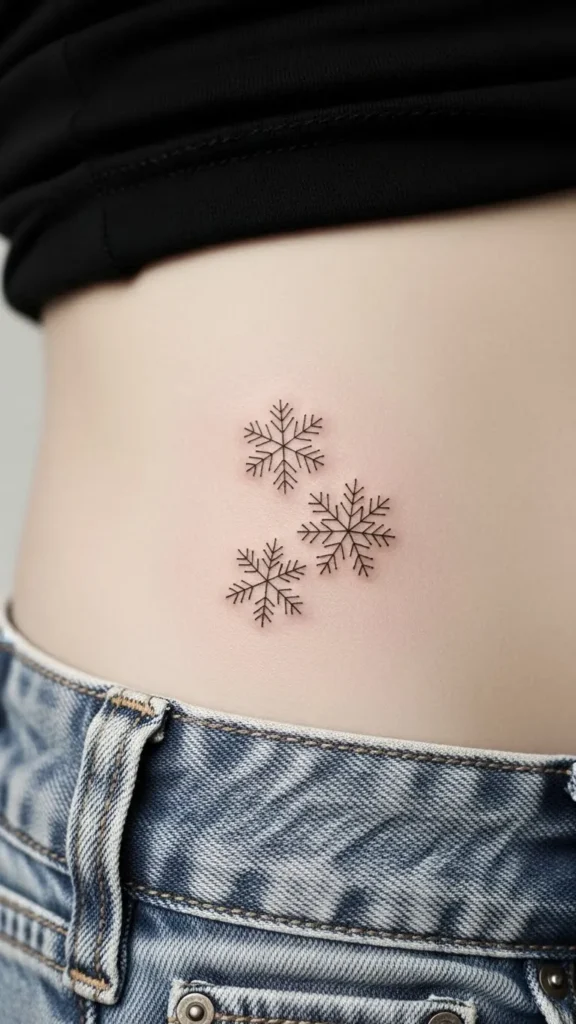
A corner cluster near the hipbone feels subtle and soft. Keep the flakes tiny so the design fits the angle of the bone. Try sketching a few small shapes on transparent film to test how they line up. This placement works well if you want something personal and hidden. Keep the design simple to stay within your budget. Add one to two micro-dots to shape the cluster. The spot heals cleanly with loose clothing.
22. Upper Back Star-Snow Cluster
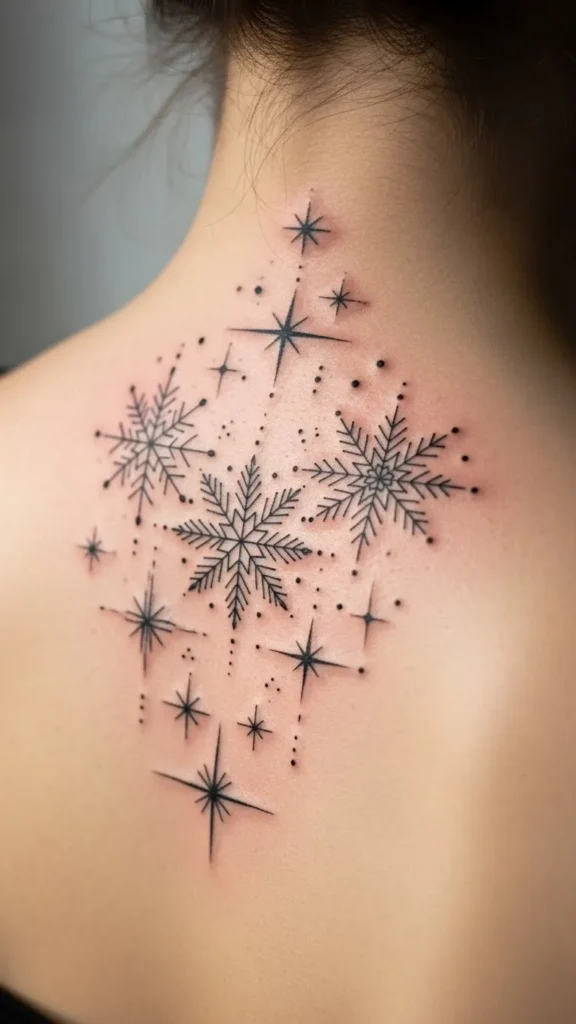
Mixing stars with snowflakes creates a soft sky-like cluster. Keep the flakes small and scatter a few micro-stars between them. Use printed shapes to test the flow across your upper back. This helps you decide on spacing. The area gives plenty of room, so the design feels open. Stick to basic outlines for a budget-friendly session. Add a tiny dot trail if you want more movement. It pairs well with open-back outfits.
23. Side Rib Snowflake Cluster
Side rib tattoos feel intimate and soft. A small cluster fits this area well. Test placement by drawing the pattern with eyeliner while standing in the mirror. This helps you see how the flakes move with your body. Keep the flakes tiny for comfort during the session. Simple linework keeps the cost manageable. Add light dot accents for a soft drift effect. This design stays hidden under clothing and heals cleanly.
24. Snowflake Cascade on the Calf
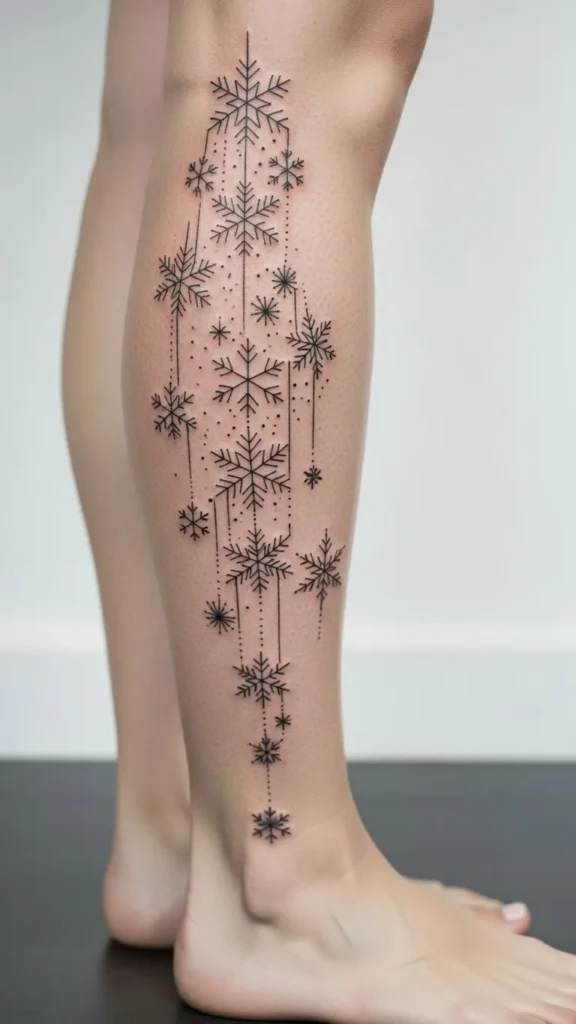
A calf cascade offers a tall space for a flowing cluster. You can design the flakes to drop from top to bottom in a gentle line. Use sticker flakes to test the vertical flow. This area is usually comfortable for longer tattoos. Keep the design simple with fine lines for an affordable session. Add tiny dots for a natural falling effect. It looks great with shorts or dresses.
Conclusion
Snowflake cluster tattoos give you endless ways to express winter charm with soft, delicate detail. Each idea in this list is easy to customize, simple to plan at home, and works with nearly any budget. When you’re ready, save your favorite ideas and share them with your artist so you can shape a design that fits your style perfectly.

Leave a Reply