

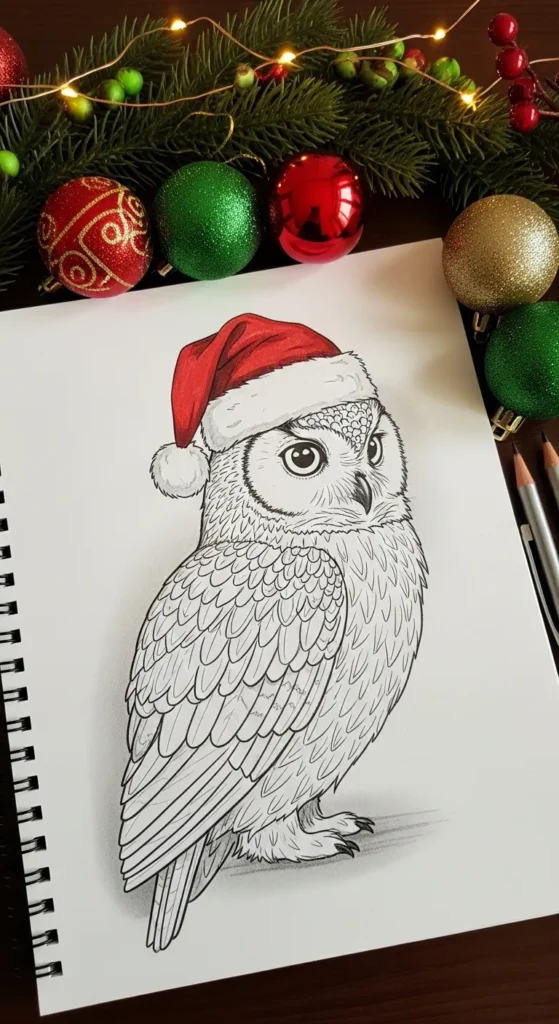
Creating a charming Christmas-themed owl tattoo outline is easier than you might think—and incredibly fun. Whether you’re a beginner artist, a tattoo designer looking for inspiration, or someone wanting to sketch their next ink idea, this guide walks you through simple steps to bring a festive little owl to life.
Before we begin, imagine the final look to stay inspired.
Let’s dive into this adorable holiday art project!
Step 1: Gather Simple Drawing Supplies
You don’t need anything fancy—just the basics that make sketching relaxing and enjoyable.
What You’ll Need
- A smooth sketchpad or plain paper
- A sharpened pencil
- A soft eraser
- A fine-tip pen or marker for outlining
- Optional: colored pencils or water-based brush pens

Having your tools ready makes the sketching process flow smoothly.
Step 2: Start With the Basic Owl Shapes
Beginners often overthink the first line. Instead, we’ll focus on simple shapes to build structure.
Build the Foundation
- Draw a soft oval for the owl’s head.
- Add a second, slightly larger oval beneath it for the body.
- Keep your strokes light and round.
- Connect the two shapes with a gentle curve—this gives your owl a soft, cozy posture.
Add Face Guidelines
- Lightly sketch a vertical line down the center of the head.
- Add a horizontal guideline across the upper third—this helps position the eyes evenly.
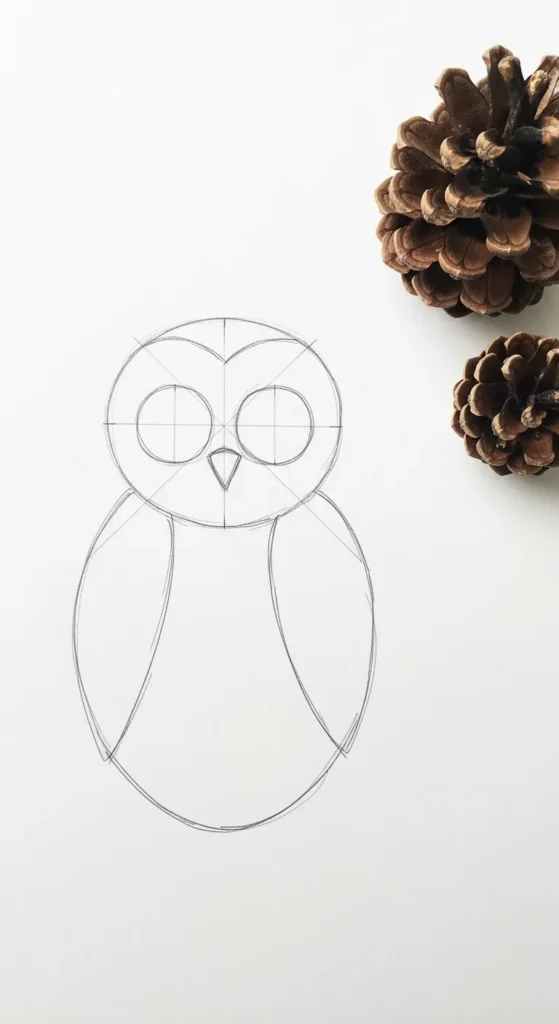
This foundation makes the owl look balanced and cute right from the start.
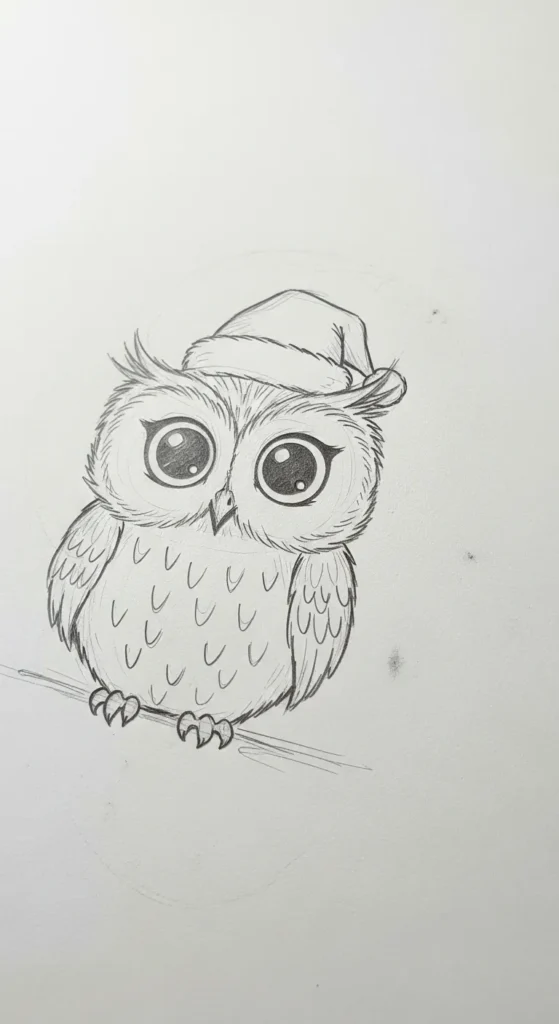
Step 3: Draw the Owl’s Cute Facial Details
This is where personality truly begins to shine.
Focus on Expression
- Draw two large, rounded circles for the eyes.
- Add small pupils inside—leave a tiny highlight circle unshaded for a glossy look.
- Sketch a small inverted triangle for the beak, right between the eyes.
- Add soft lines above the eyes as tiny brows to enhance the “festive cute” vibe.
Optional Christmas Details
- Add a tiny Santa hat tilted on one side.
- Sketch a sprig of holly above one eye for extra charm.
Short, curved lines create a friendly, warm expression beginners can easily master.
Step 4: Outline the Body and Wings
With the head done, shaping the body is simple and satisfying.
Define the Owl’s Silhouette
- Use gentle curved lines to trace the final body outline.
- Add two small wings that curve inward slightly—this gives the owl its signature puffed-up winter look.
- Draw tiny feet at the bottom using short, rounded shapes.
Add Feather Texture
- Sketch soft U-shaped lines on the chest to mimic fluffy feathers.
- Keep everything minimal—this is an outline tattoo, so clean shapes matter more than detail.

Step 5: Add Christmas Elements to Make It Festive
This step brings the holiday charm front and center.
Choose Your Festive Details
You can add:
- A Santa hat
- Snowflakes around the owl
- A tiny scarf with stripes
- A string of mini Christmas lights wrapped loosely around the body
- A gift box beside the owl
Keep It Minimal
Because this design is meant for a tattoo outline, avoid clutter. Focus on 1–2 key festive elements so the drawing stays clean, simple, and tattoo-friendly.
Step 6: Ink the Tattoo Outline
Once you’re happy with the sketch, it’s time to finalize it.
Inking Tips
- Use a fine-tip pen for clean lines.
- Follow your pencil marks slowly and confidently.
- Use varying line thickness:
- Thicker lines for the outer shape
- Thinner lines for accents like feathers and eyes
- Let the ink dry before erasing the pencil marks.
Inking makes your cute Christmas owl look polished and ready to be used as a tattoo stencil.
Step 7: Add Optional Shading or Color
If you want your outline to pop even more, add simple shading.
Ways to Enhance Your Drawing
- Light pencil shading around the wings
- A soft shadow under the Santa hat
- Colored pencil accents like red, green, and gold
- Subtle blush spots on the owl’s cheeks
These finishing touches add charm while keeping the tattoo design clean.
Beginner-Friendly Tips for Success
Here are a few quick pointers to keep your drawing fun and relaxing:
- Keep your lines loose. A relaxed hand creates more natural, cute shapes.
- Erase as needed. Beginners often forget that refining is part of the process.
- Use references. Looking at owls helps you understand proportions.
- Experiment with hats, scarves, and small details. Personalize your festive owl.
- Practice small sketches first to warm up your strokes.
With each attempt, your Christmas owl will get cuter and more polished.
Final Thoughts
Drawing a cute Christmas owl outline tattoo is a beginner-friendly project anyone can enjoy. The soft lines, festive details, and simple shapes make it a perfect holiday art idea—whether you’re sketching for fun or planning your next ink piece.
Save this tutorial for later and come back whenever you need seasonal inspiration!

Leave a Reply