

There’s something magical about tiny airplane tattoos. They’re simple, meaningful, and instantly recognizable to anyone who loves to explore. Whether you’re a frequent flyer or someone who dreams of far-off places, a small airplane design can quietly say “I was born to roam.”
In this guide, you’ll learn how to draw tiny airplane tattoos step by step—keeping them clean, balanced, and full of personality. No complicated tools. Just thoughtful design choices that translate beautifully to skin.
Why Tiny Airplane Tattoos Are So Popular
Tiny airplane tattoos work because they’re simple but symbolic. A few clean lines can represent freedom, curiosity, and personal growth.
They’re especially loved by travelers because:
- They age well due to minimal detail
- They fit almost anywhere on the body
- They feel personal without being loud
Before you draw anything, it helps to understand that less is more with this style.
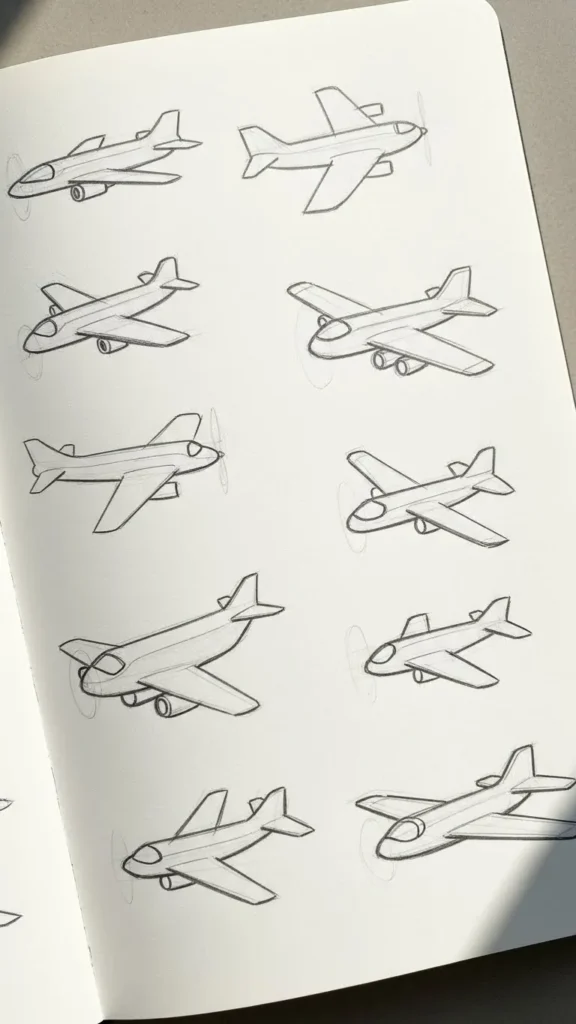
Start With the Right Airplane Shape
Not all airplane silhouettes work well at a tiny scale. The key is choosing a shape that stays recognizable even when it’s just a few centimeters wide.
Good beginner-friendly options:
- Side-view airplane with straight wings
- Simple paper-airplane shape
- Minimal jet outline with no windows
Avoid:
- Too many curves or engine details
- Complex propeller designs
- Heavy shading
Start by sketching the plane using basic shapes—a straight line for the body and short angled lines for the wings.
Keep the Linework Clean and Consistent
Line quality matters more than detail in tiny tattoos. Uneven lines can make a small design look messy once it’s on skin.
Tips for smooth linework:
- Use a single stroke for the body whenever possible
- Keep wing thickness the same on both sides
- Avoid tapering lines unless intentional
If you’re drawing digitally, zoom out often. If you’re drawing by hand, step back and look at the sketch from a distance. If it still reads as an airplane, you’re on the right track.
Choose a Style That Matches the Meaning
Tiny airplane tattoos can look very different depending on style—even with the same shape.
Popular styles include:
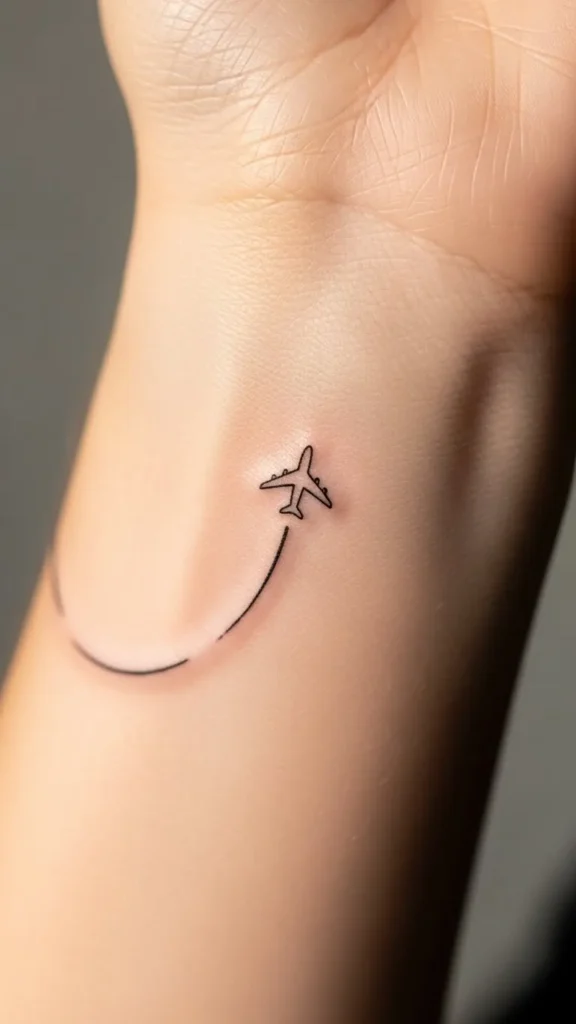
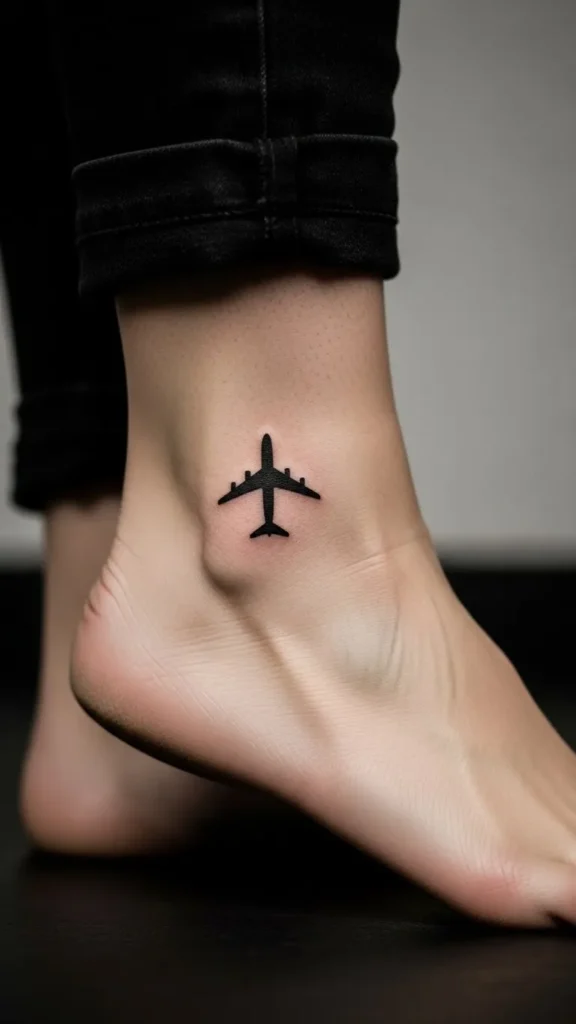
- Minimal outline: clean, thin lines with no fill
- Continuous line: one unbroken line forming the plane
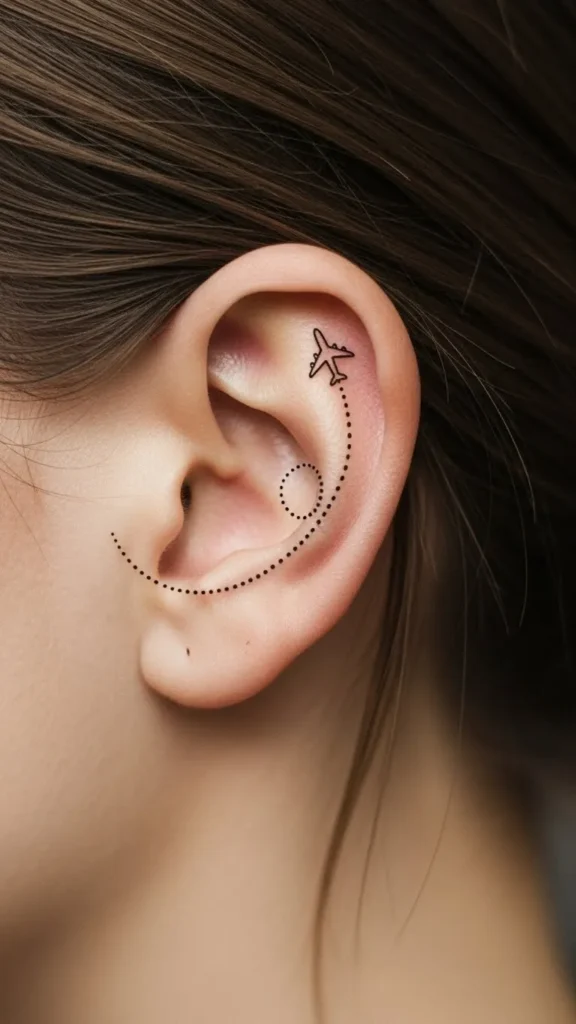
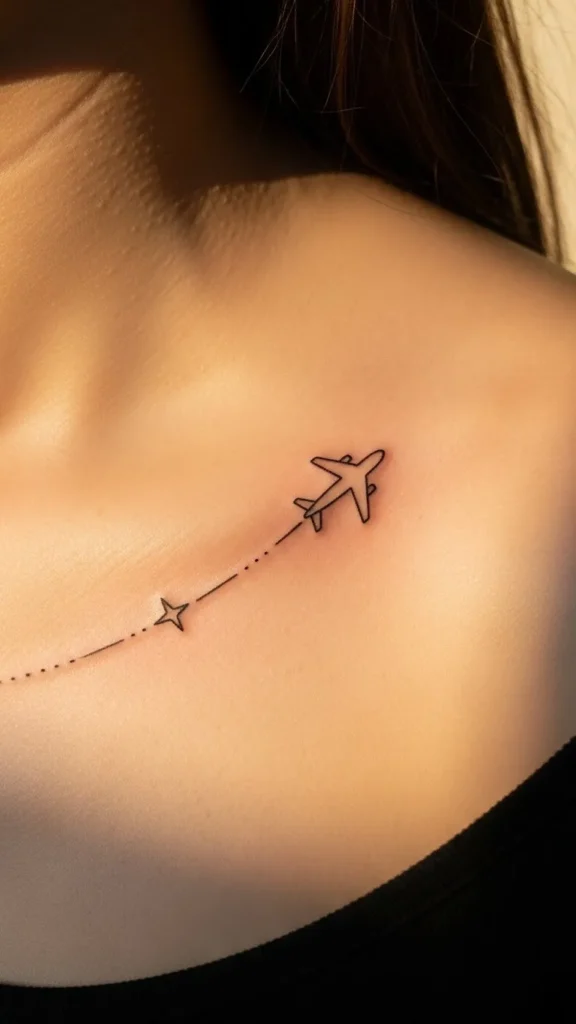
- Dotted trail: a small dashed line behind the plane
- Heart or arrow accent: subtle emotional touch
Think about why the person wants the tattoo. Is it about freedom? New beginnings? A love of travel? Let the style reflect that story.
Scale It Correctly for Tattoo Placement
Tiny tattoos live or die by proportion. A design that looks great on paper may need adjustment for skin.
Common tiny airplane placements:
- Inner wrist
- Ankle or foot side
- Collarbone
- Behind the ear
- Finger side
Tips for scaling:
- Keep wings slightly wider than realistic proportions
- Thicken lines just a bit for longevity
- Avoid tiny gaps that may blur over time
Always test the size by drawing the tattoo on skin with a pen first. This helps you catch balance issues early.
Add Subtle Personal Touches (Without Overdoing It)
Personal details are great—but tiny tattoos need restraint.
Safe additions:
- Initials near the wing
- A tiny star or dot
- A short curved flight path
- A meaningful date in micro text
Avoid packing everything in. One small accent is enough to make the design feel custom while keeping it clean.
Final Tips Before You Ink It
Before finalizing your drawing, do one last check:
- Does it still look clear from a distance?
- Are the lines evenly weighted?
- Will it age well in five or ten years?
Tiny airplane tattoos are about confidence in simplicity. When done right, they stay timeless and meaningful—just like the love of travel itself.
Ready to Sketch Your Own?
Grab a pencil or tablet and start with just a few lines. Save your favorite designs, refine them slowly, and don’t rush the process.
If this guide helped you, save it for later or pin it for your next tattoo idea ✈️

Leave a Reply